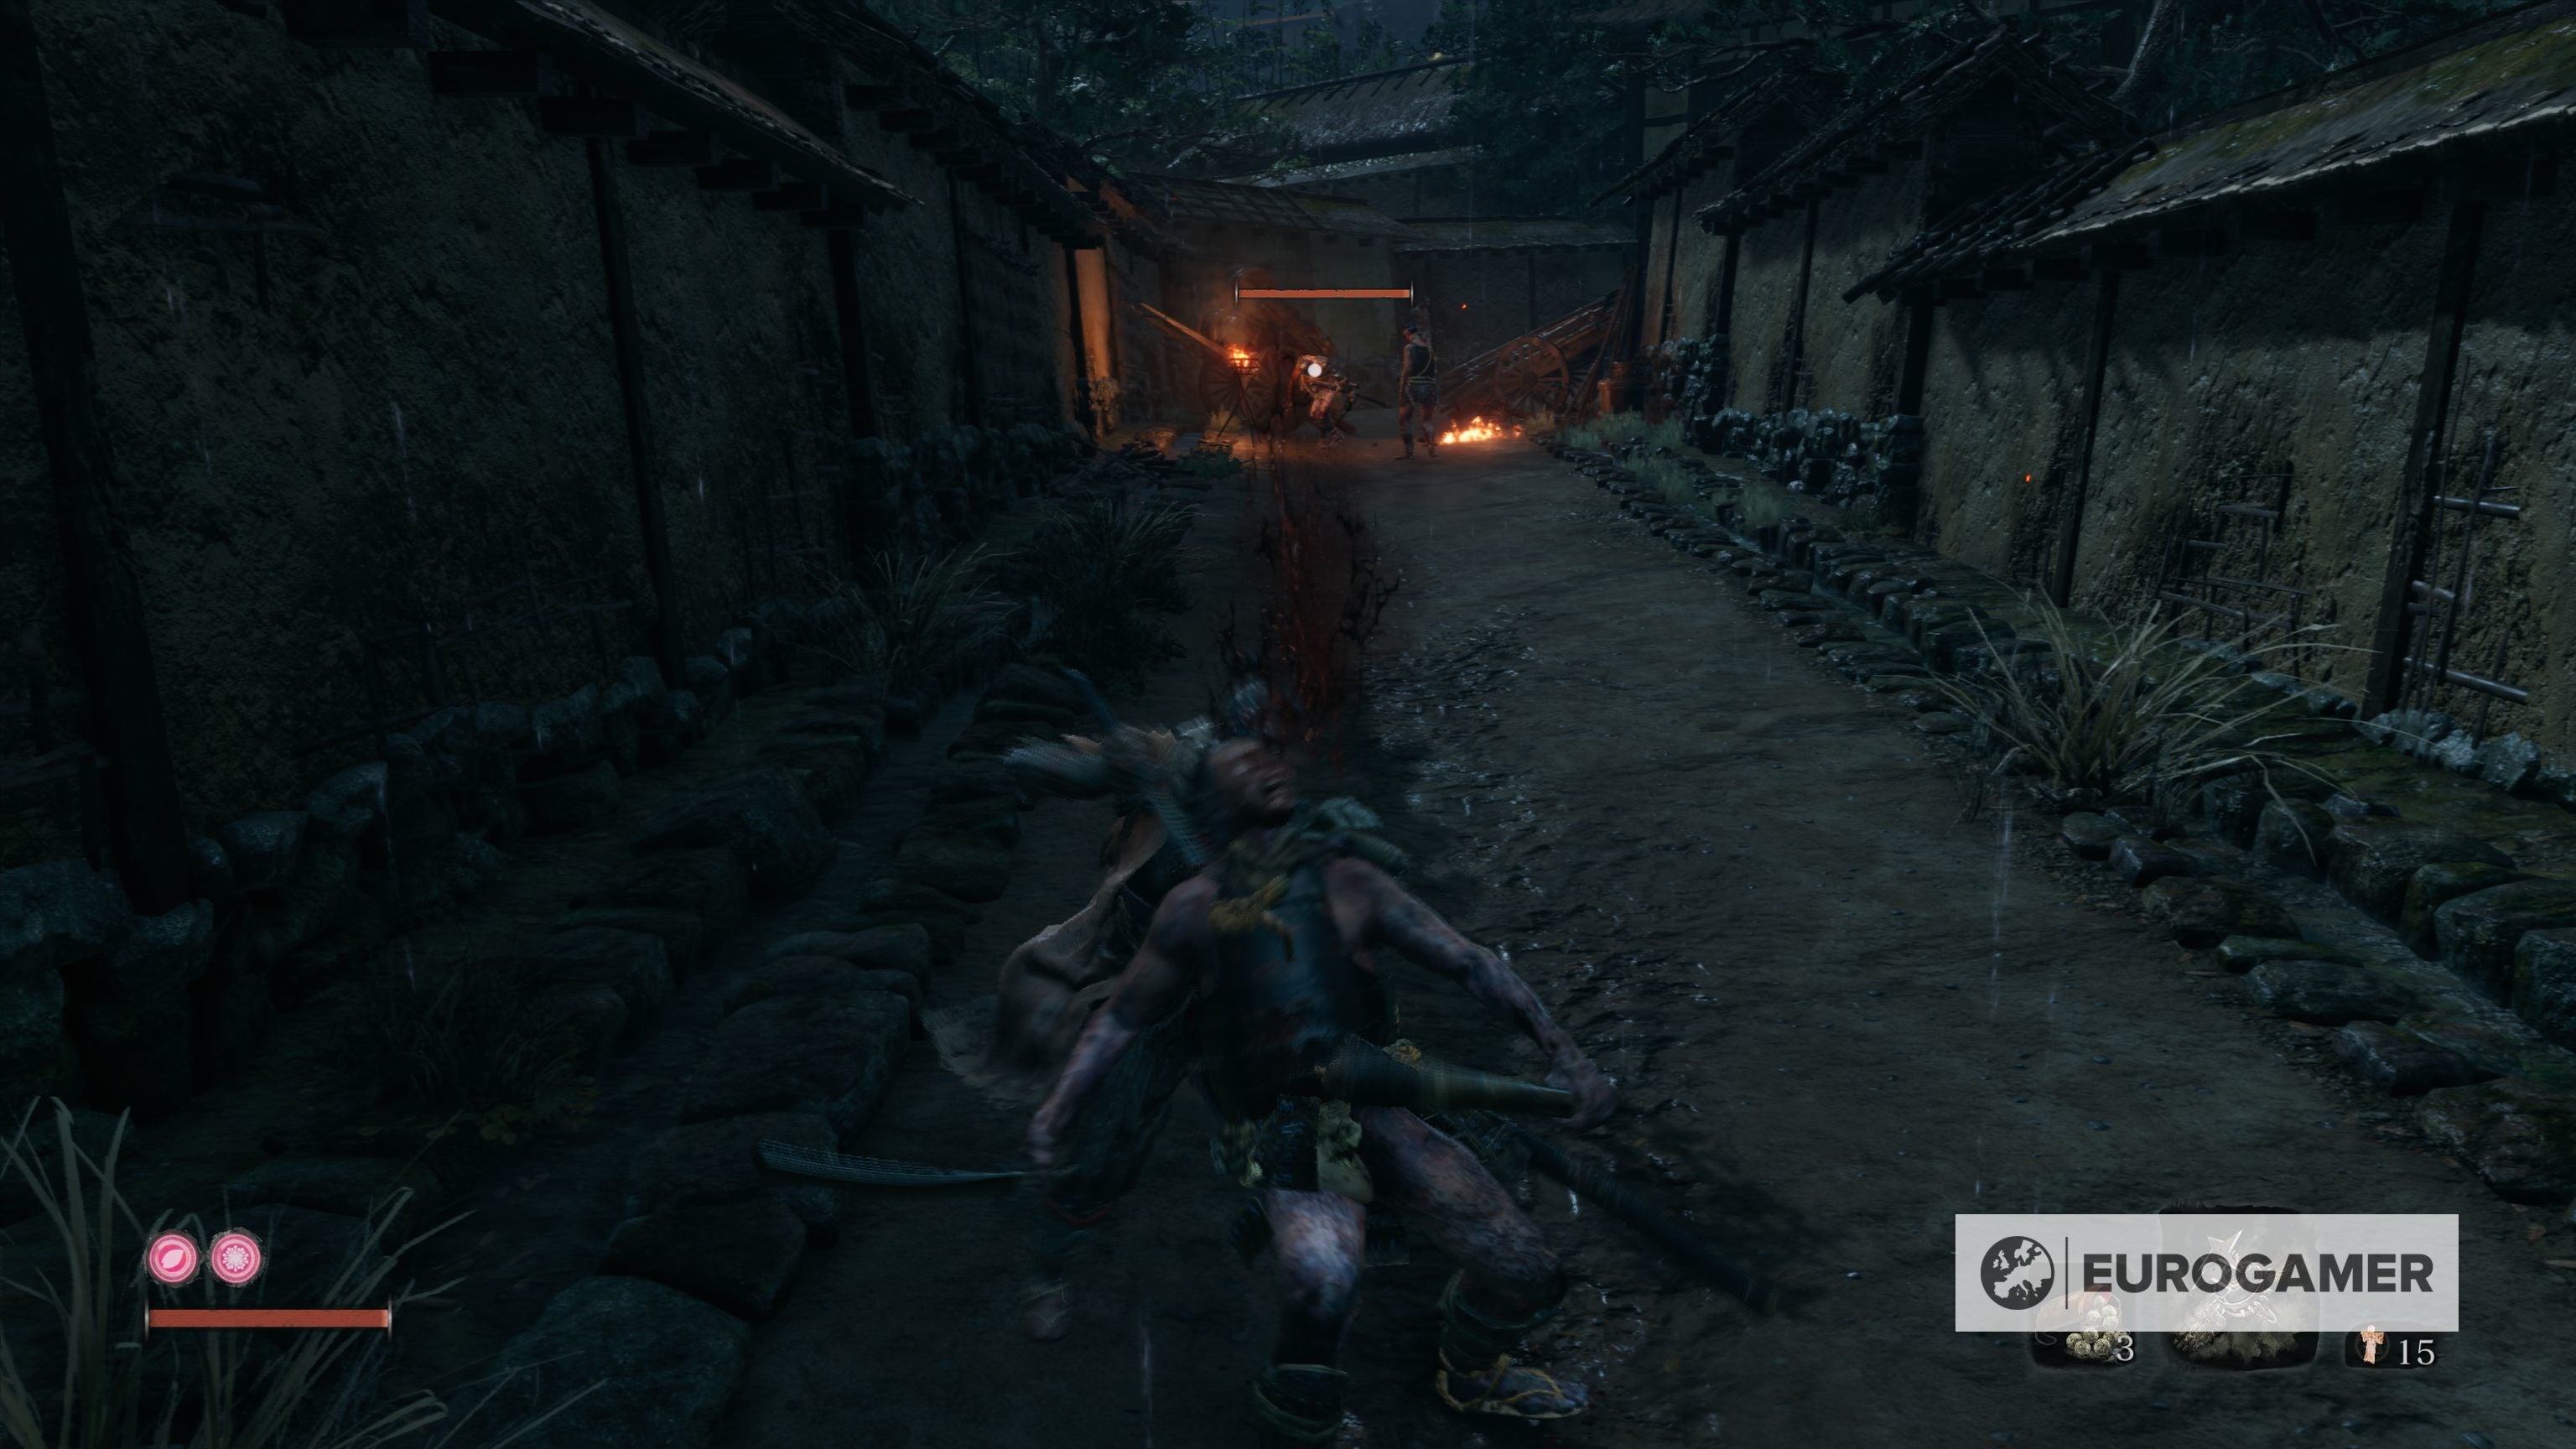
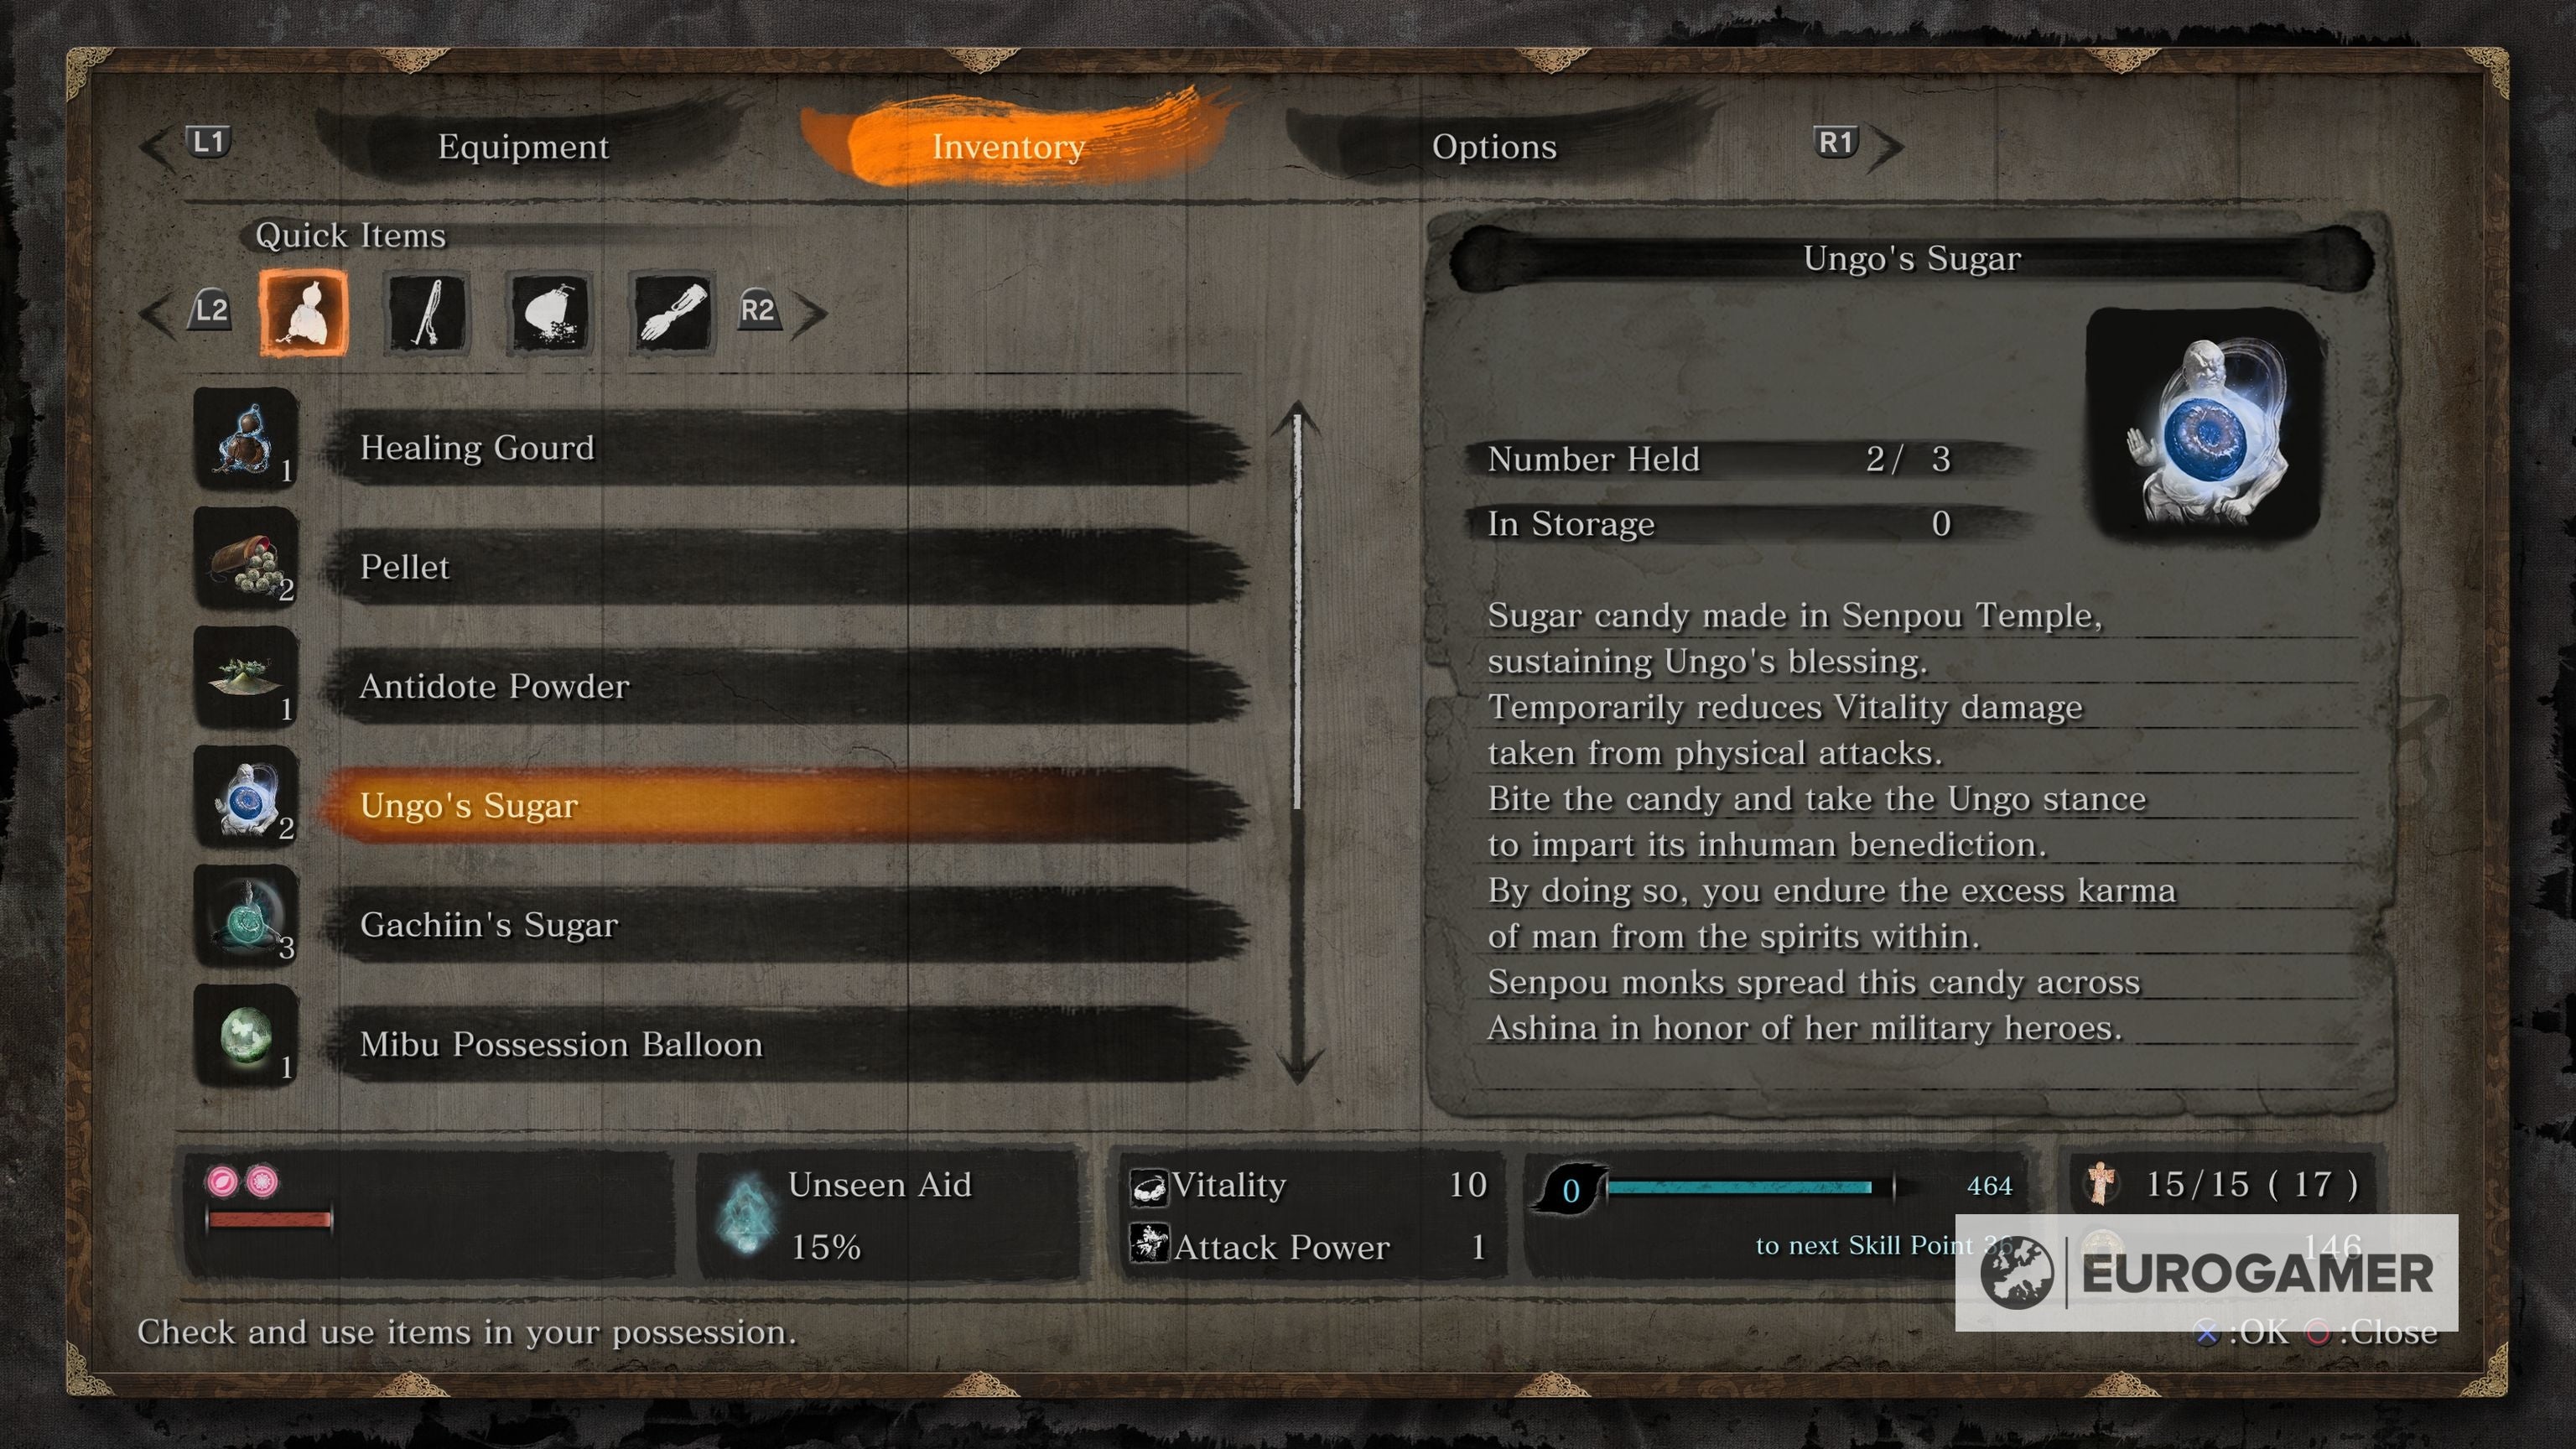
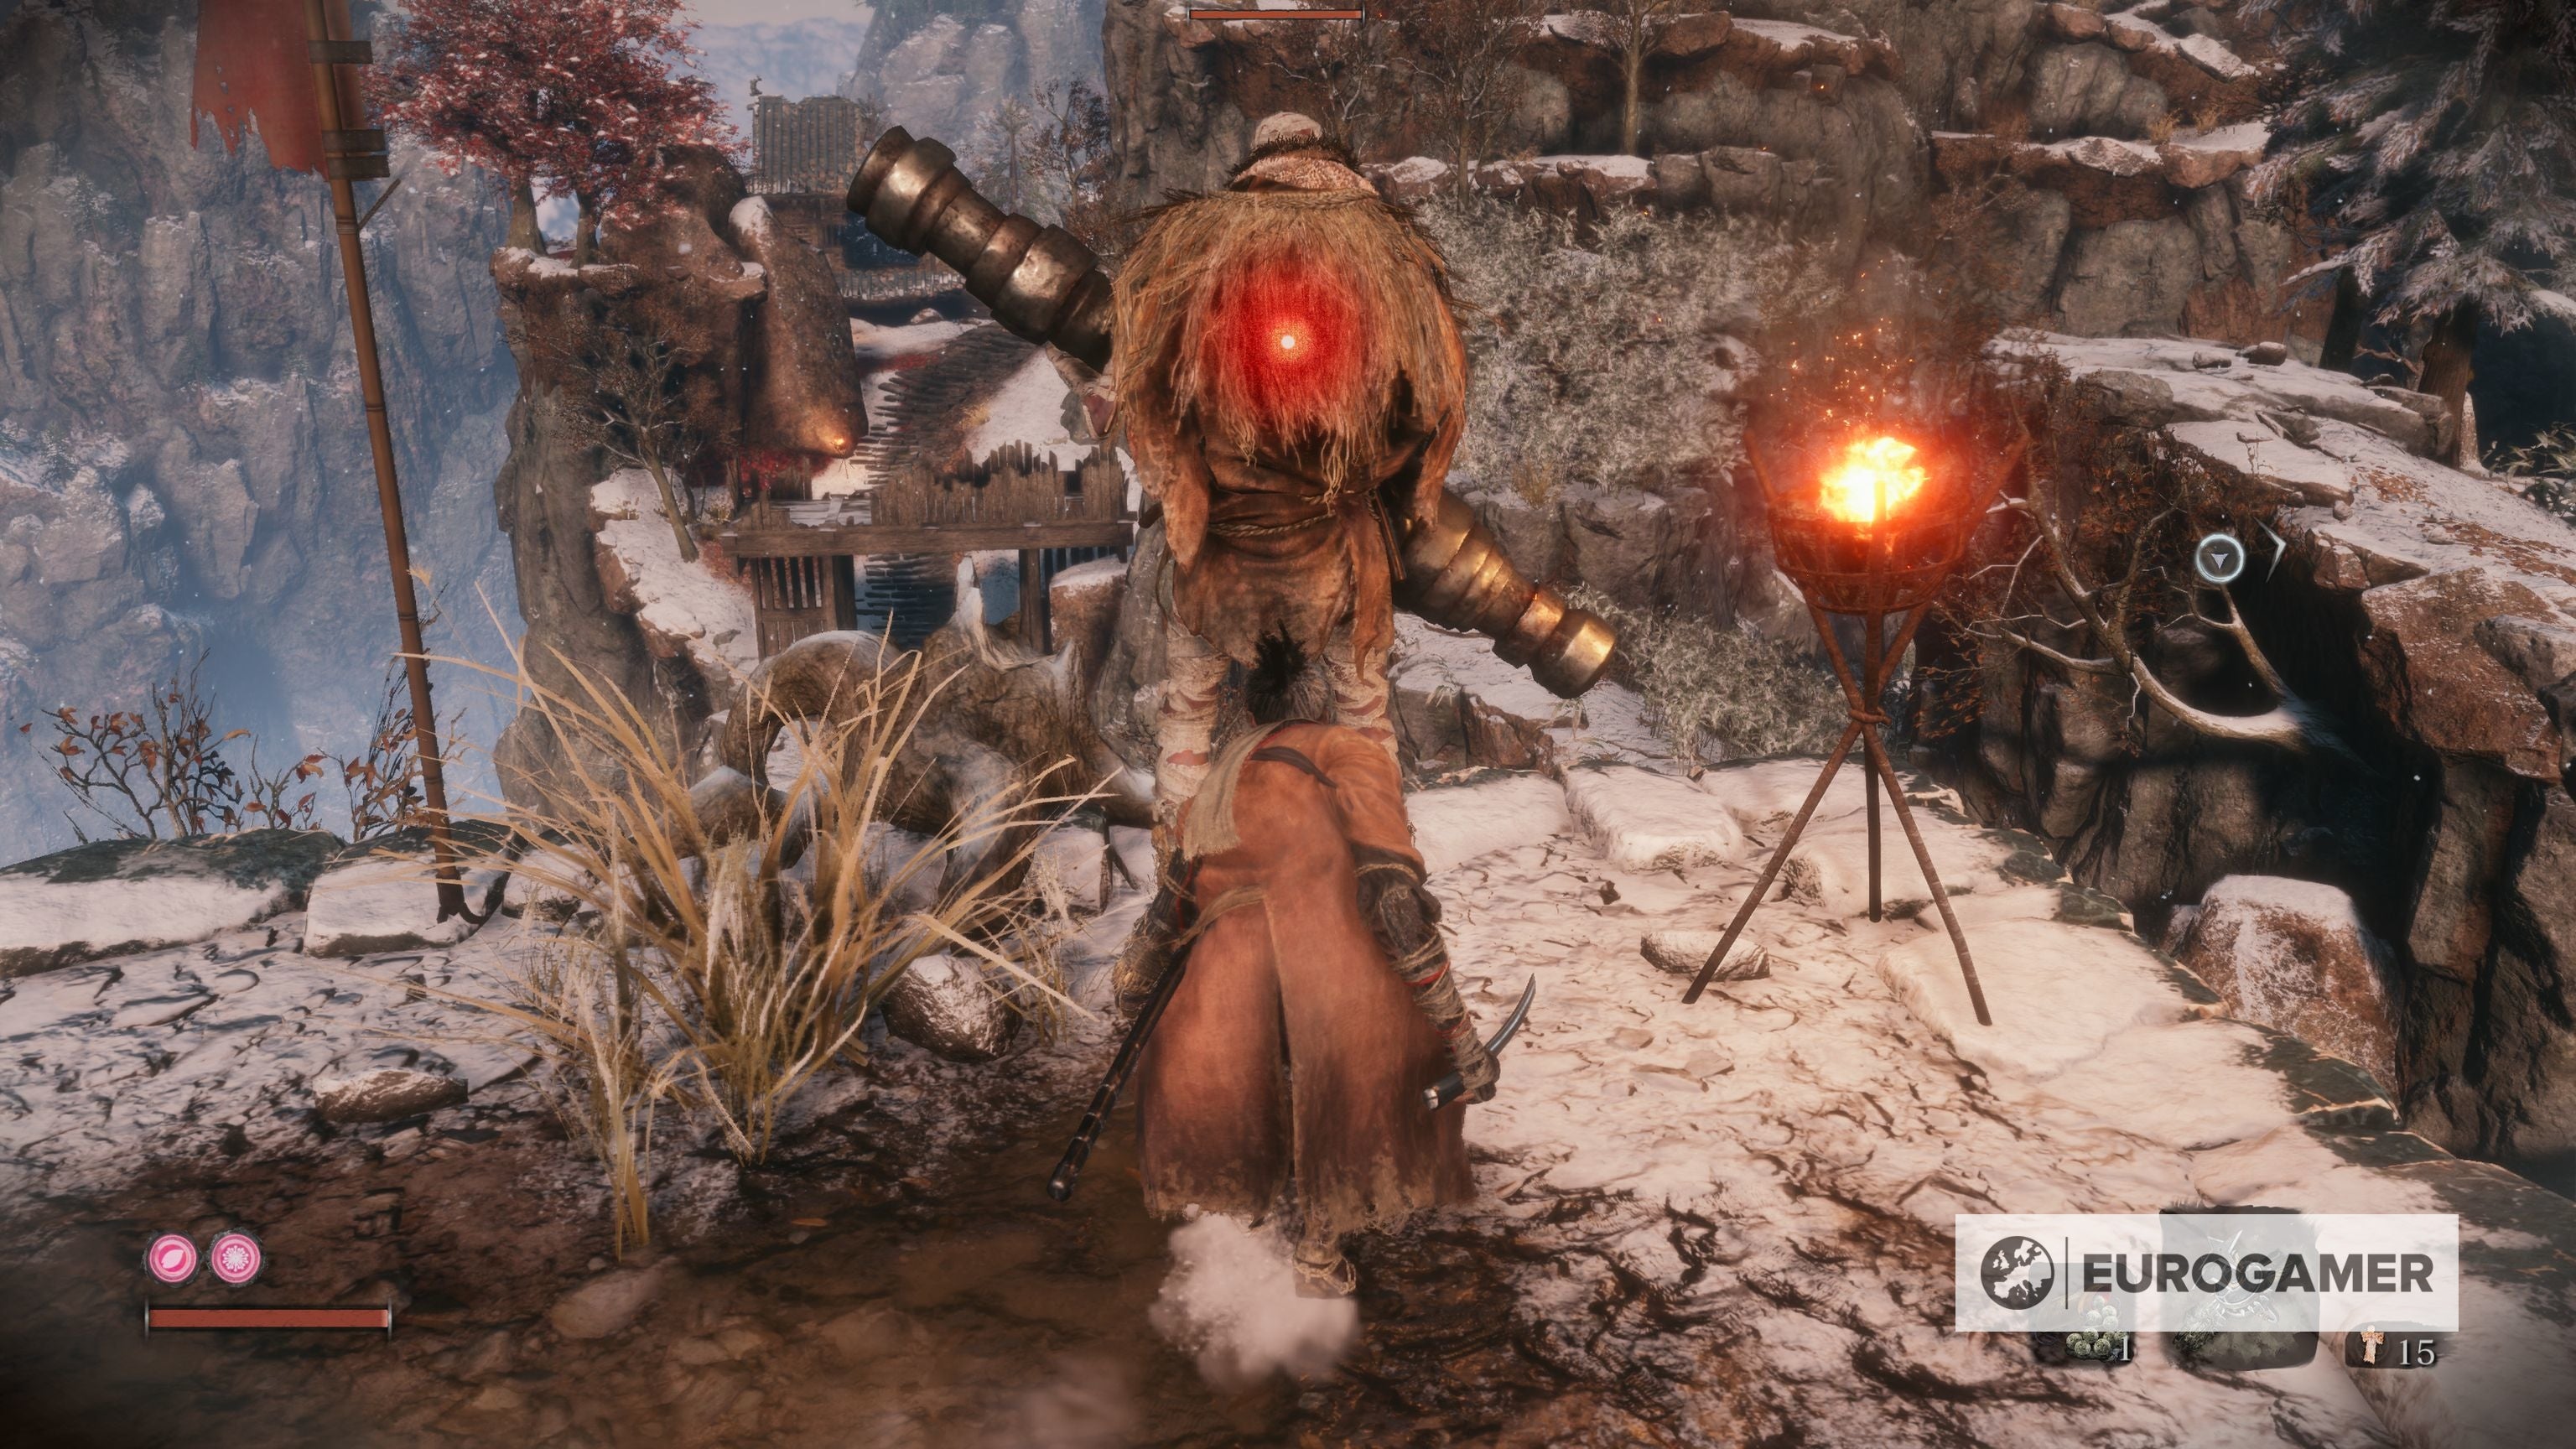
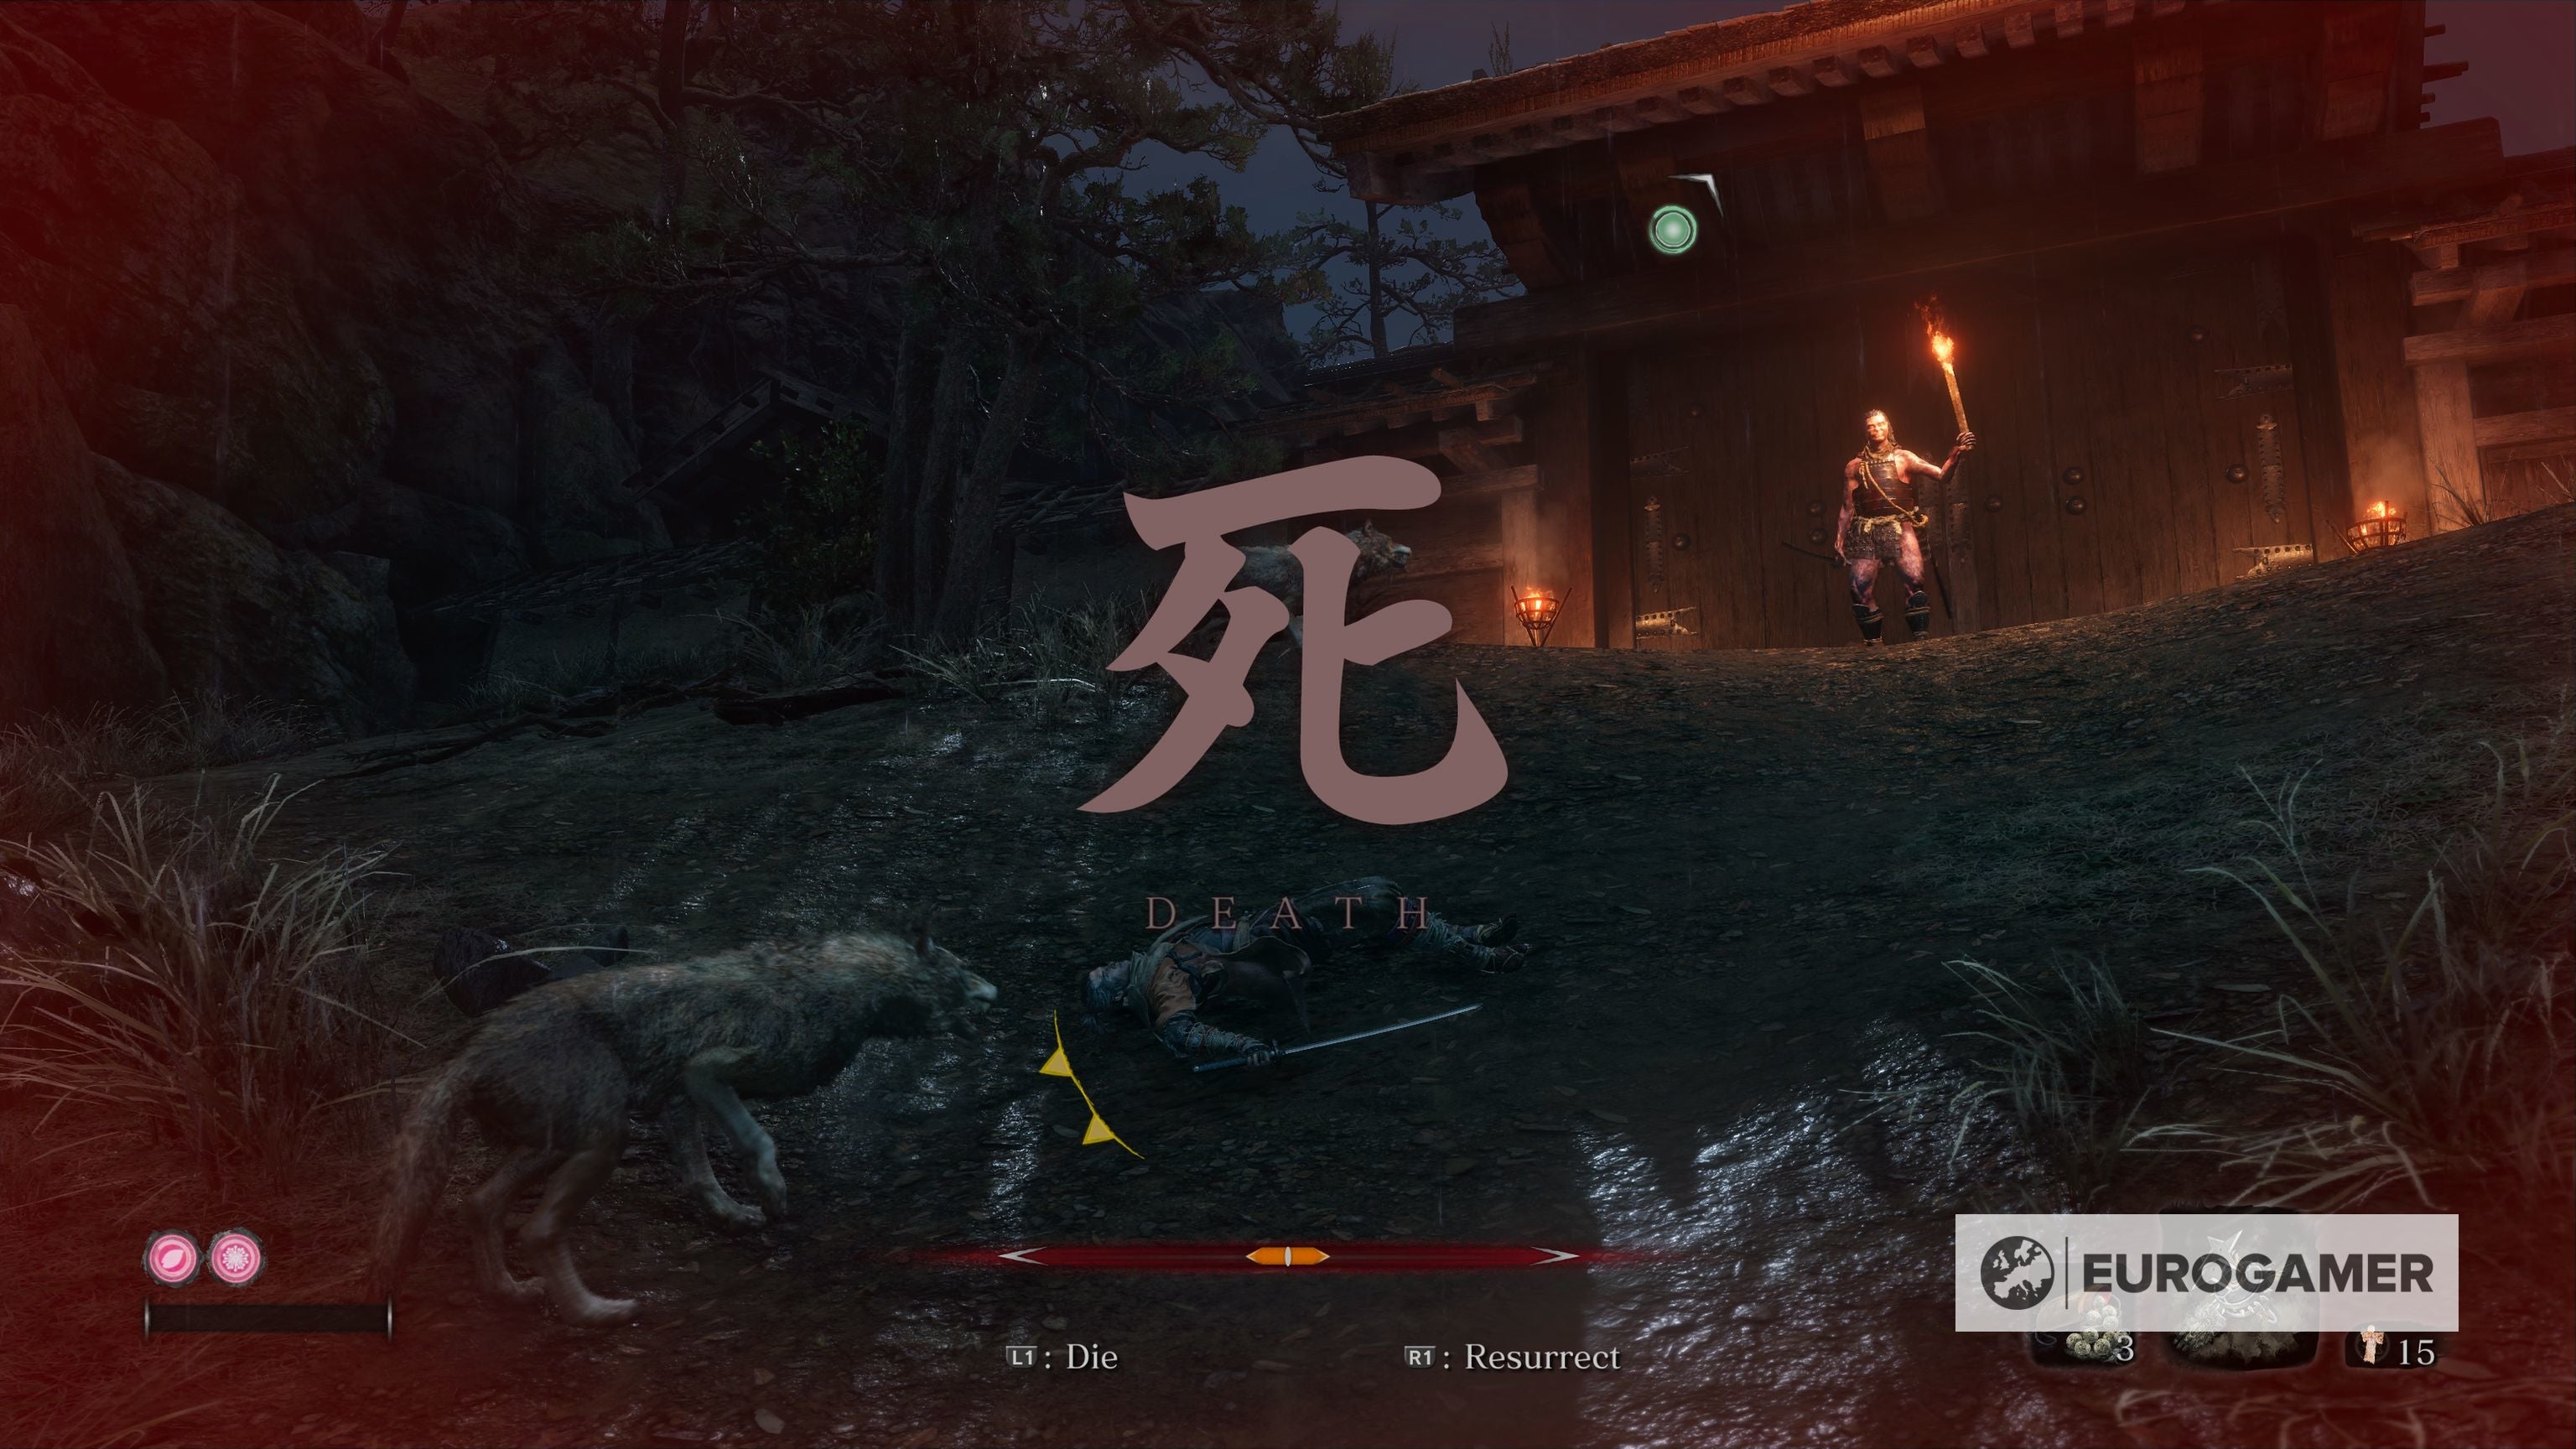
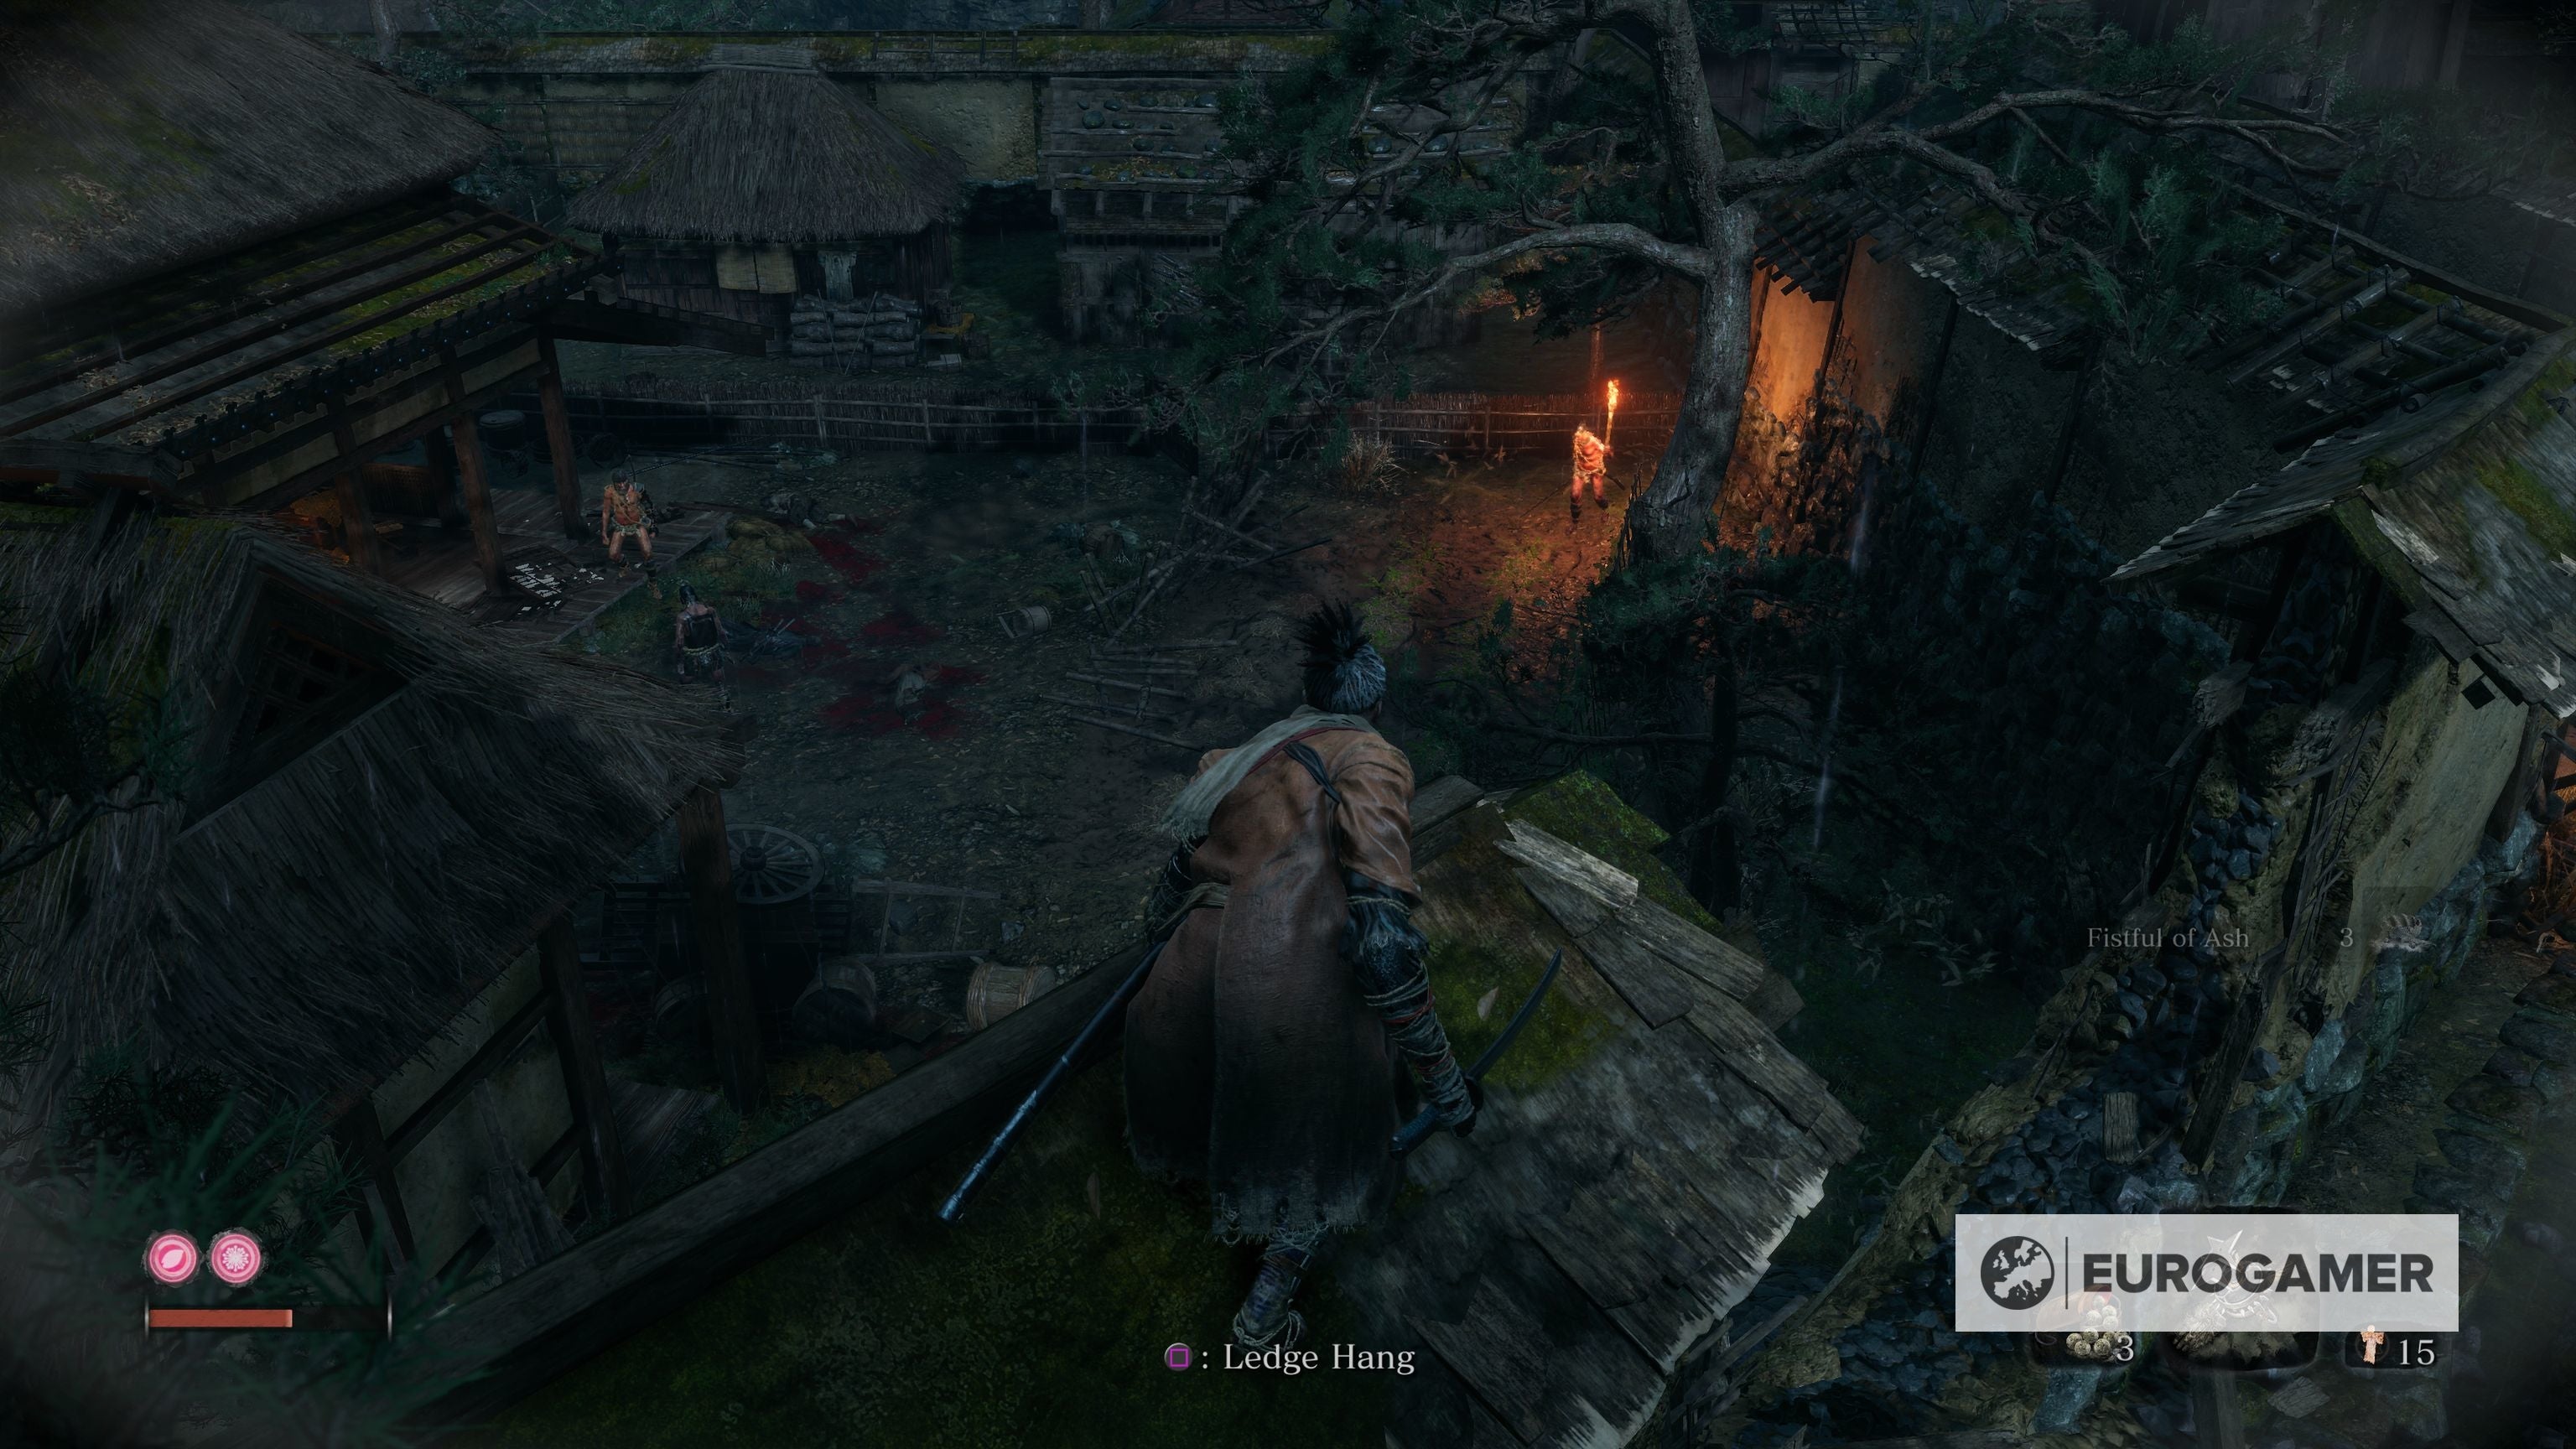
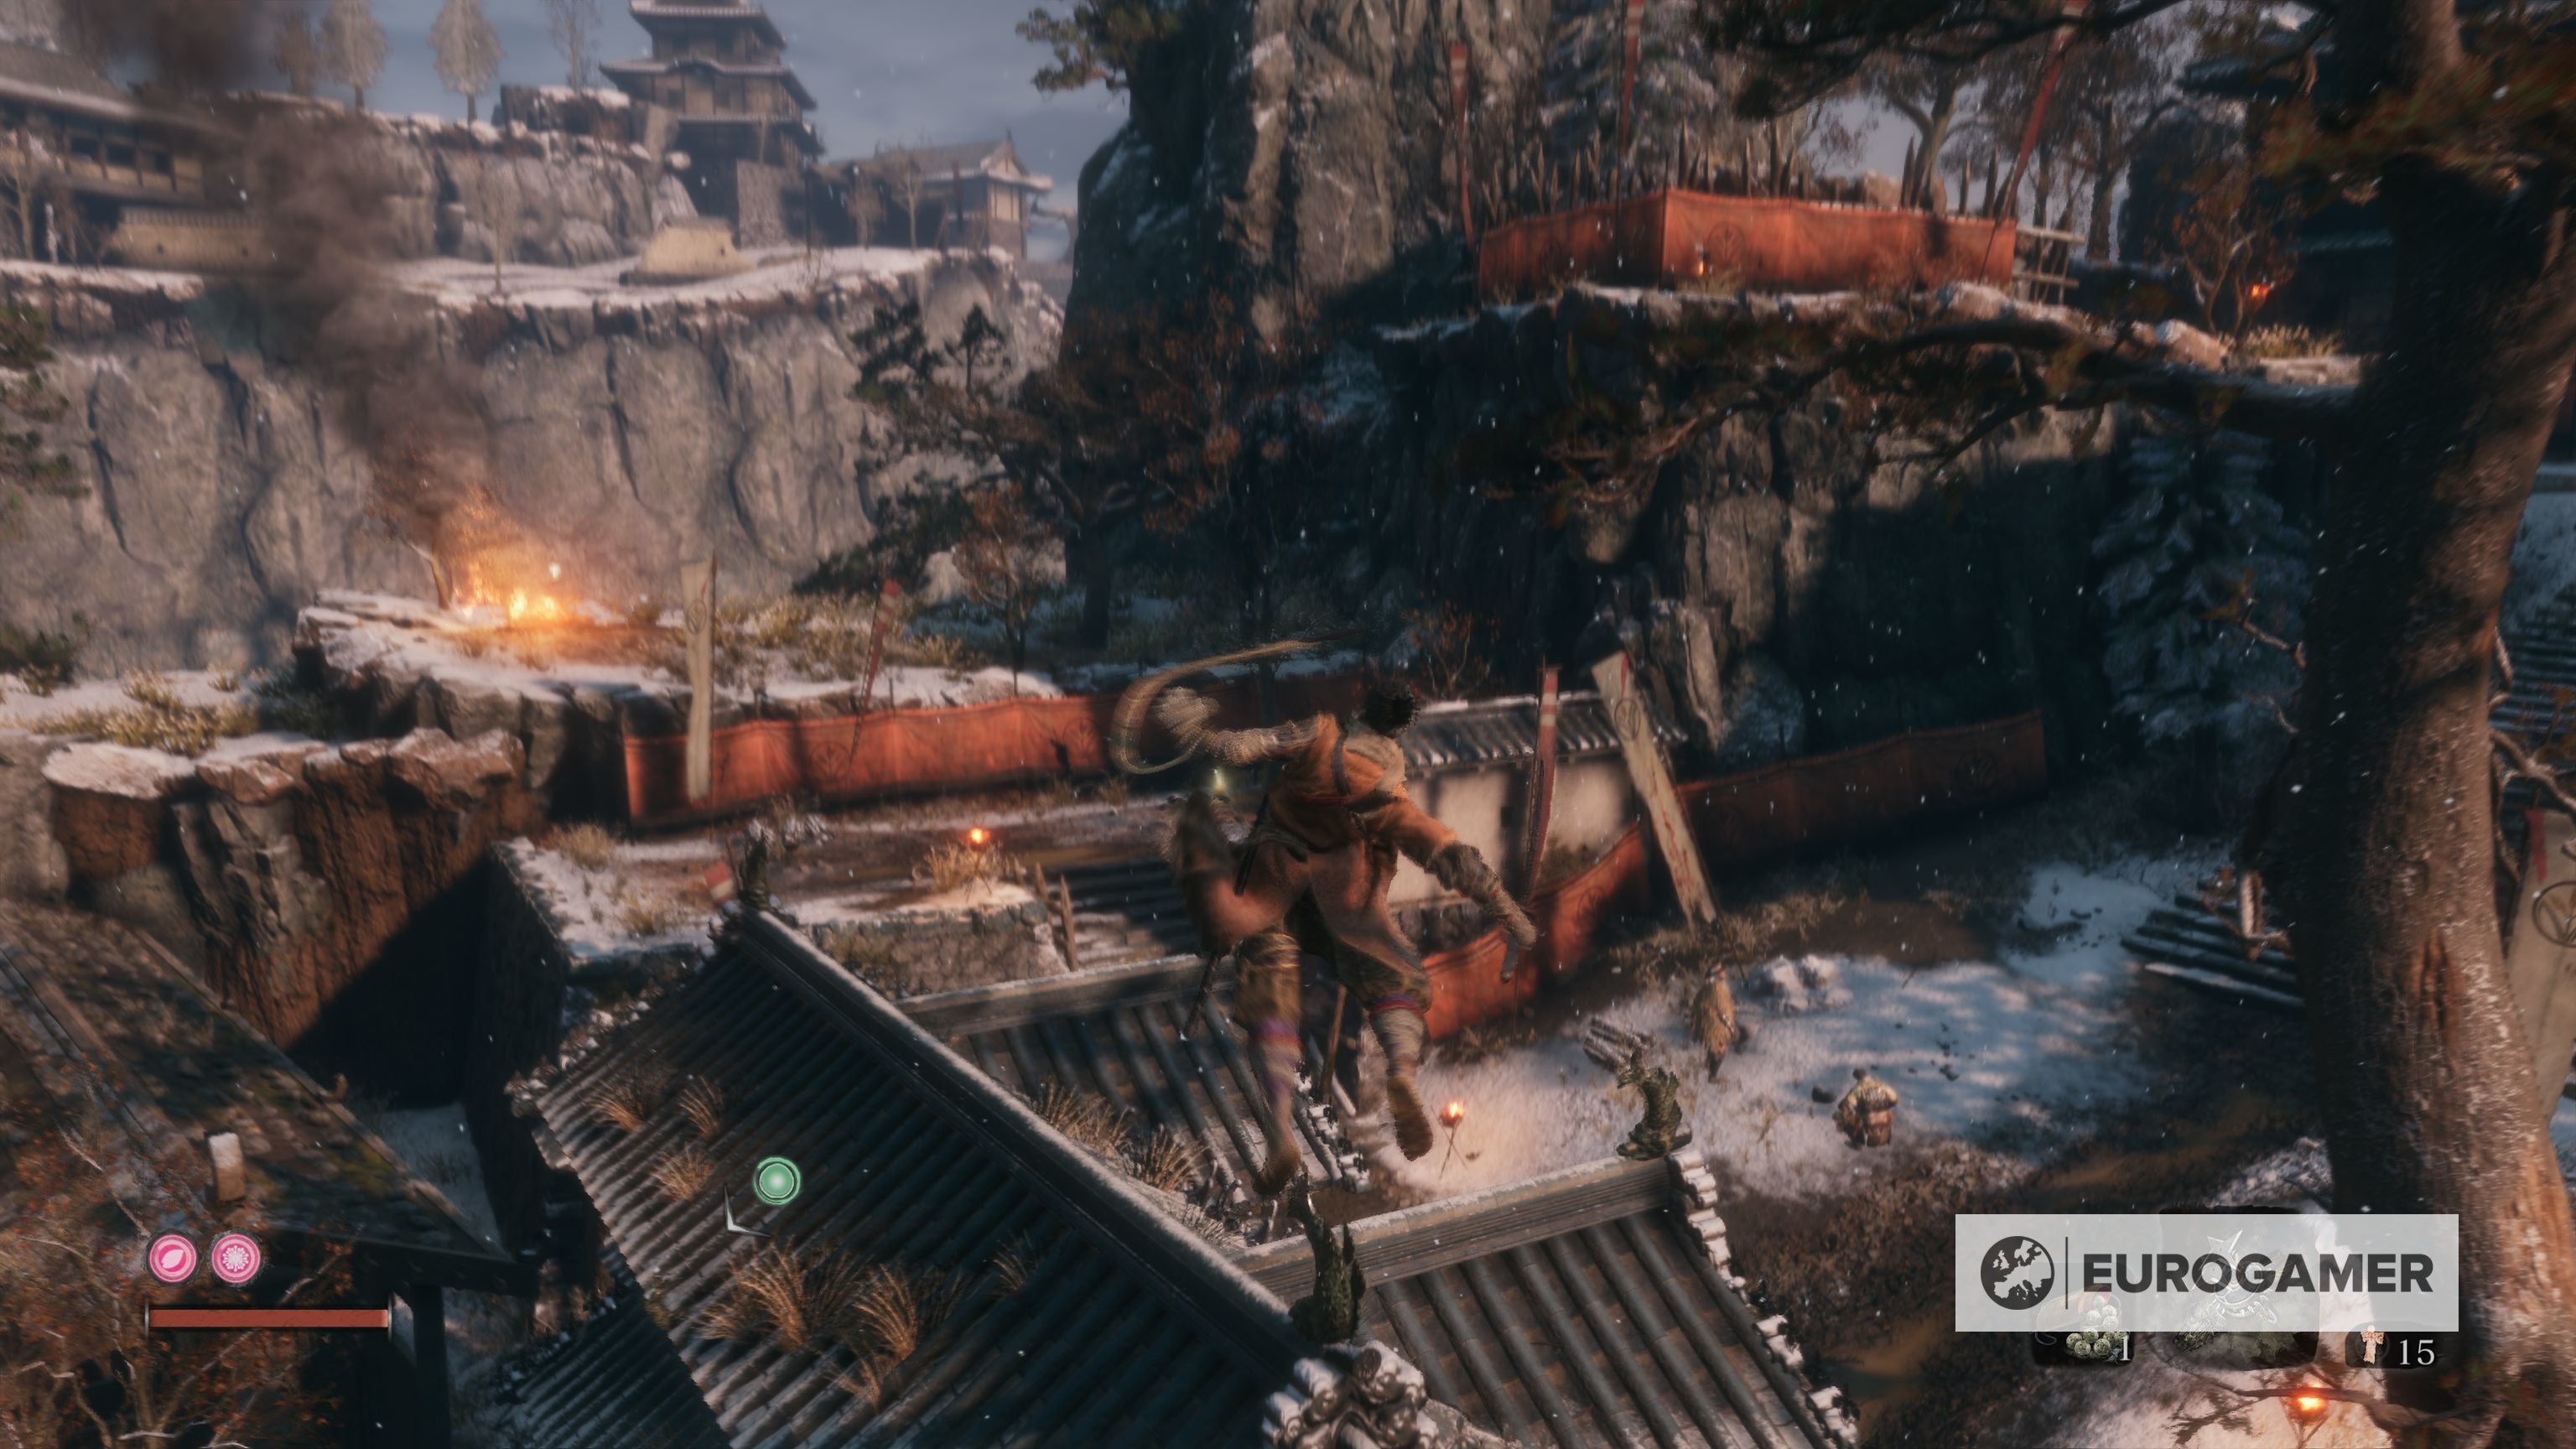
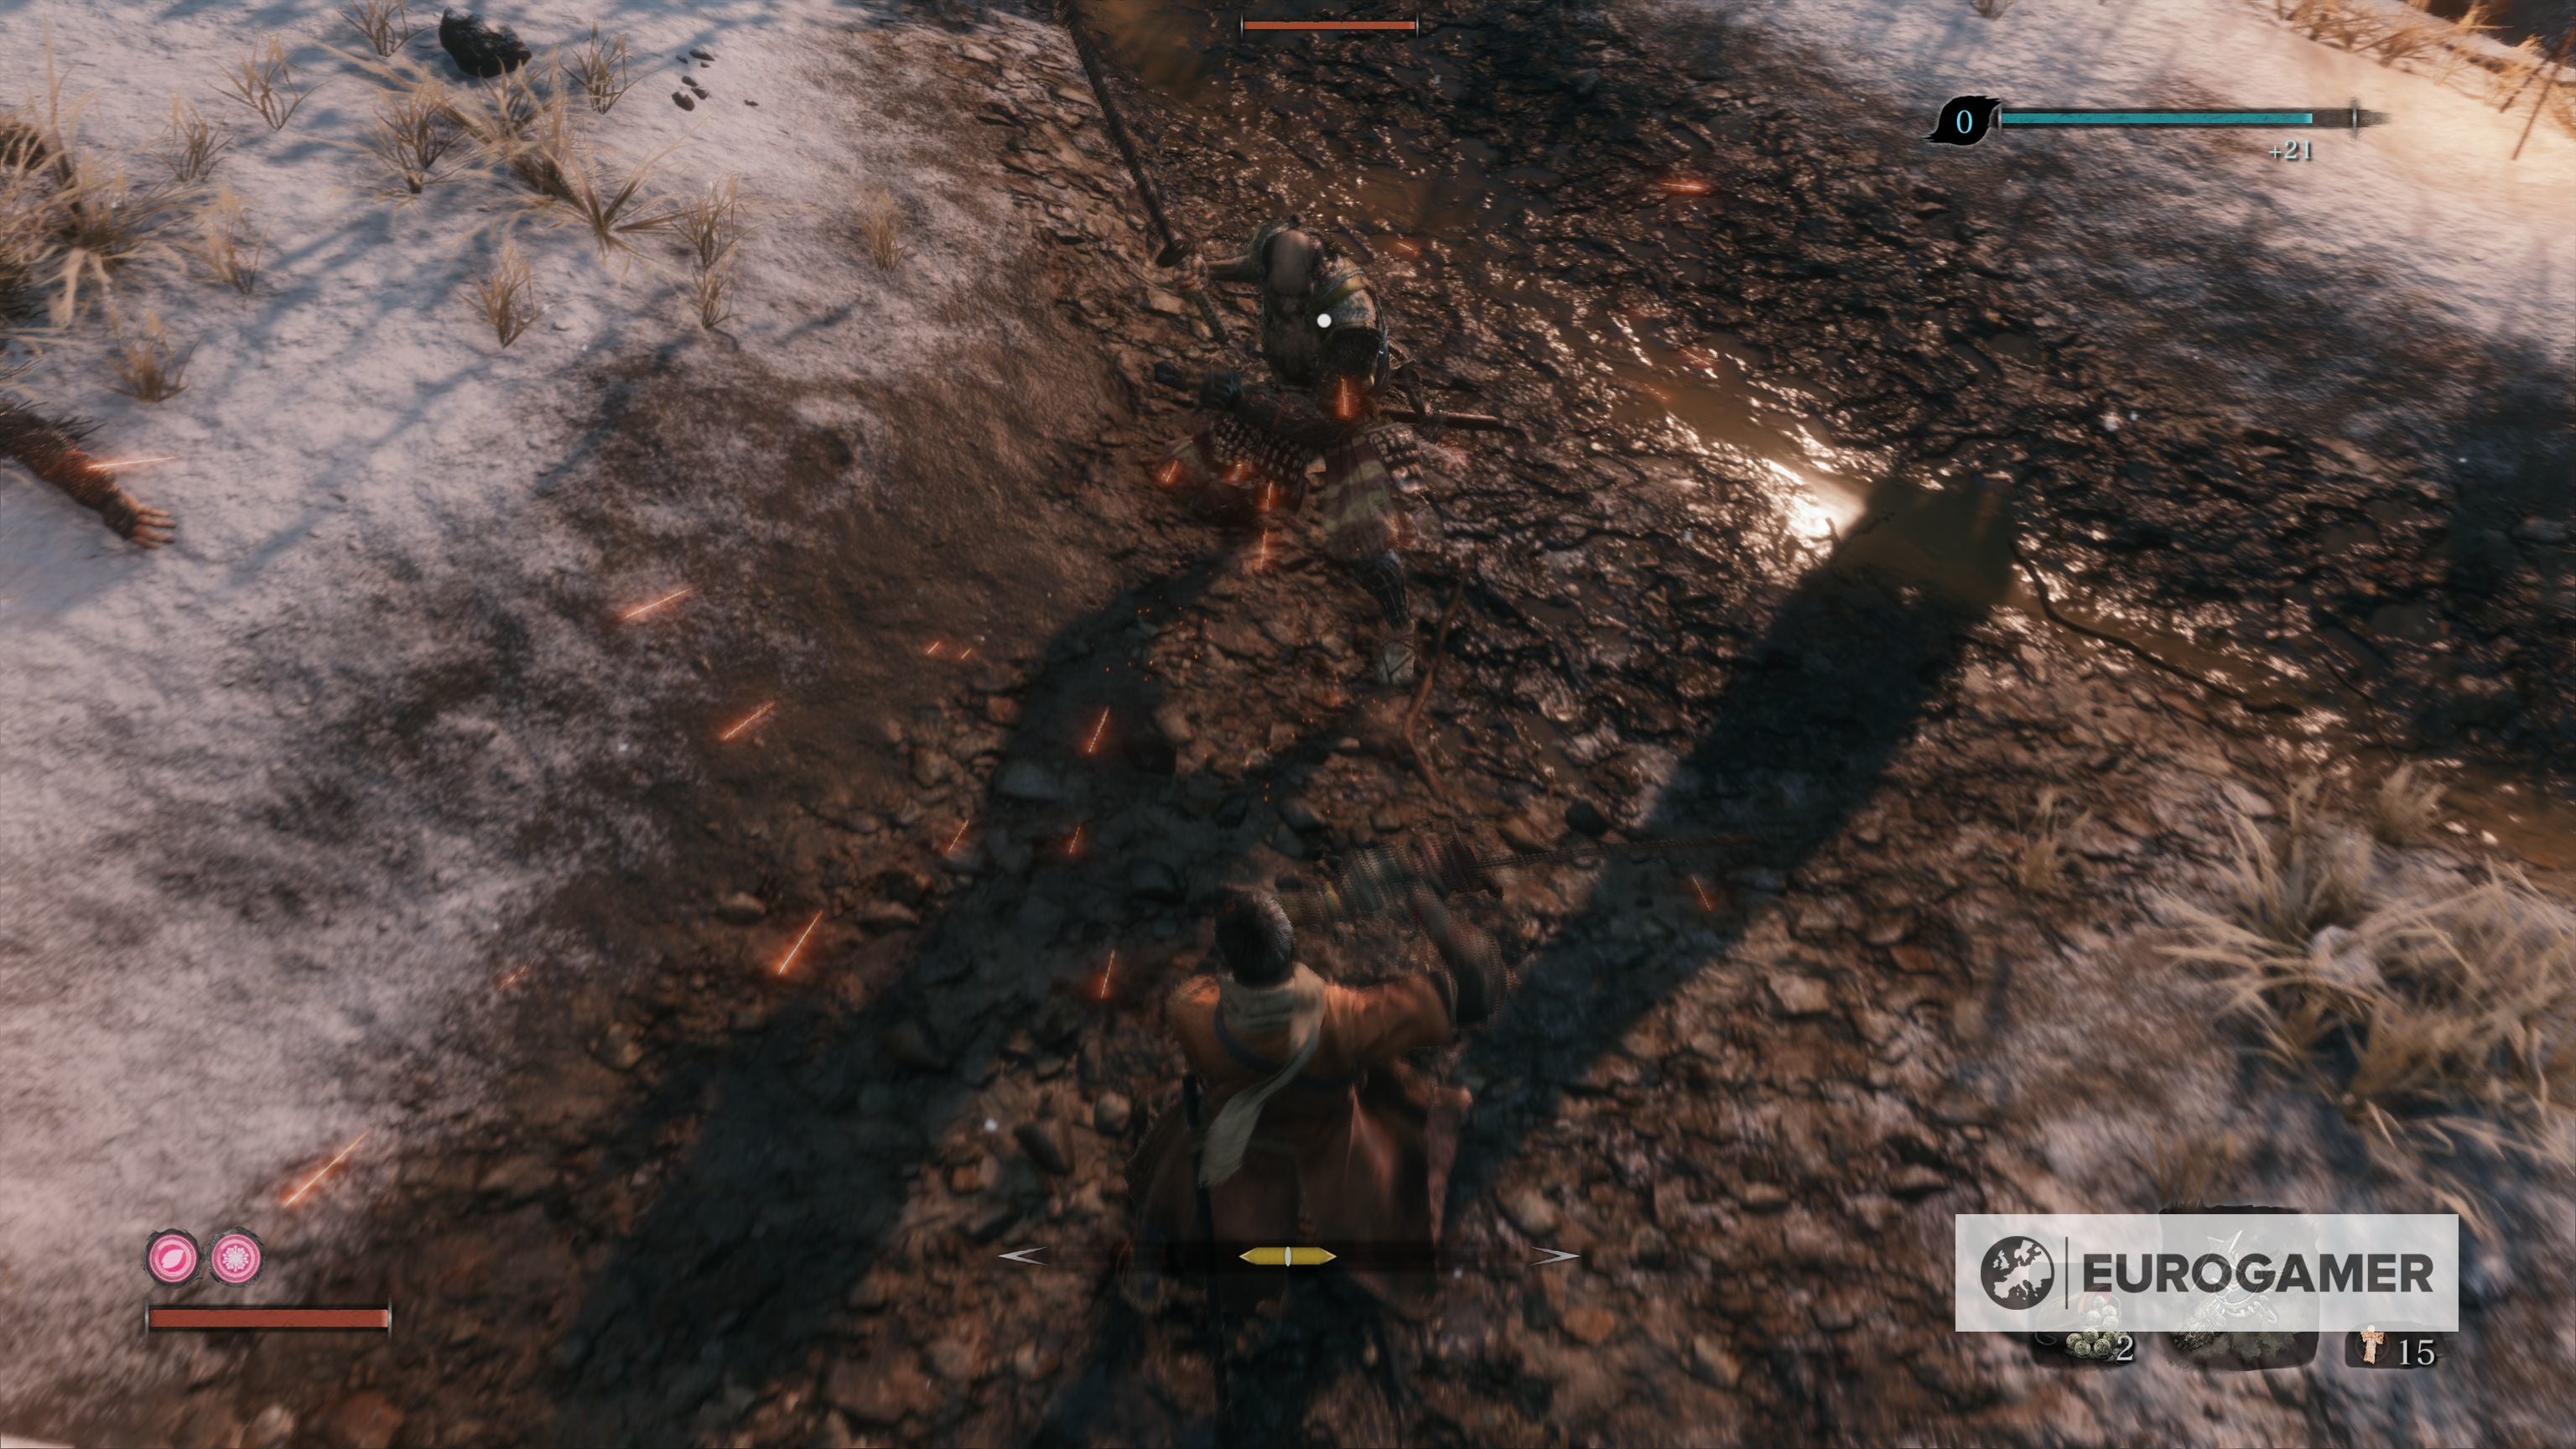
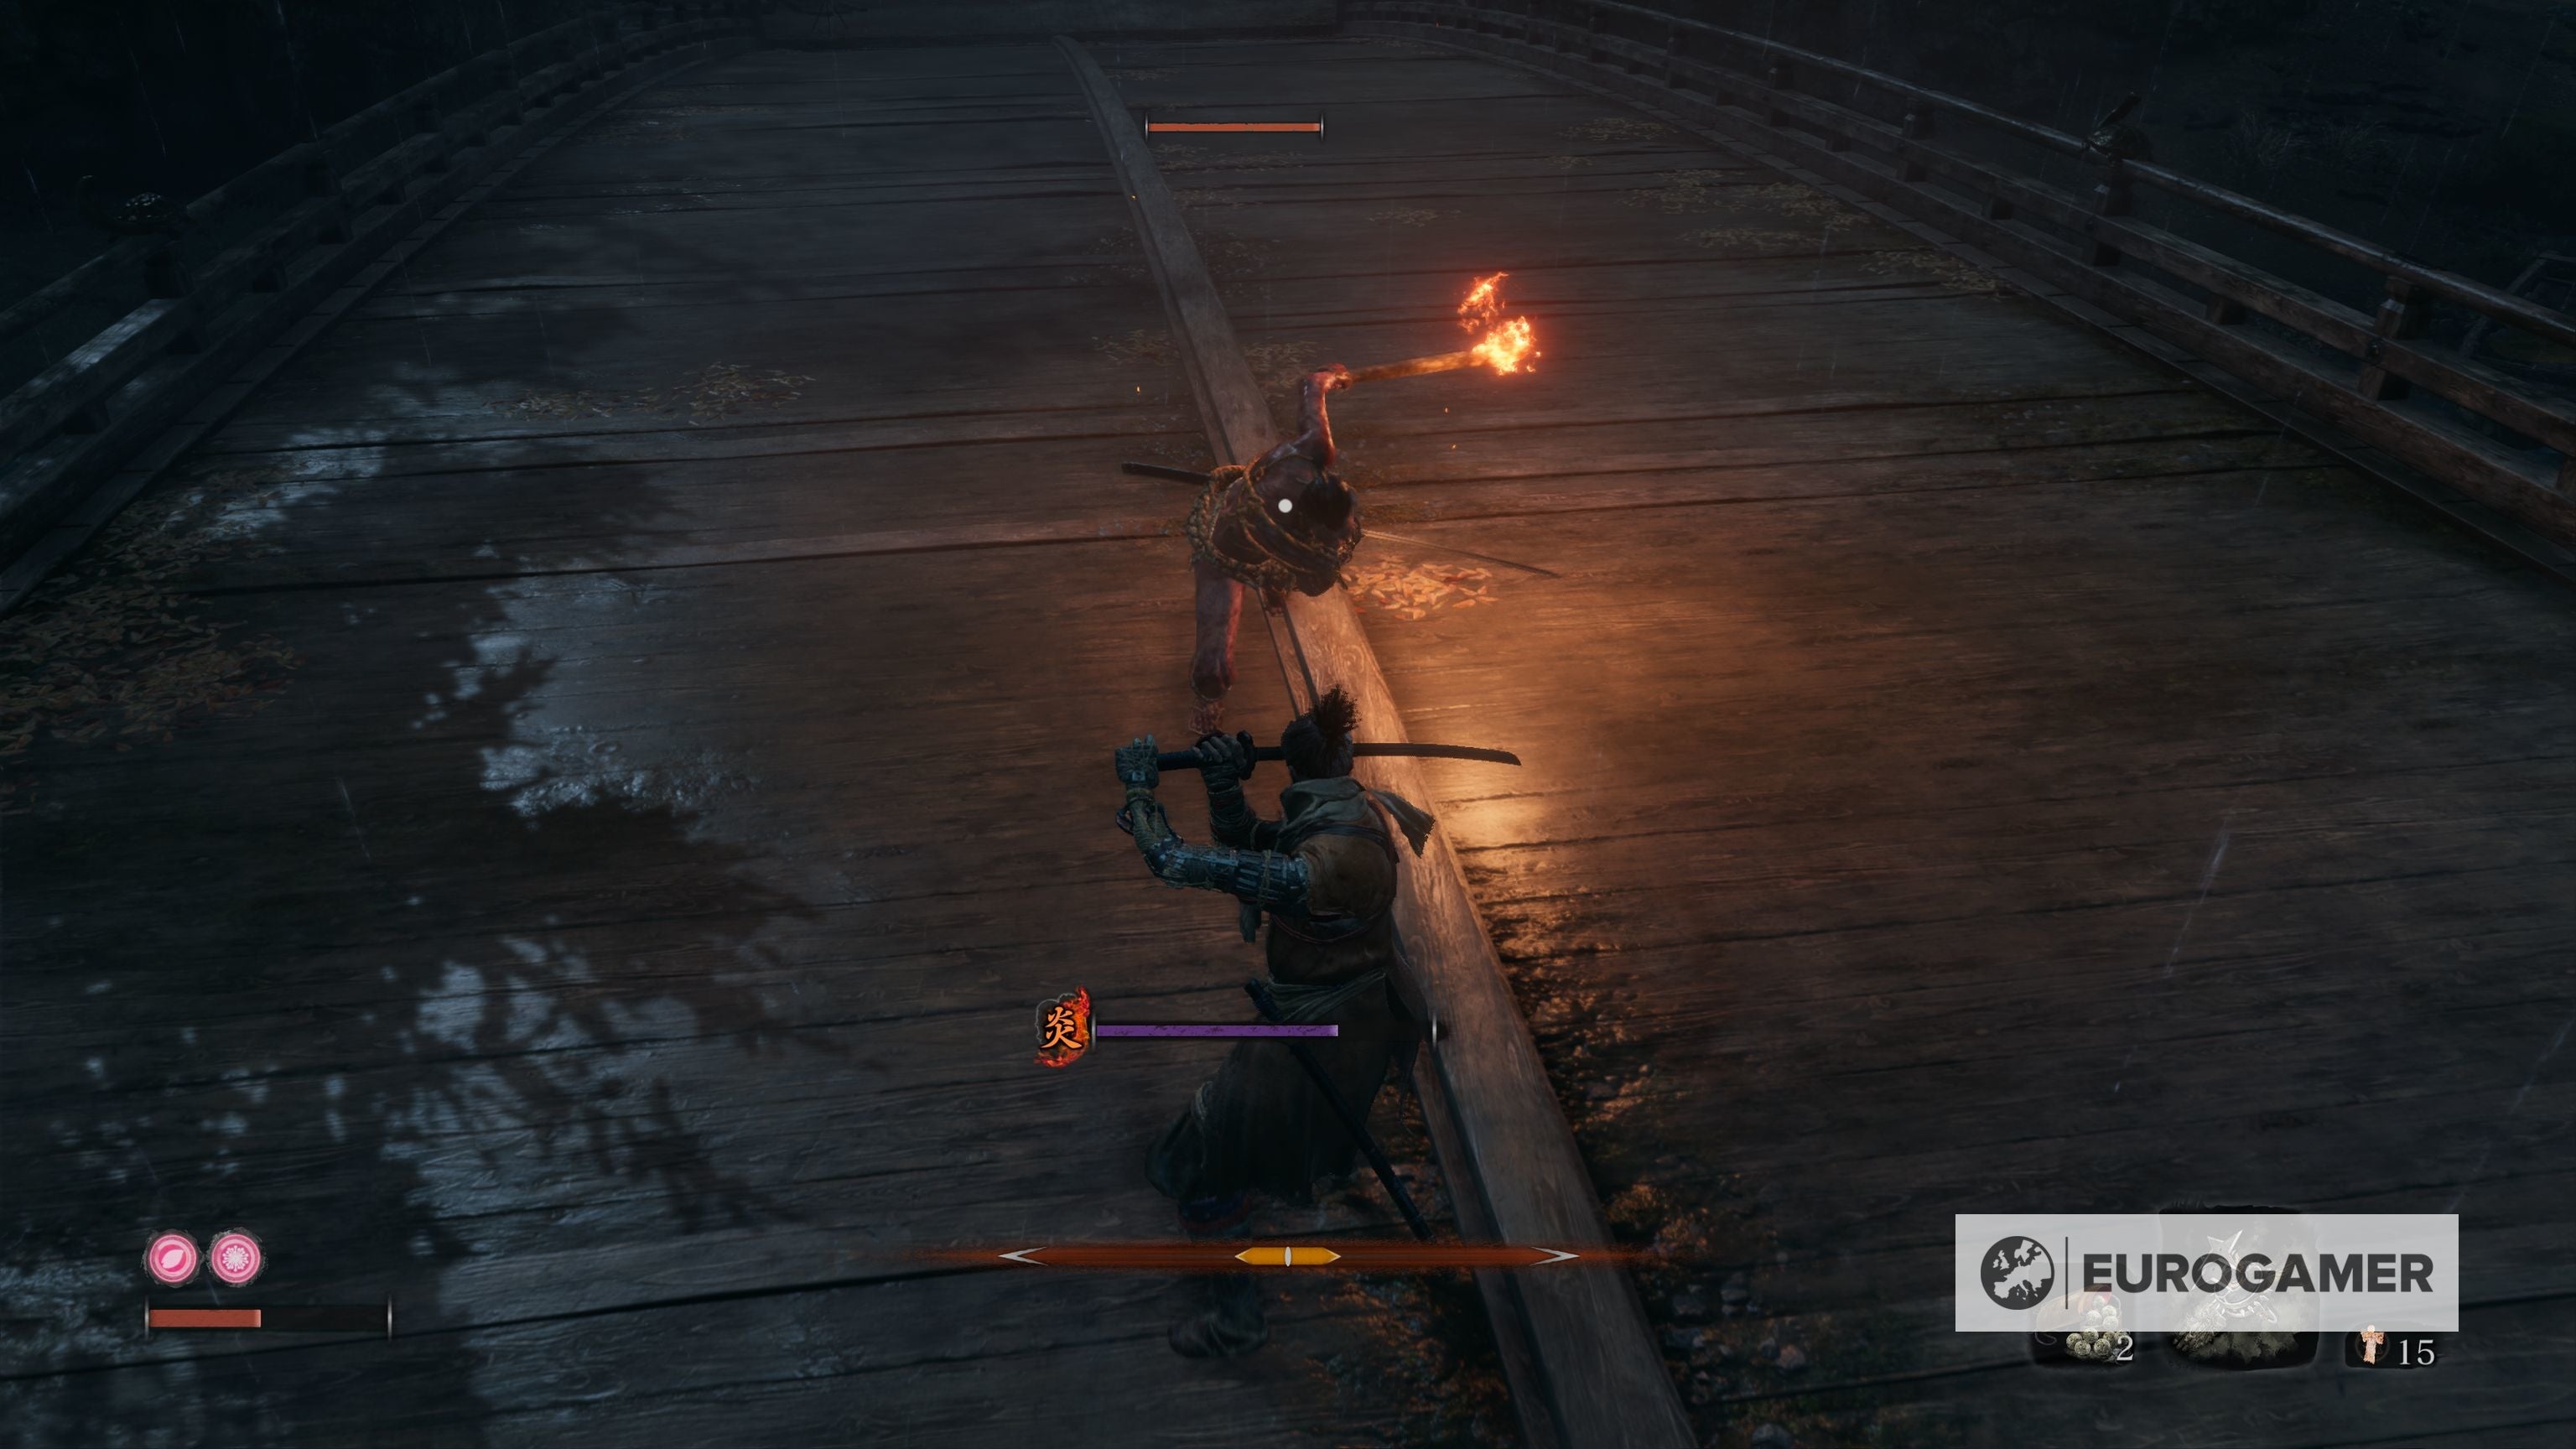
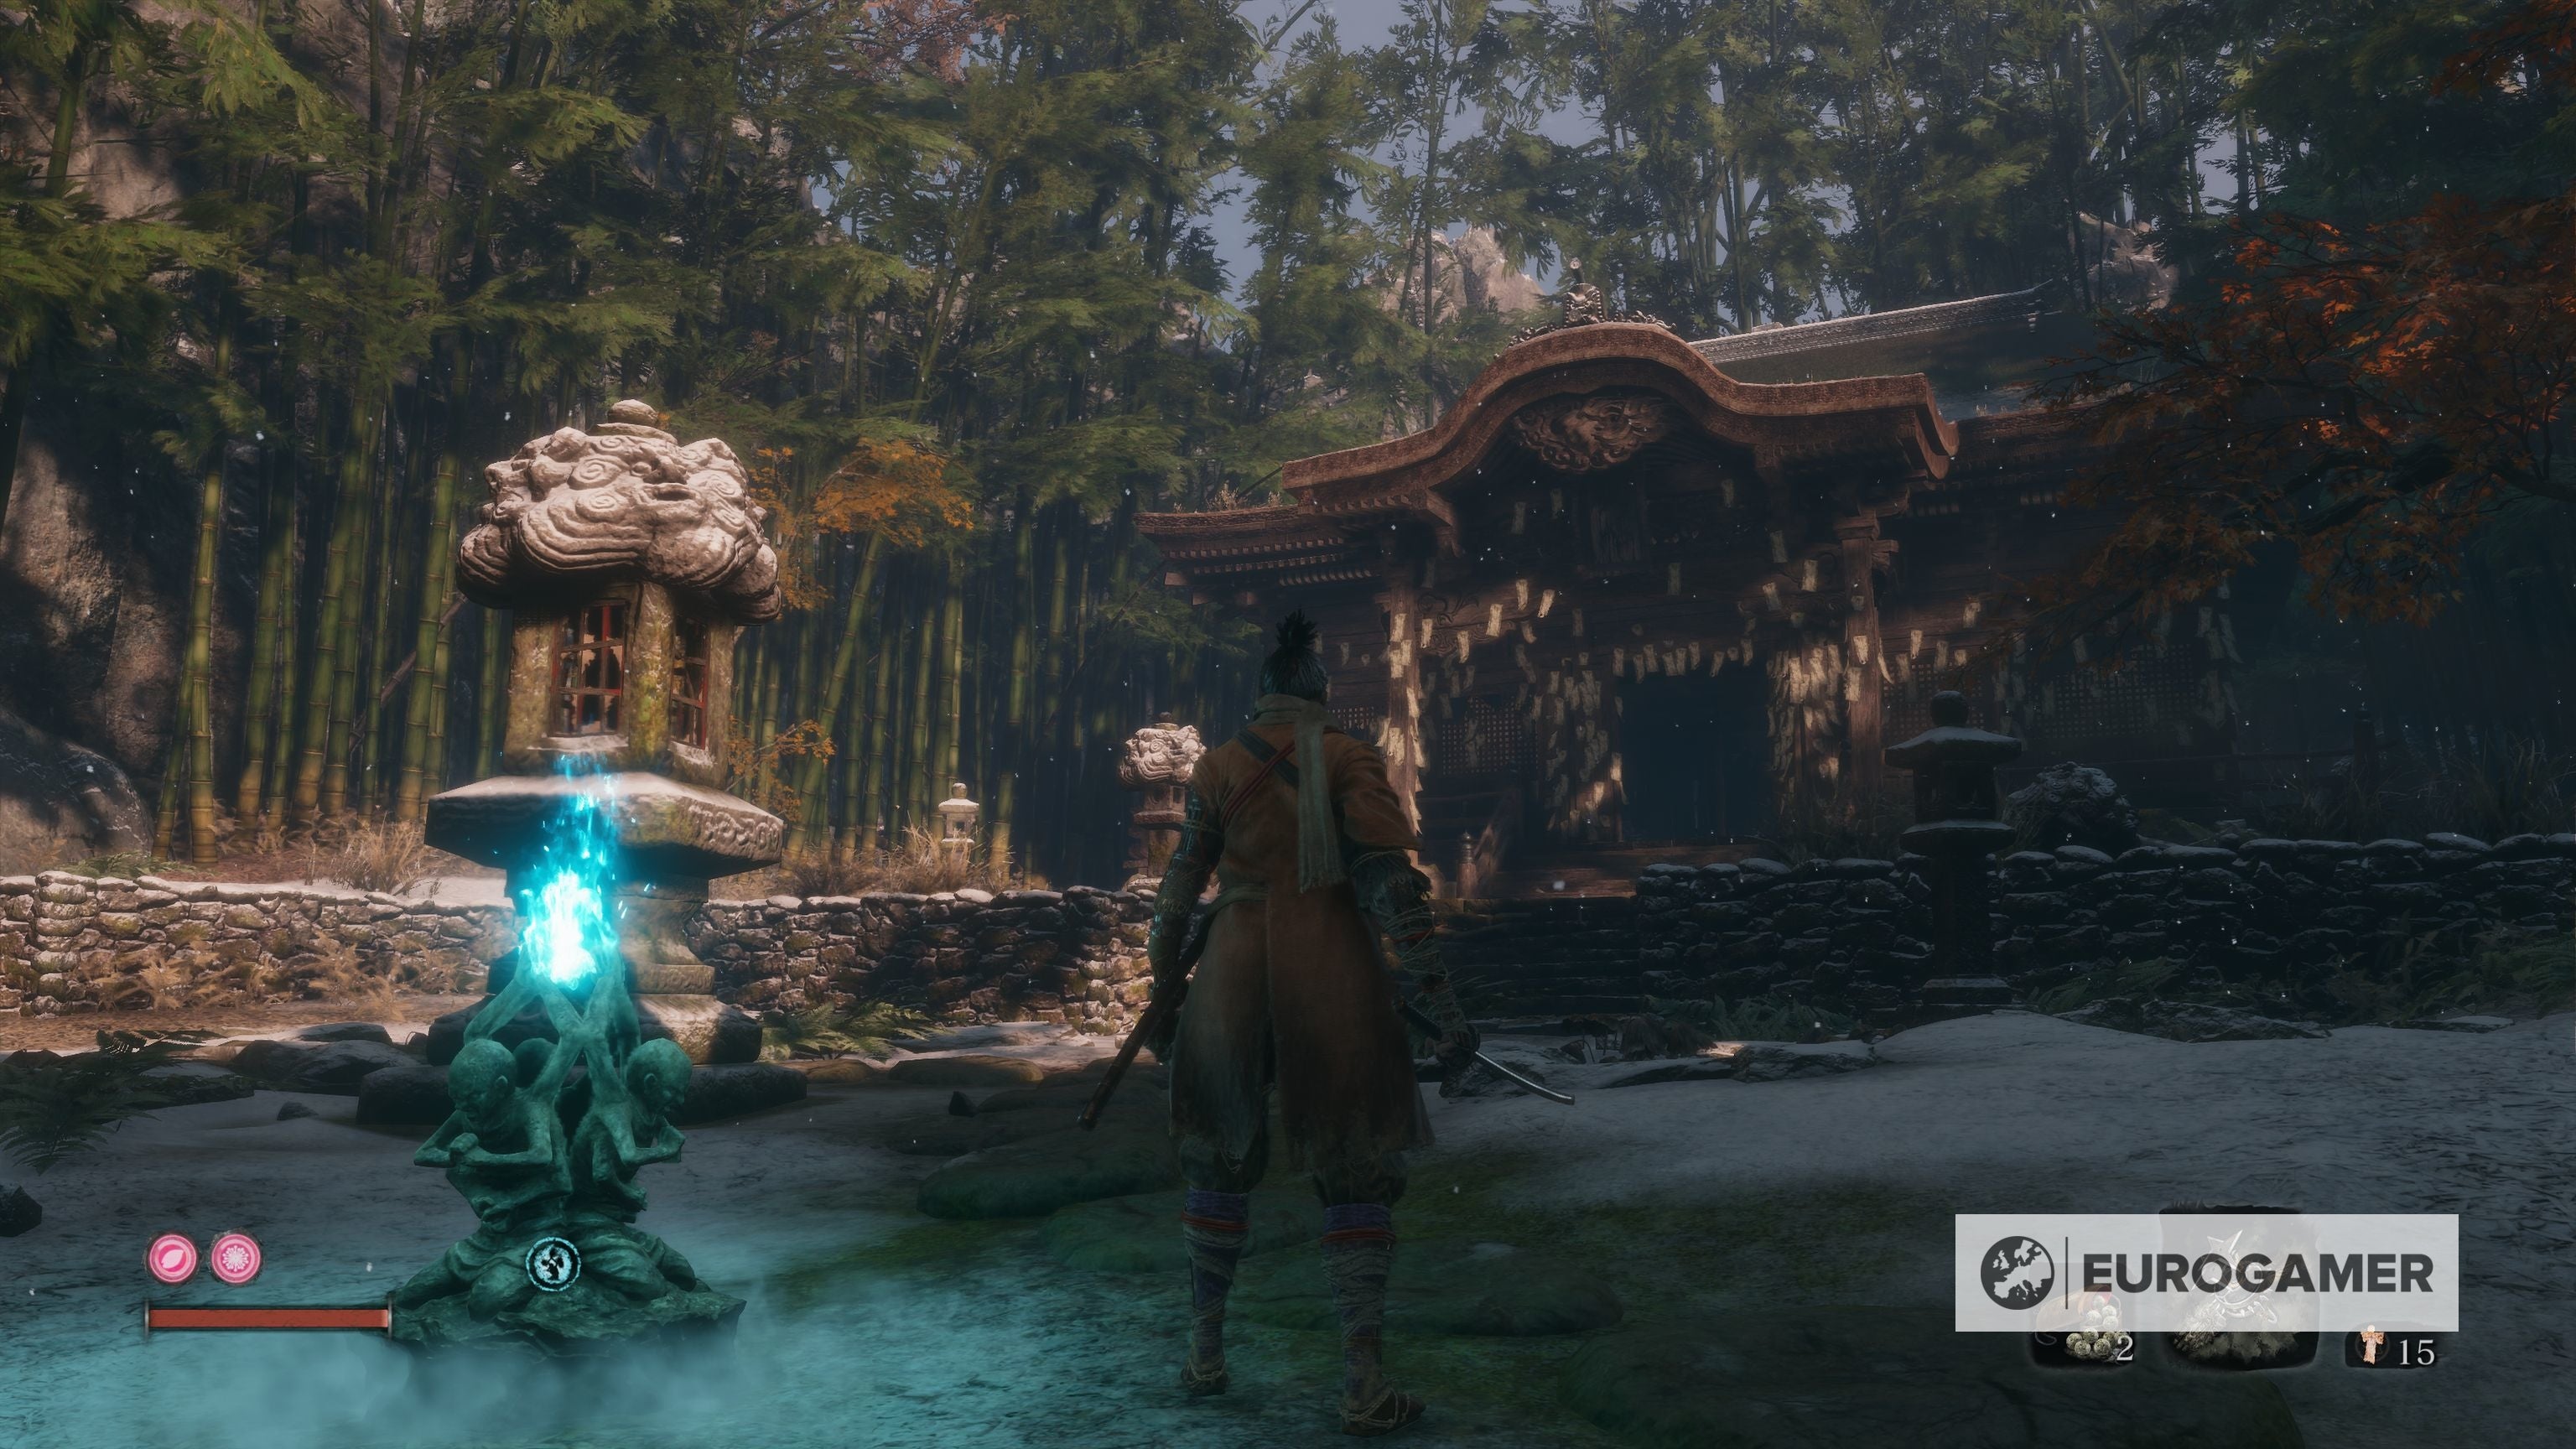
We’ve gathered all of our in-depth Sekiro guide pages over at our in-progress Sekiro: Shadows Die Twice walkthrough and boss guide hub, if you want a deeper look into some of Sekiro’s more difficult to understand mechanics - but for now, here are some easy-to-digest Sekiro: Shadows Die Twice tips that will help you get started, and not feel lost in its harsh world. Sekiro: Shadows Die Twice instead will punish you for dipping out, as your enemies will regain their Posture, meaning that it will be harder for you to whittle them down for a critical strike later on. If you instead keep up the offensive pressure, you will find that combat encounters will whizz by a lot faster than you think. In Sekiro you’ll find that the levels have a significant amount of verticality in them, and it’s there for a reason. Exploit the rooftops and ledges with your grapple to gain access to hidden areas, discover ledges to pull off silent attacks and more. This works especially well when you’re facing off against opponents that have some ranged capabilities: as long as you’re scoping out your surroundings, you should be able to easily find an approach to take them out silently and slip back into the shadows. As a result, if you do get a chance to go into a miniboss equipped with a few buffs ahead of time, do it! The items are there to be burned through and not stockpiled. In the simplest terms: if the item is helpful in that situation then use it. Items’ increased effectiveness means you will definitely see a big jump for a short period of time when using them, and they’ll often be the difference between life and death. This can be a little bit hard to figure out to start with, but it’s easier once the timing clicks. When you have locked on to an enemy and jumped off a ledge above them, their reticule will glow red - here, you’ll want to hit the attack button to lay down a devastating execution attack that will take out most low-level enemies and take off a good chunk of health on Bosses and Minibosses. You’ll only get one change to pull this off, however, as if you whiff the timing, you’ll be at the whims of your enemy’s blade. This allows you to kill a lot of low-level enemies with a well-timed stealth attack (again, when the target reticule turns red), and will also allow you to slowly whittle down the pack of enemies to something a little bit more manageable. If you manage to keep this up, you might even be able to get through an entire level unseen. Shadows might die twice, but your enemies only die once. It’s better to wait. Immediately after you fall, enemies will disperse slightly, allowing you to get a little bit more breathing room before your counterattack. If you planned out your attack before death, then you will be able to engage the already-depleted enemy again and have the upper hand; or, choose a different approach and attempt to retreat after being downed once. It will also allow you to use a homeward Idol to take you to the nearest rest area if you’re really struggling. Rush into using it, though, and you may well be rushing into a proper “death” - and lose everything. Additionally, other paths may house NPCs or loot that you will be able to bring back to the Dilapidated Temple, letting you unlock some more of the game’s dark history and secrets. In other words, it’s always worth thoroughly checking out your other options in Sekiro before slamming your head against a brick wall. Remember to take a break, and check out your surroundings. There is, also, a fairly high penalty for death in Sekiro, including a mechanic that, without spoiling anything, will make your life even harder the more you die. If you still want to keep all of your stuff, it’s best that you try to run - it might be hard for the prideful of you out there, but it will certainly help you out in the long run. This will also help you to understand when to attack, dodge, jump and retreat. Deflecting an enemy attack will also help to break the duelling deadlock. Once an enemy has their posture meter fully filled out, then you will be able to do a critical attack, and kill them in one hit. A lot of Sekiro’s combat relies on an understanding of the posture system and critical attacks, so be sure to get your practice in during the early stages of the game - get the skills right early on, even when you don’t feel you need to, and it’ll pay off down the line. The enemies won’t take your deflections lightly, and more often than not you will come up against an attack string that you will then need to perfectly deflect in order to get your counterattack in. Luckily, the deflect window is pretty forgiving, and you will be deflecting attacks in quick succession in no time. Just be sure to get some practice deflecting over at the Dilapidated Temple against Hanbei the Undying and you will have the timing down and be ready to take on the rest of the game. Looking for more Sekiro pages like this? First up, the first main Sekiro patch notes for update 1.03 are live. Otherwise, our Sekiro boss guide, boss list and walkthrough hub has everything in one place, including pages on Lady Butterfly, Genichiro Ashina Way of Tomoe, Folding Screen Monkeys, Corrupted Monk, Guardian Ape, Great Shinobi Owl, Emma and Isshin Ashina, True Corrupted Monk, and Divine Dragon. We also have in-depth pages like Sekiro tips and tricks to get you started, Sekiro Skills, skill tree and Esoteric Text locations explained, our deep dive on the Sekiro combat system, Posture, and Perilous Attacks, or details on all Sekiro Prosthetic Tool locations, how to cure Dragonrot and Rot Essence in Sekiro, Gourd Seed locations, a Divine Confetti farm route method, all Treasure Carp Scale locations, all, Prayer Beads locations and all Snap Seed locations, too. And when you’re ready - the how to beat Isshin Sword Saint and an Isshin Sword Saint cheese, plus the many Sekiro endings. There’s no harm in taking a little break, too - or sparring against Hanbei, who will let you hack him to death to practice your Shinobi skills or Prosthetics as you get them. In general, it’s also helpful to exhaust all NPC dialogue before progressing, as you will often find out some helpful tips that may lead to a discovery when exploring areas of the game. If the enemy is lunging towards you, you’ll want to time a deflection and counter. If the enemy is going in for a grab, you will want to dodge left or right and out of the way. If the enemy is about to do a sweeping attack, you should jump back and out of harm’s way. Thankfully we’ve found these attacks are usually pretty well telegraphed, and you’ll just need to follow the actions of your enemy and react accordingly. Simple enough - on paper, at least!