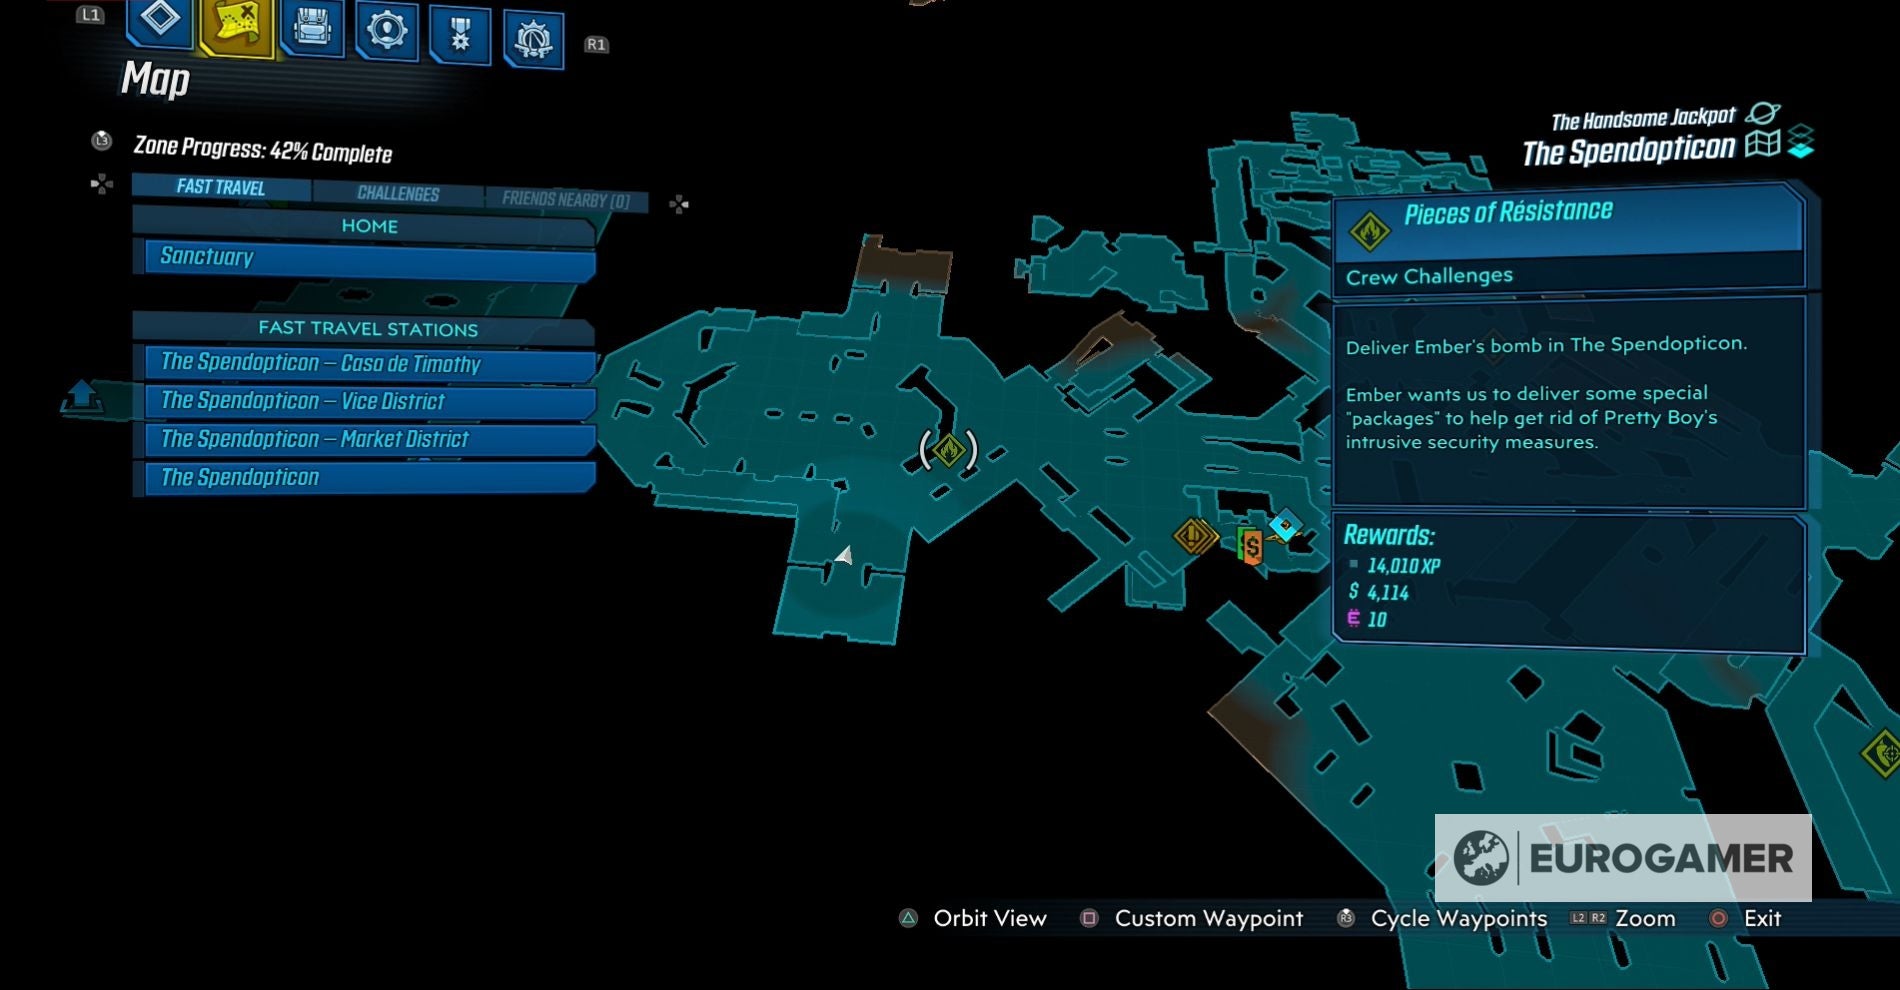
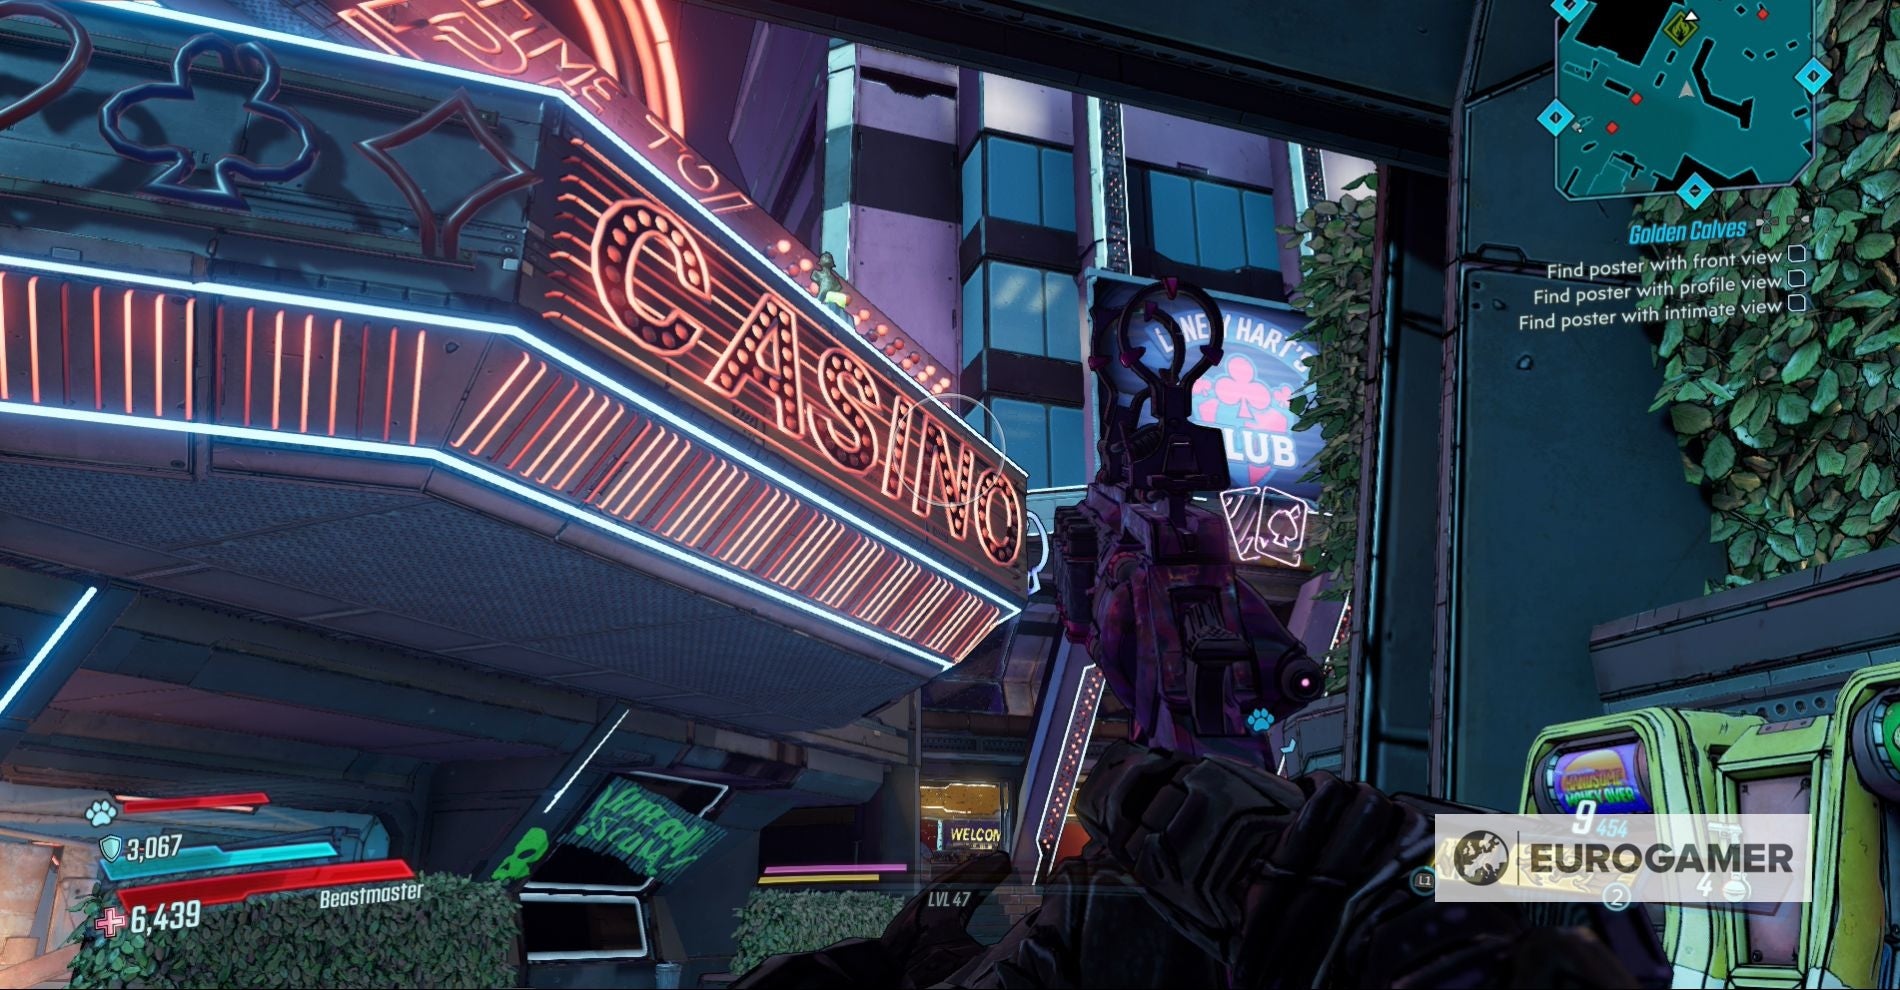
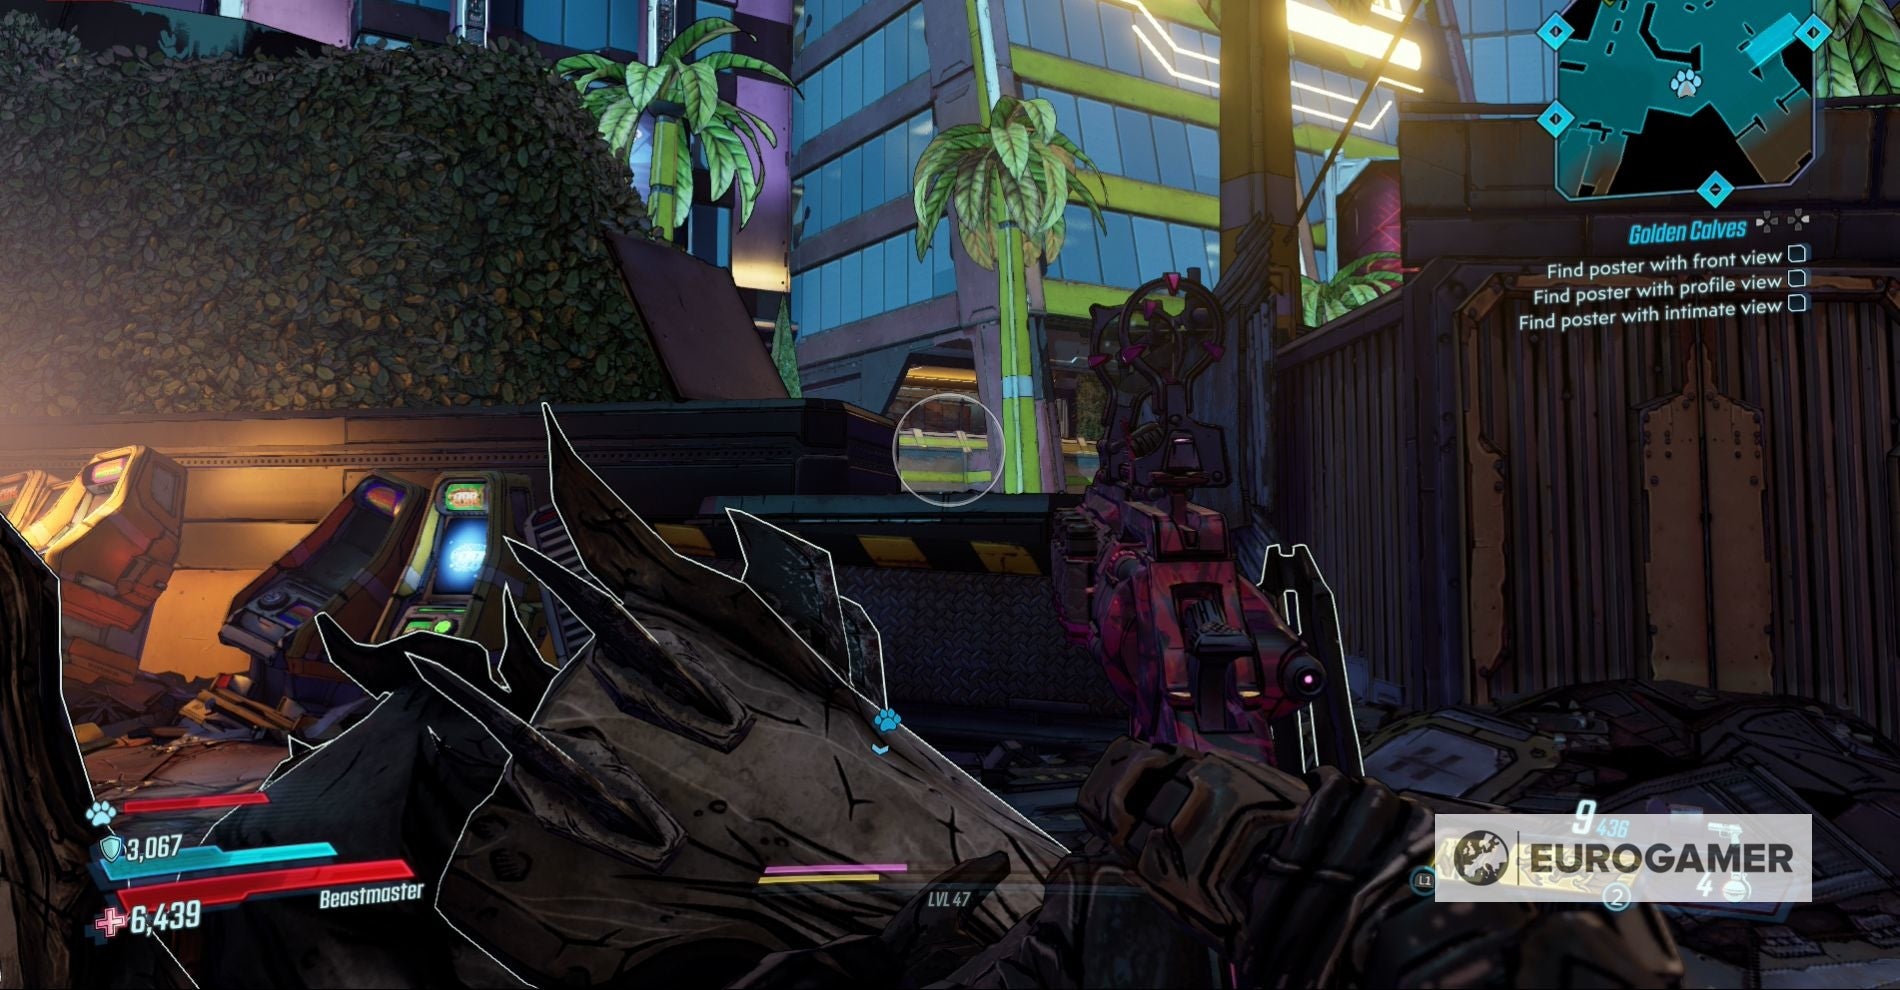
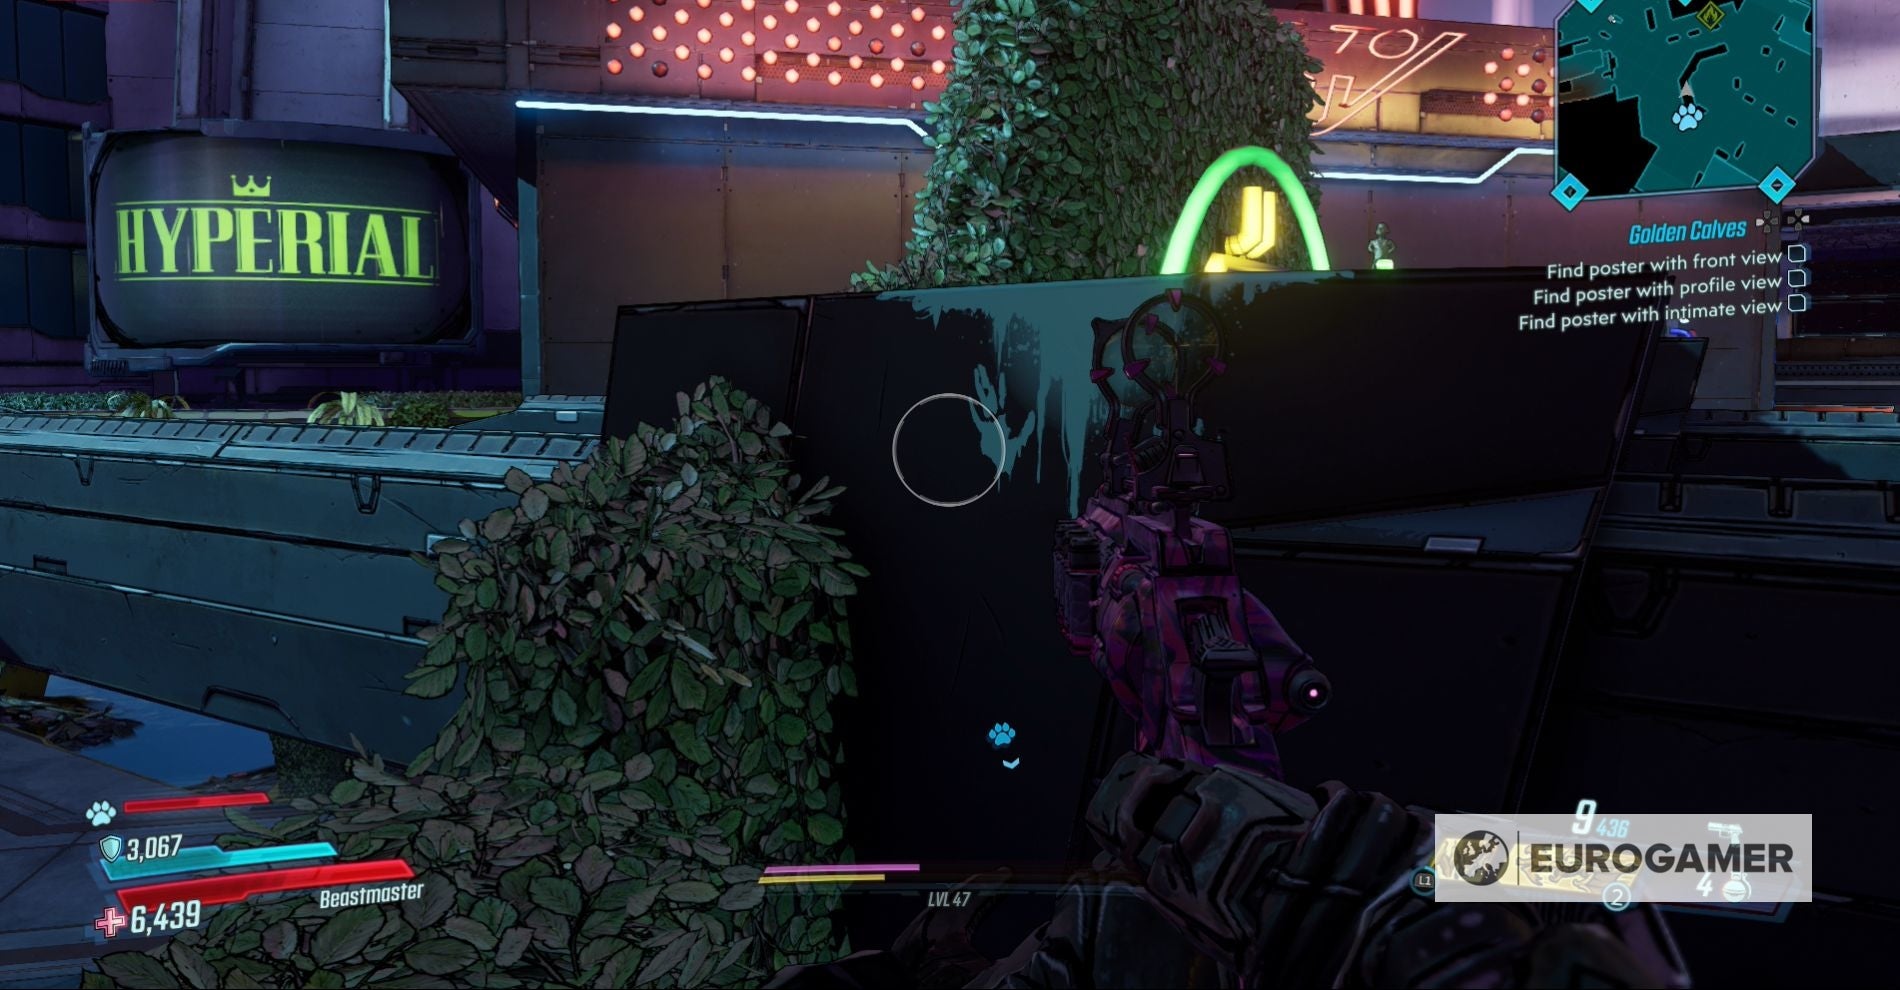
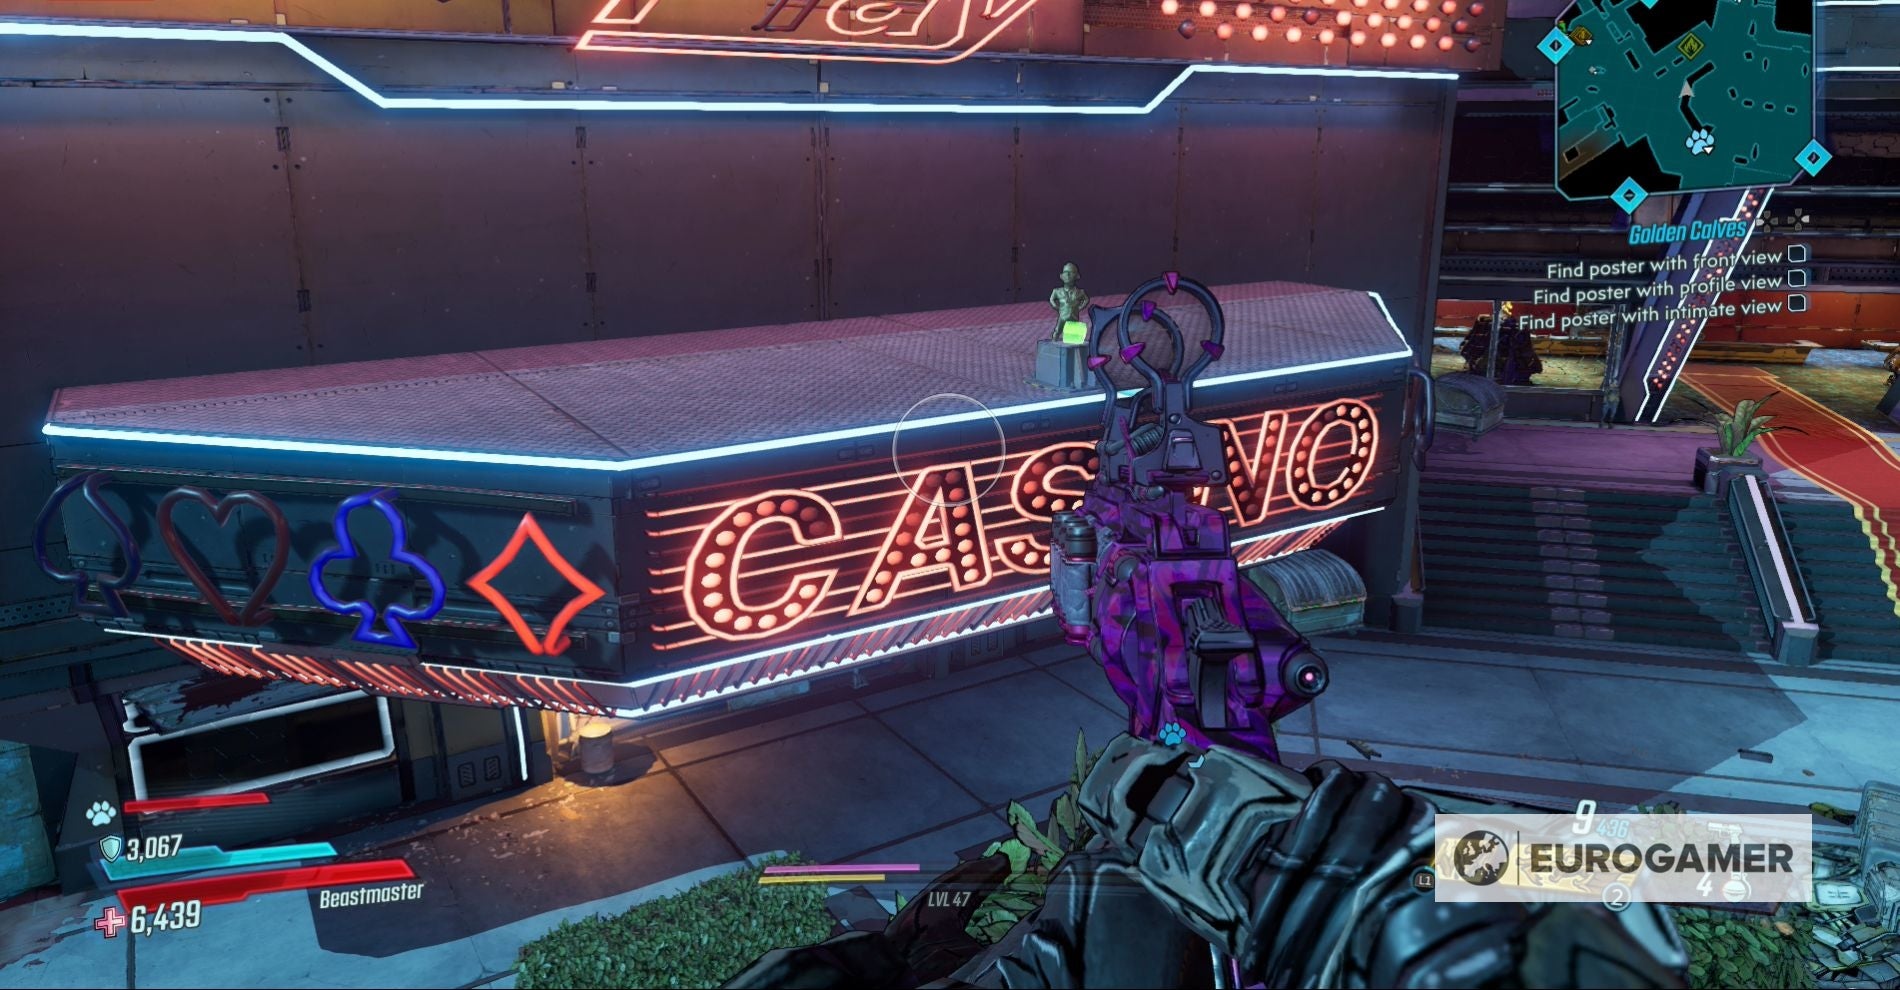
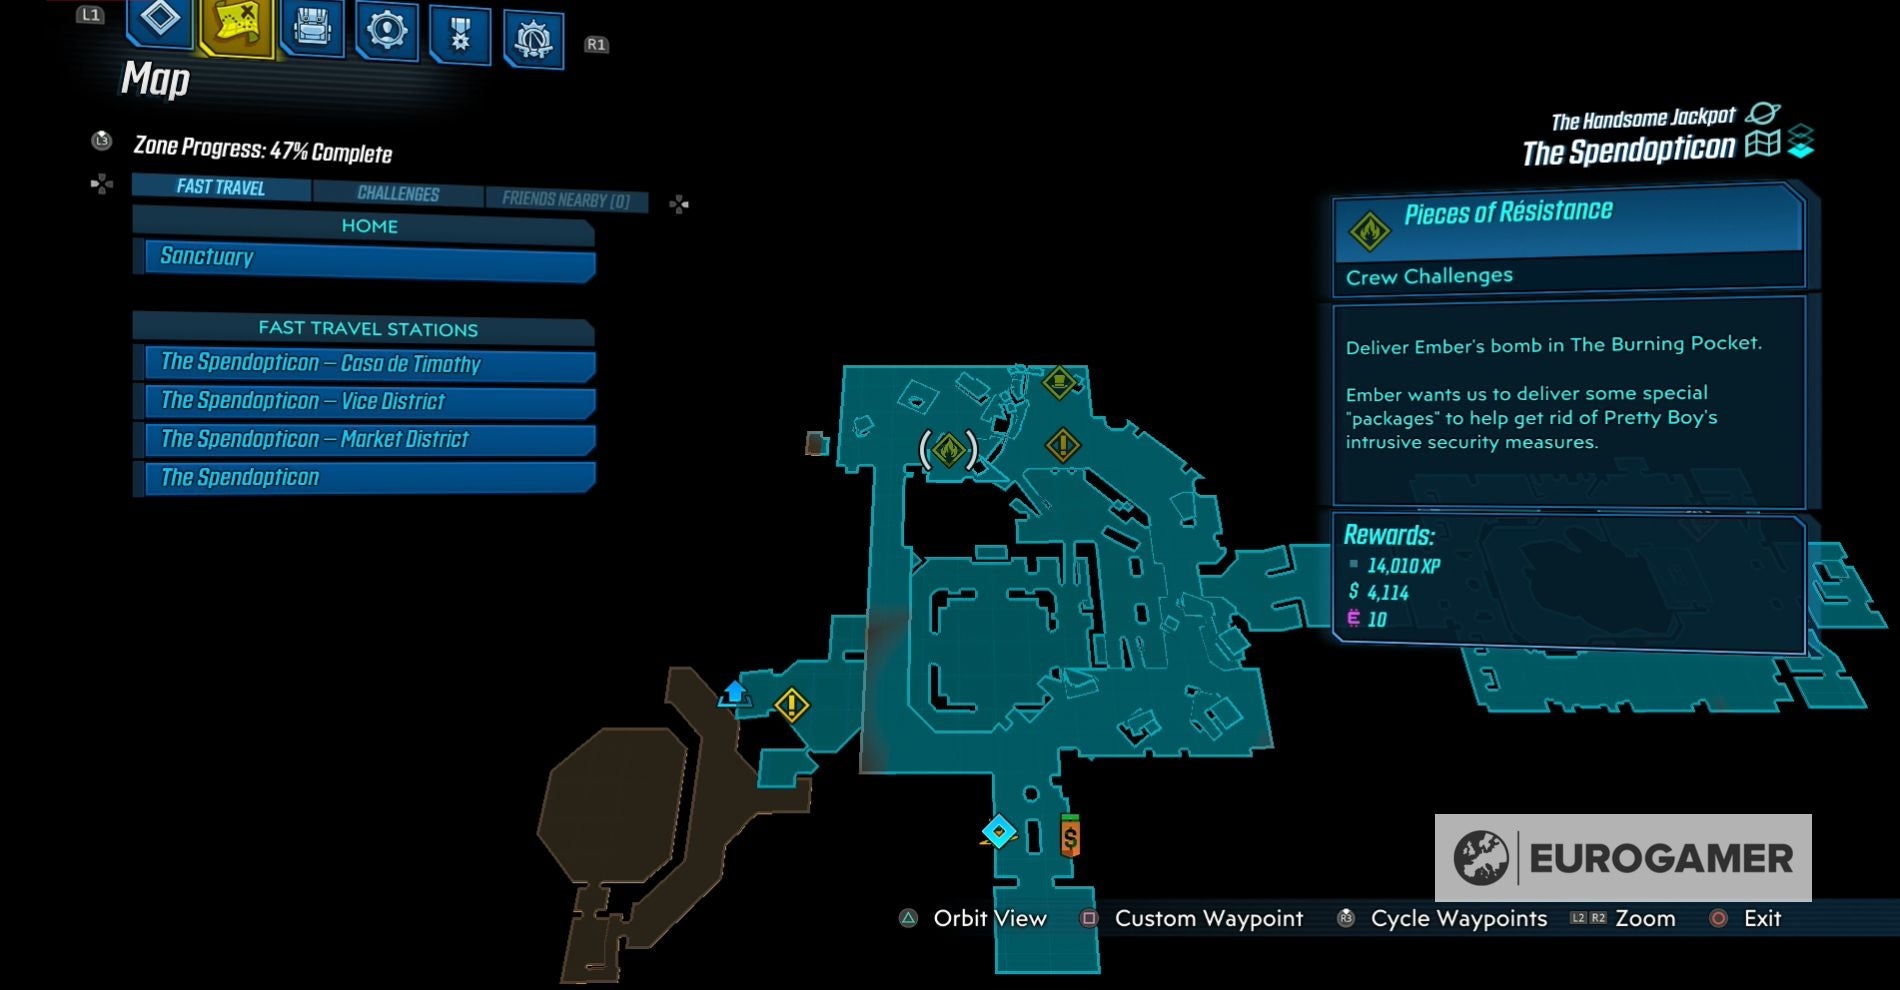
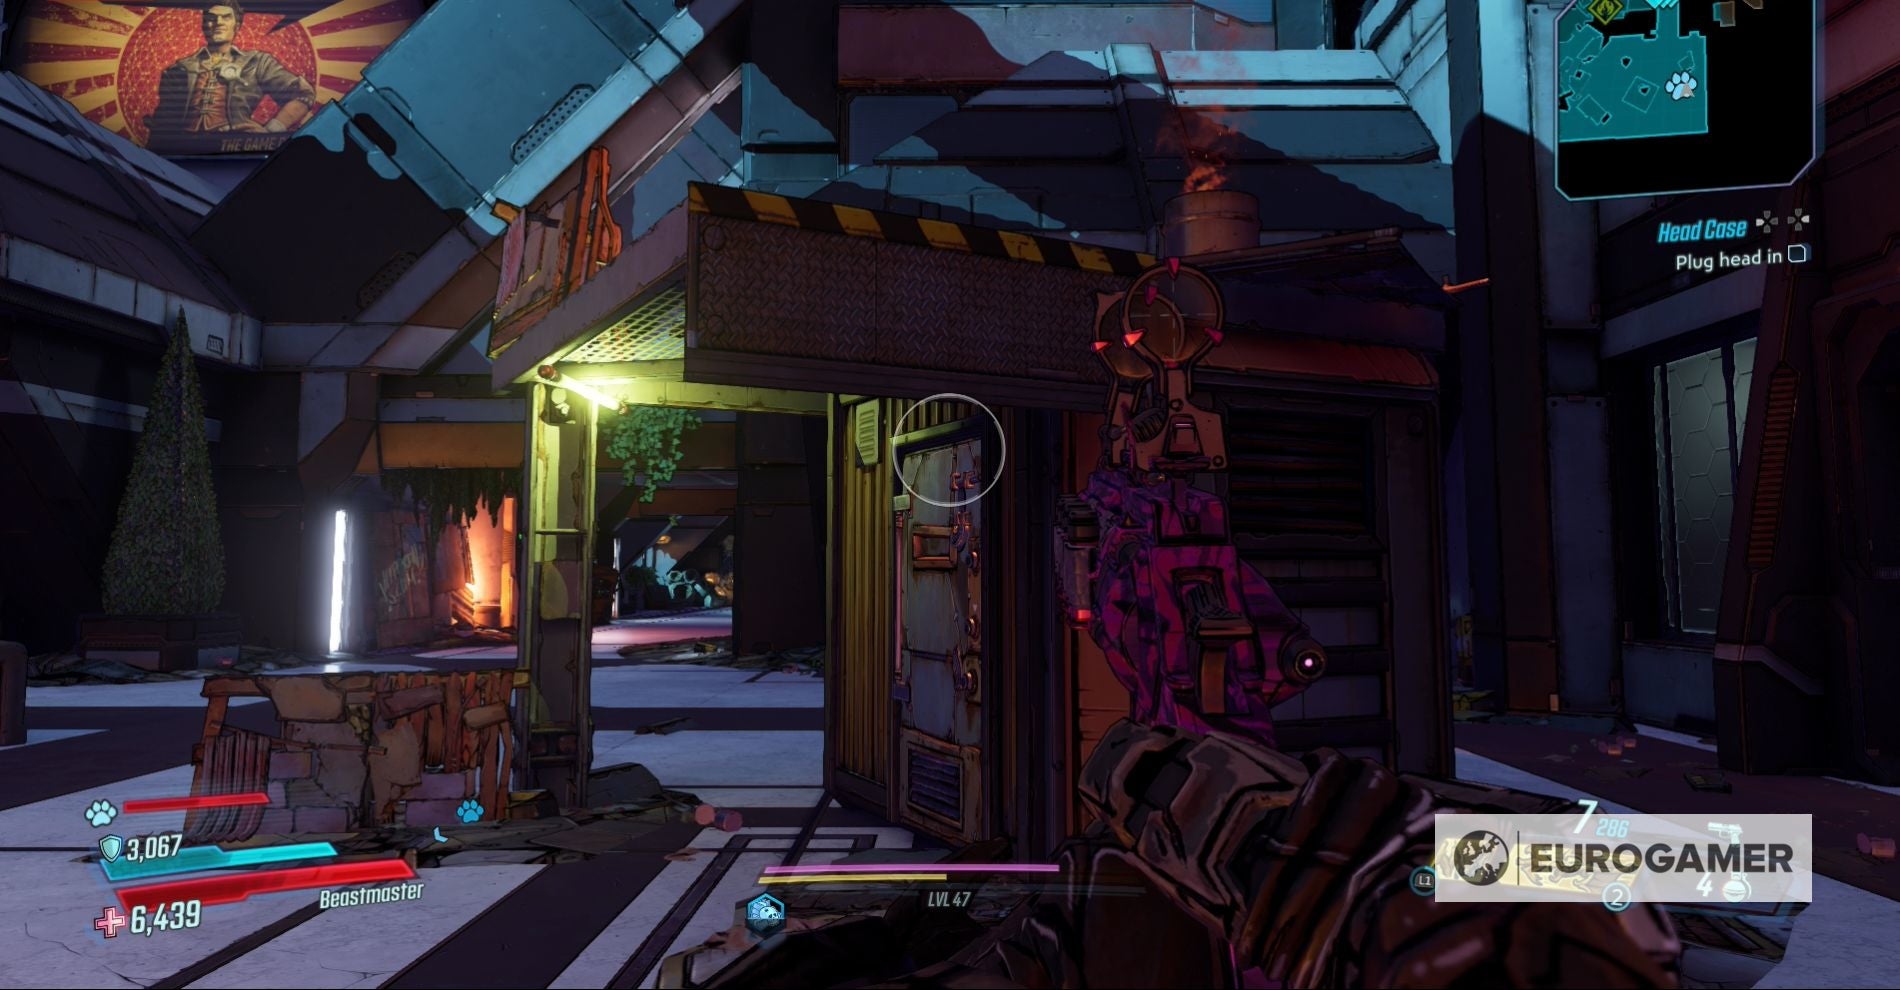
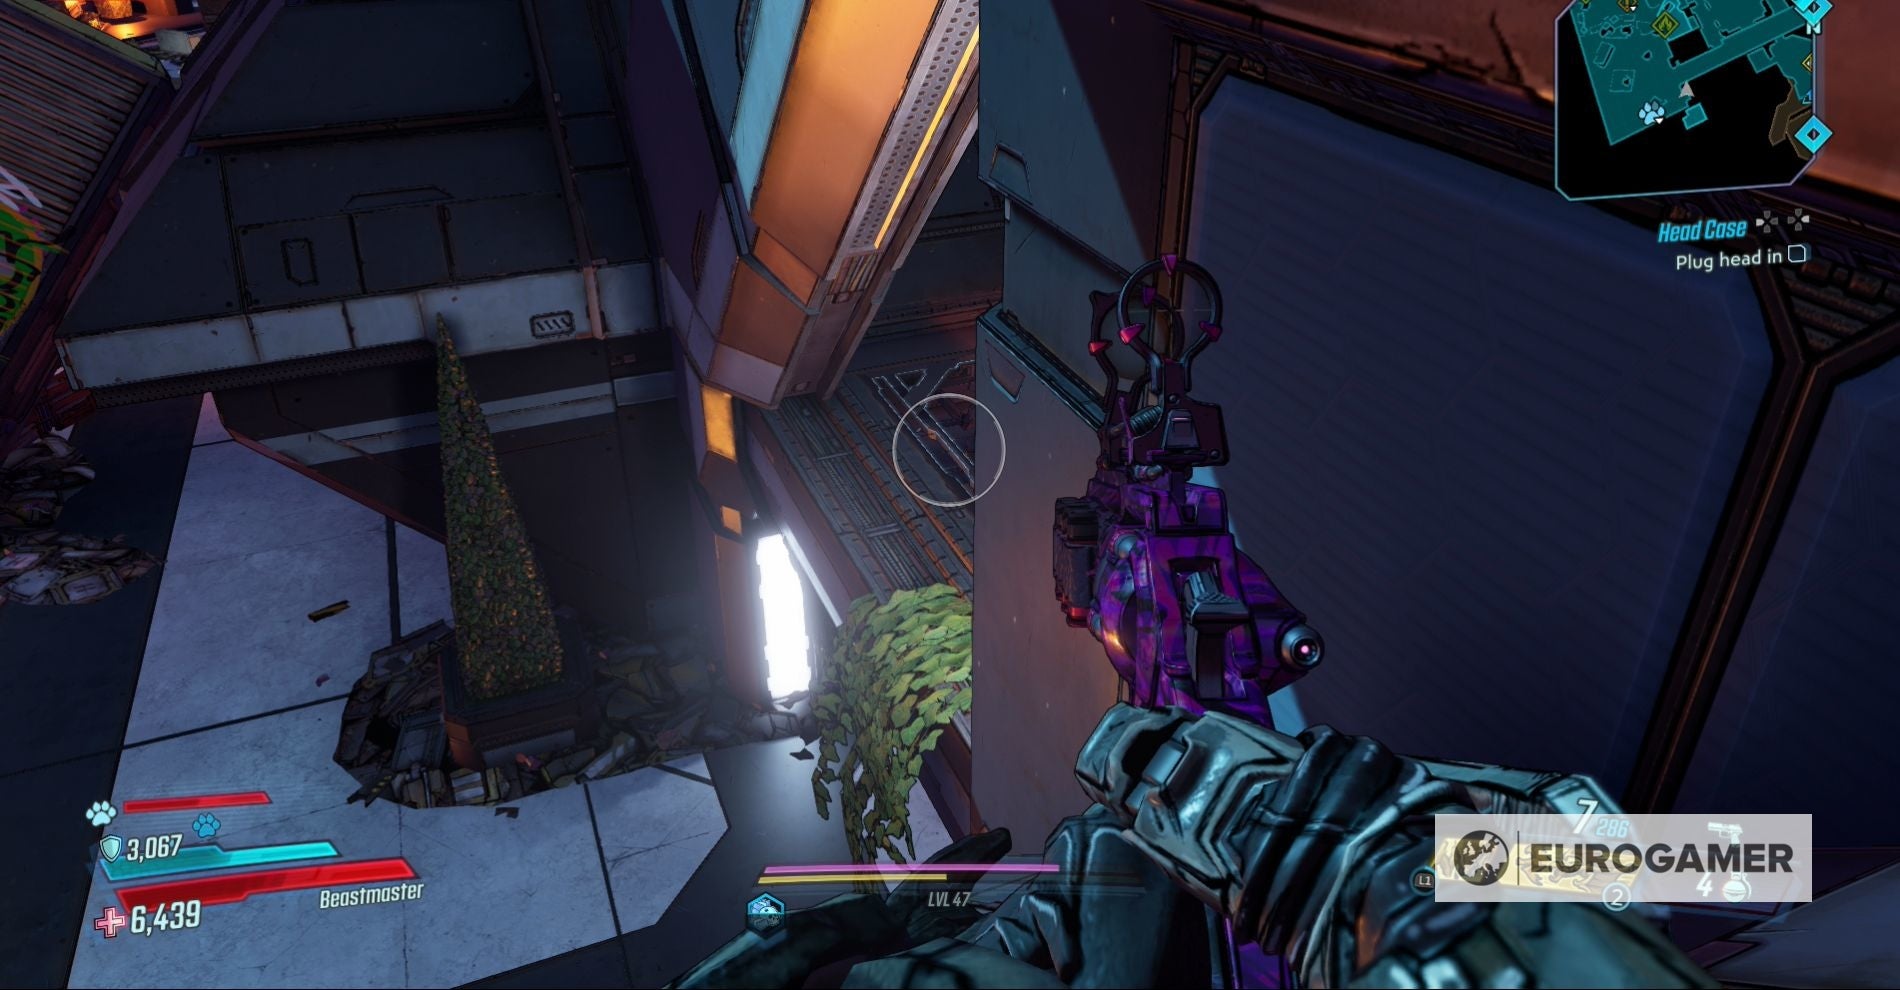
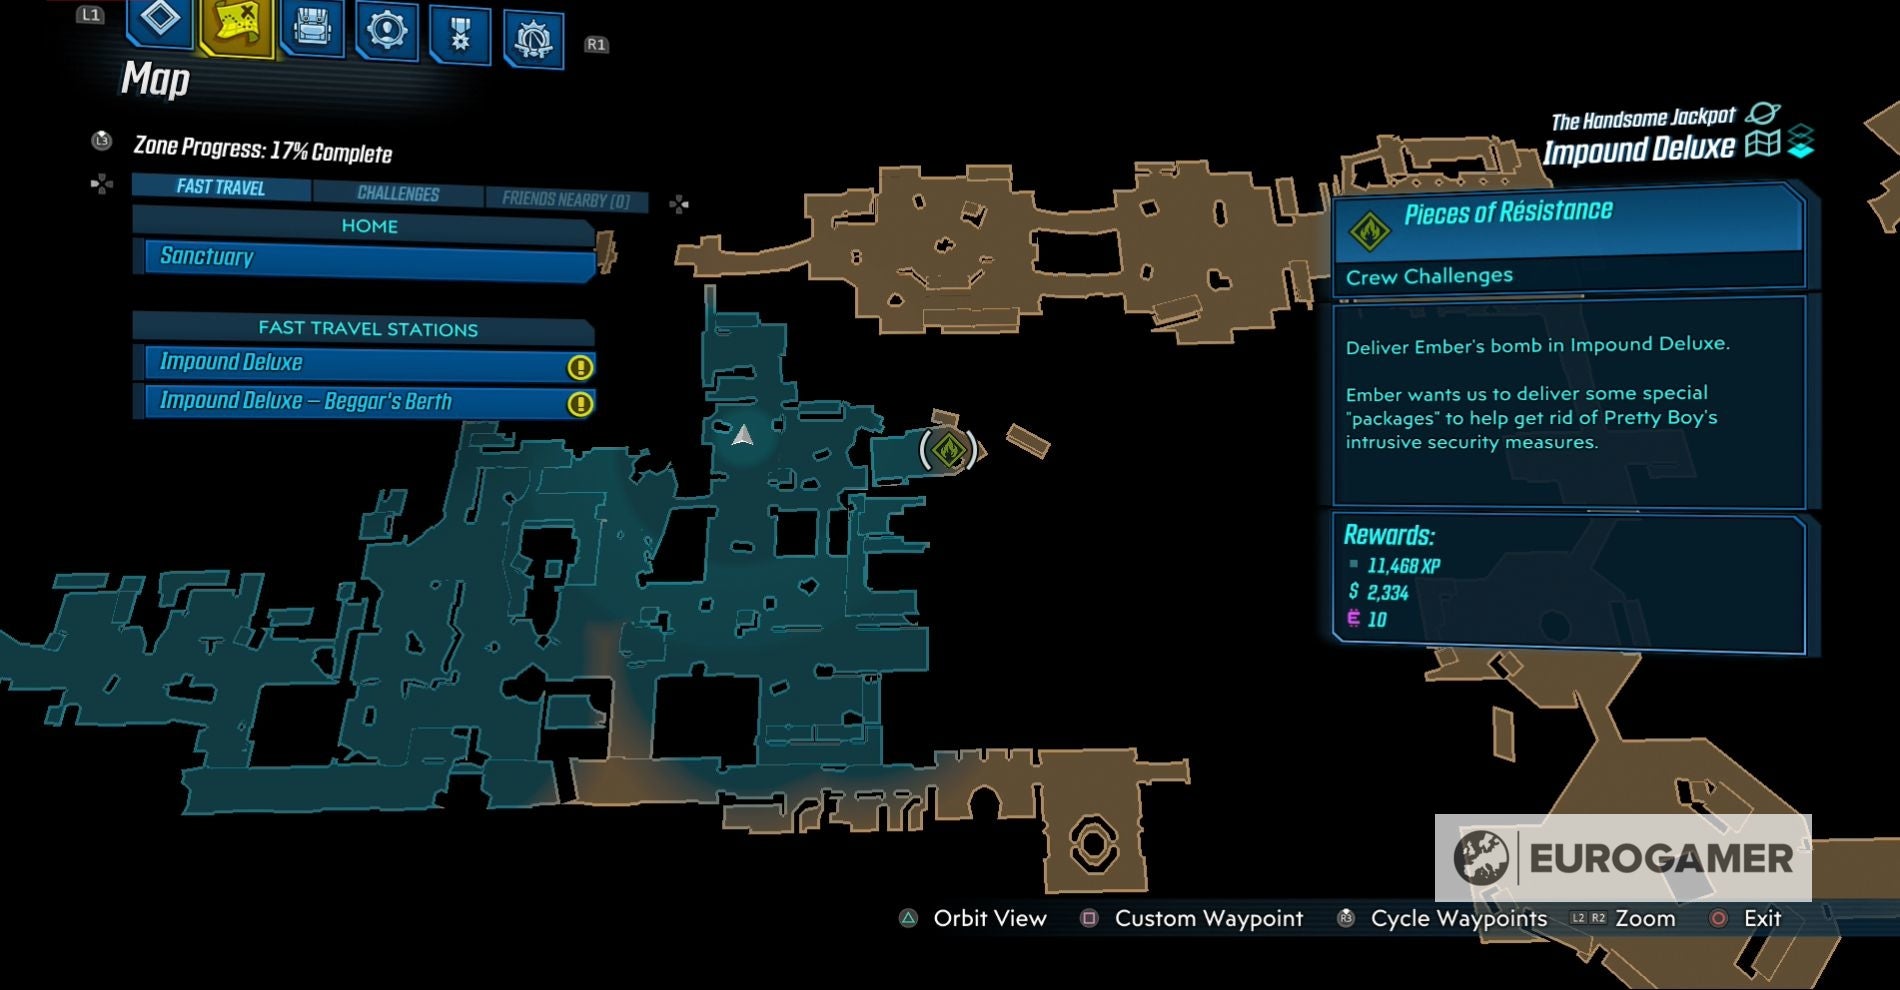
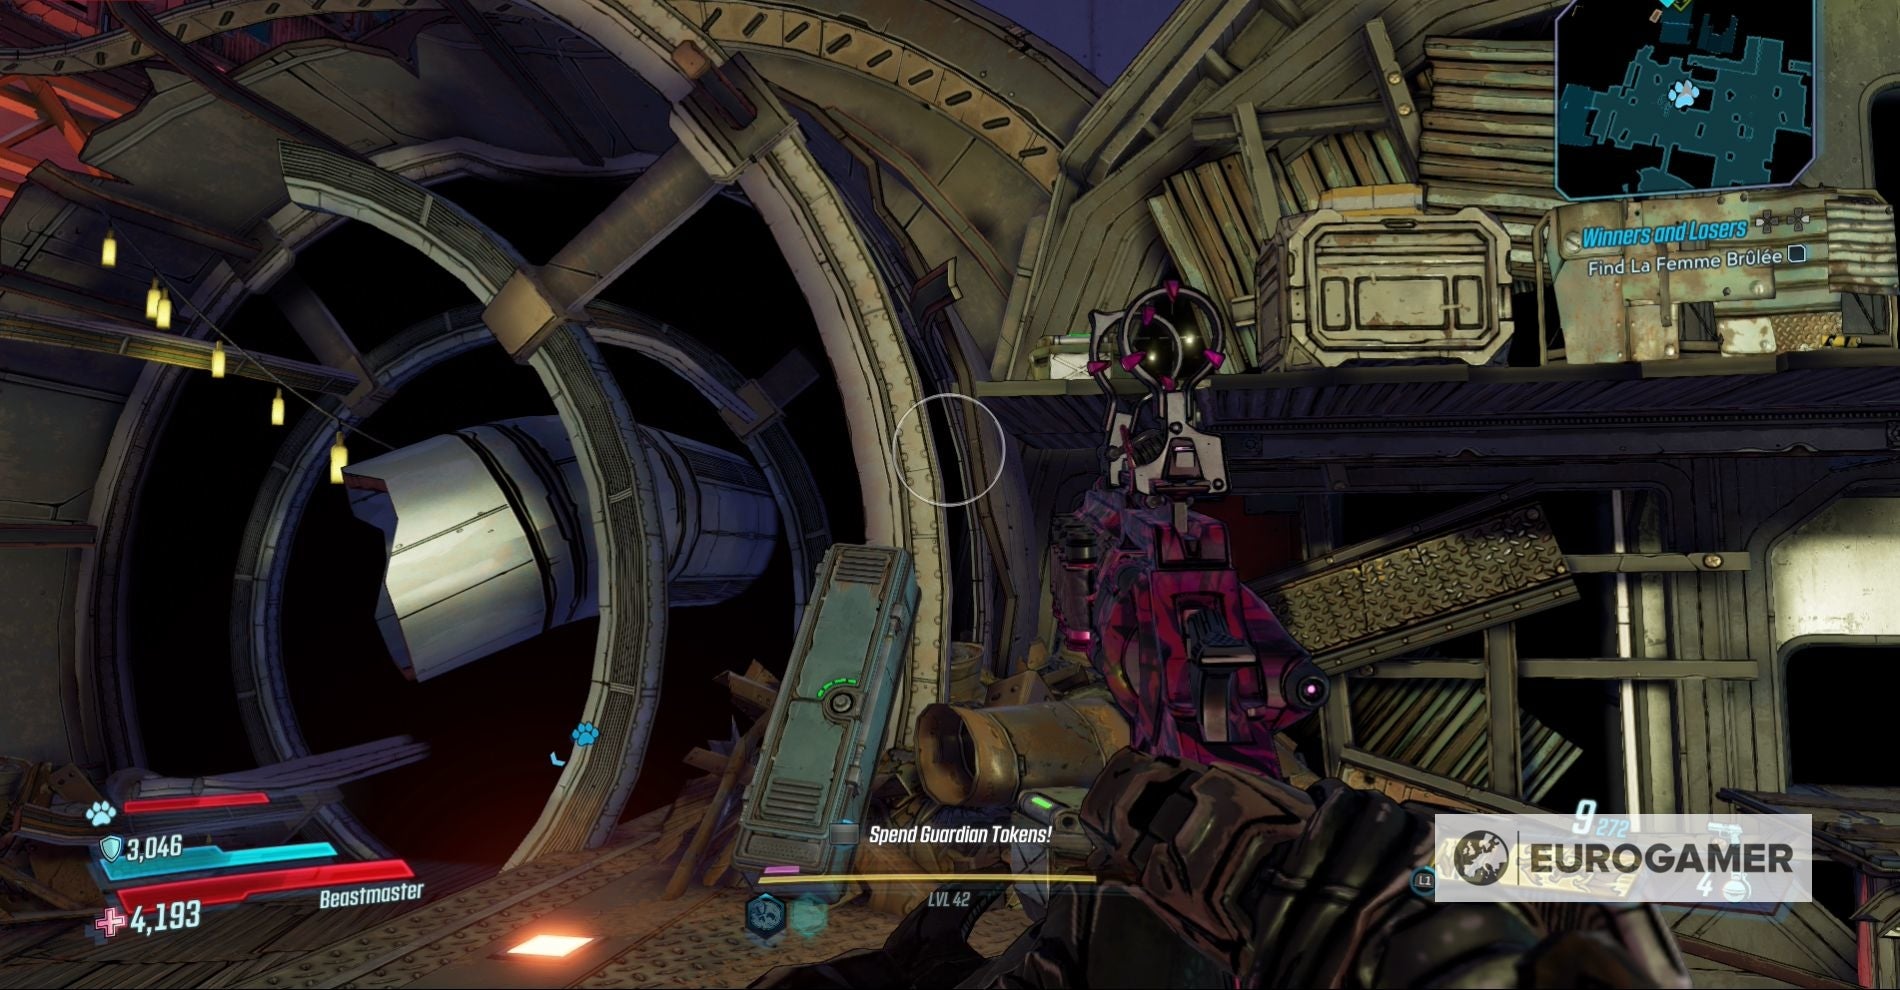
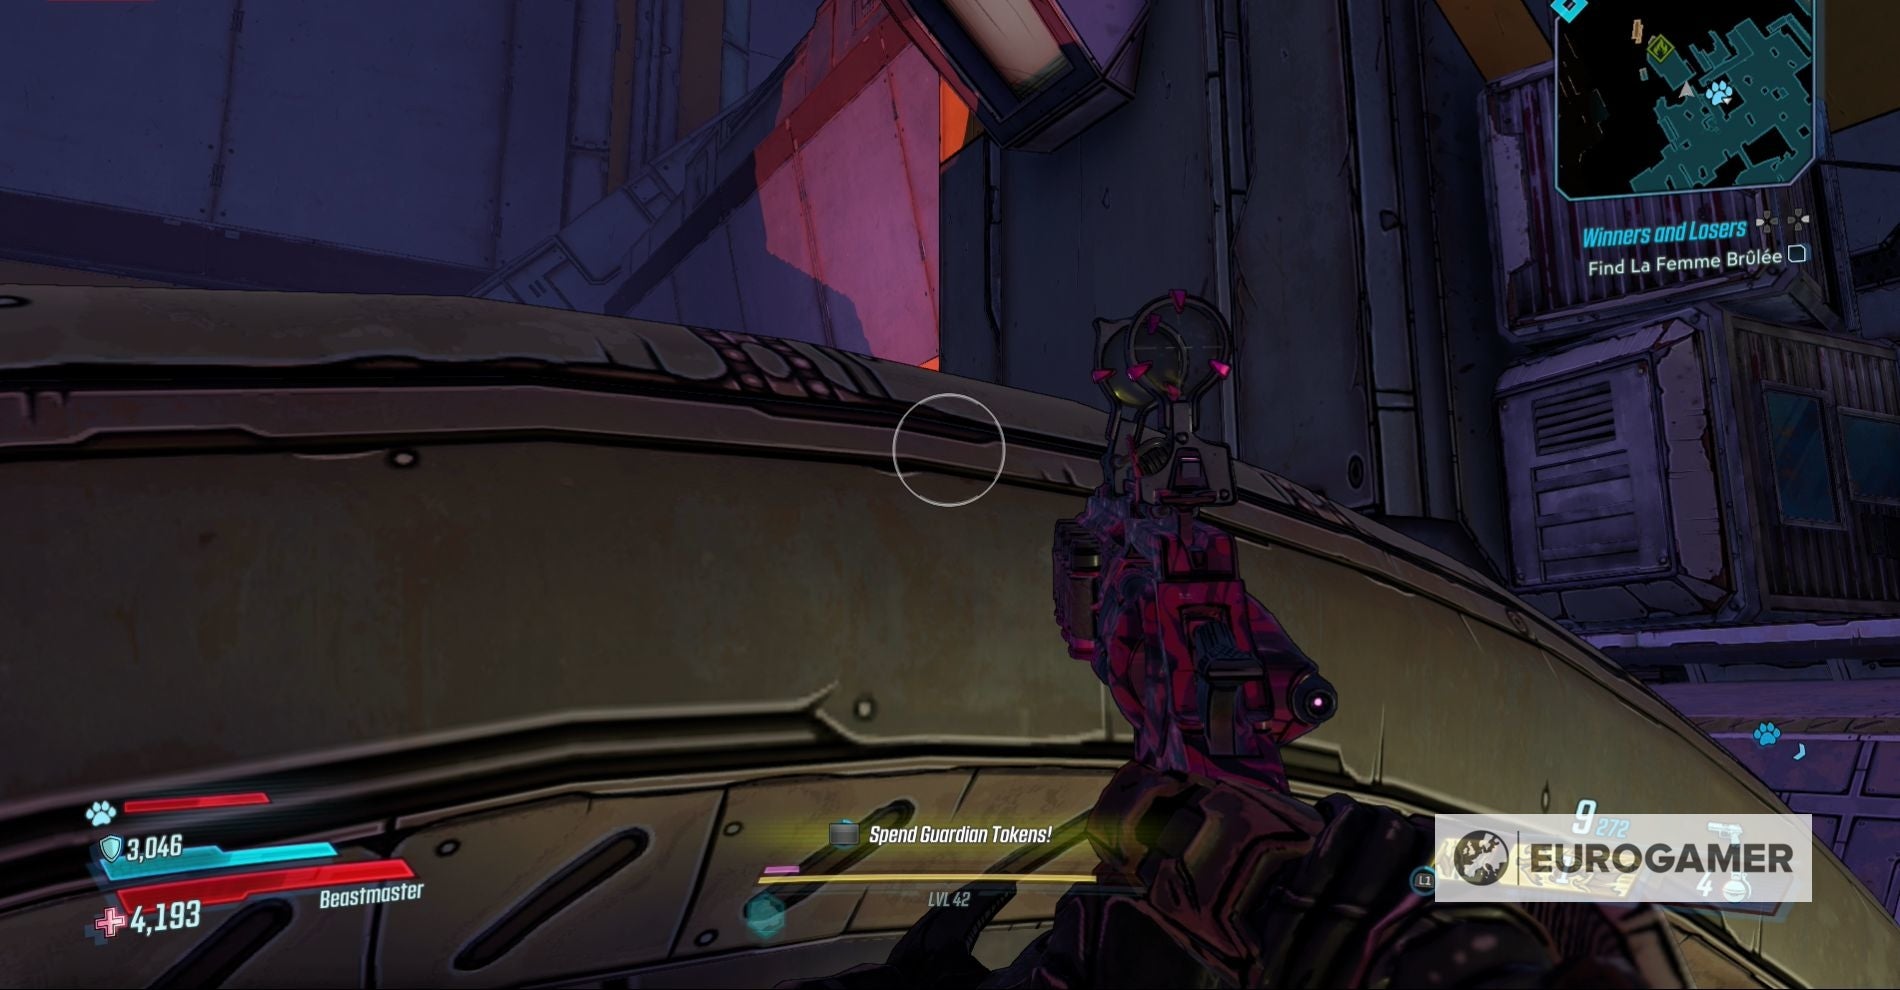
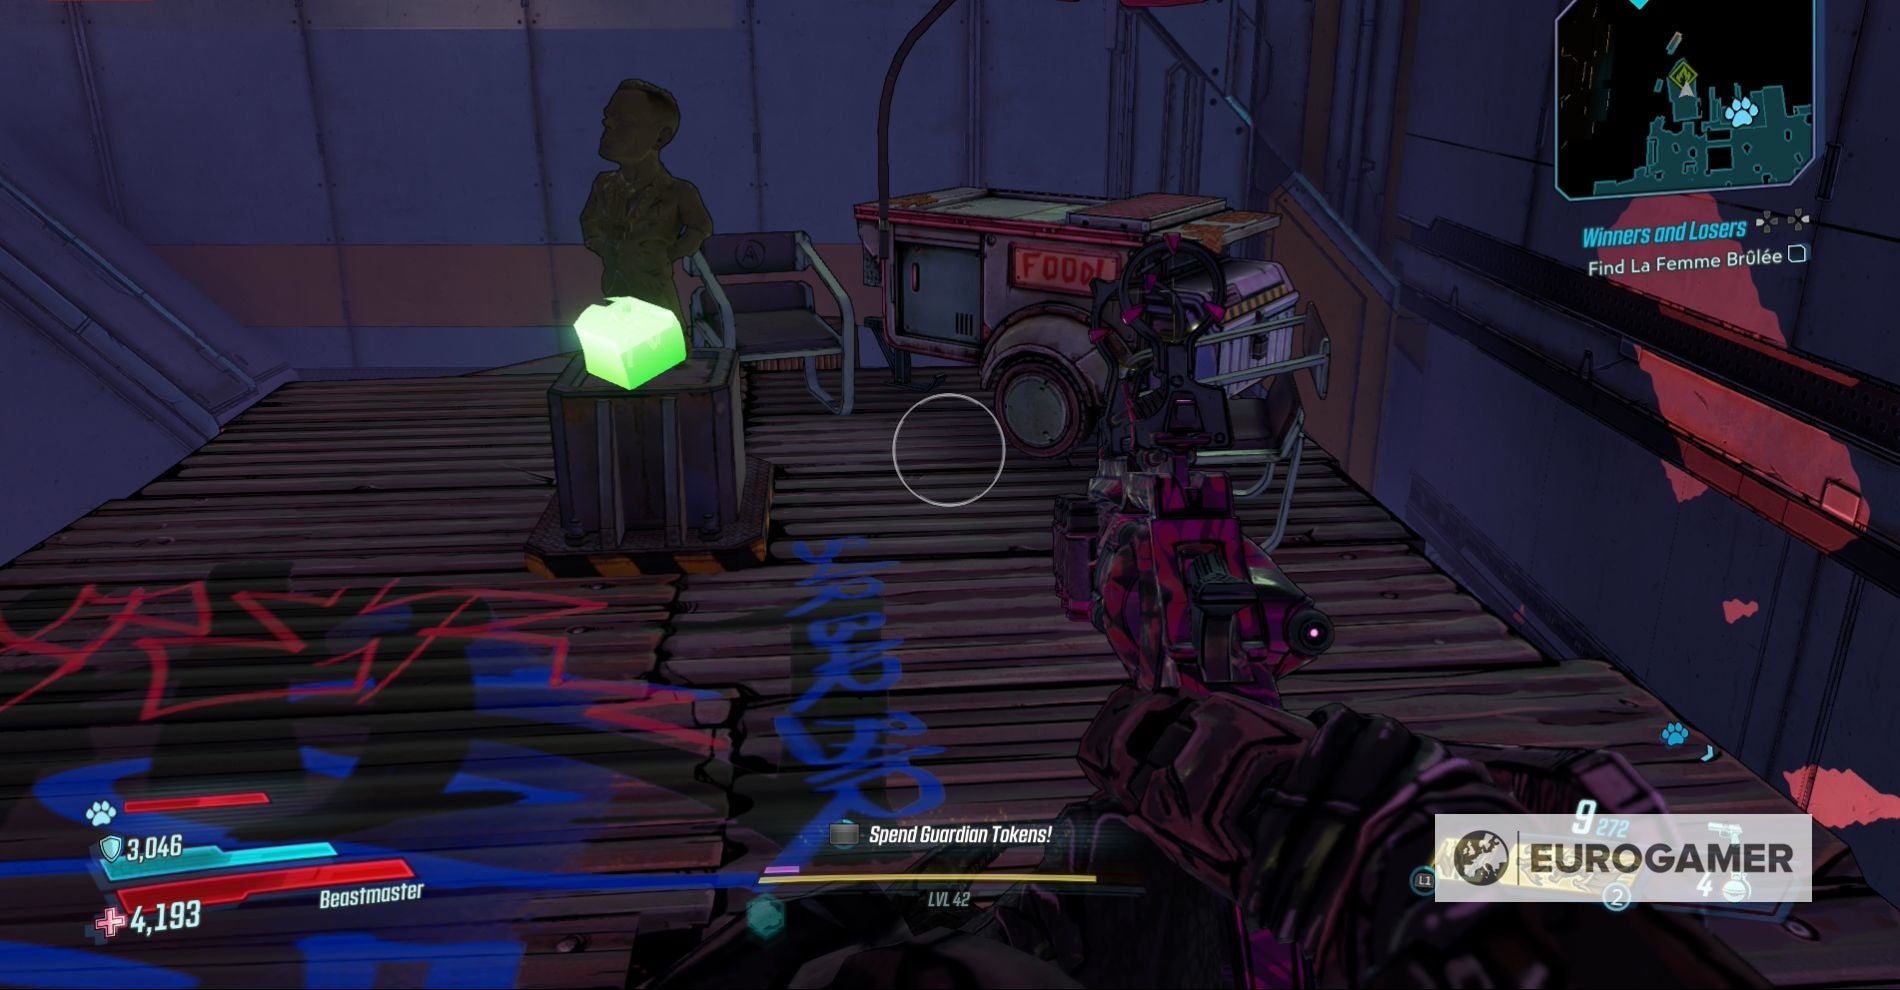
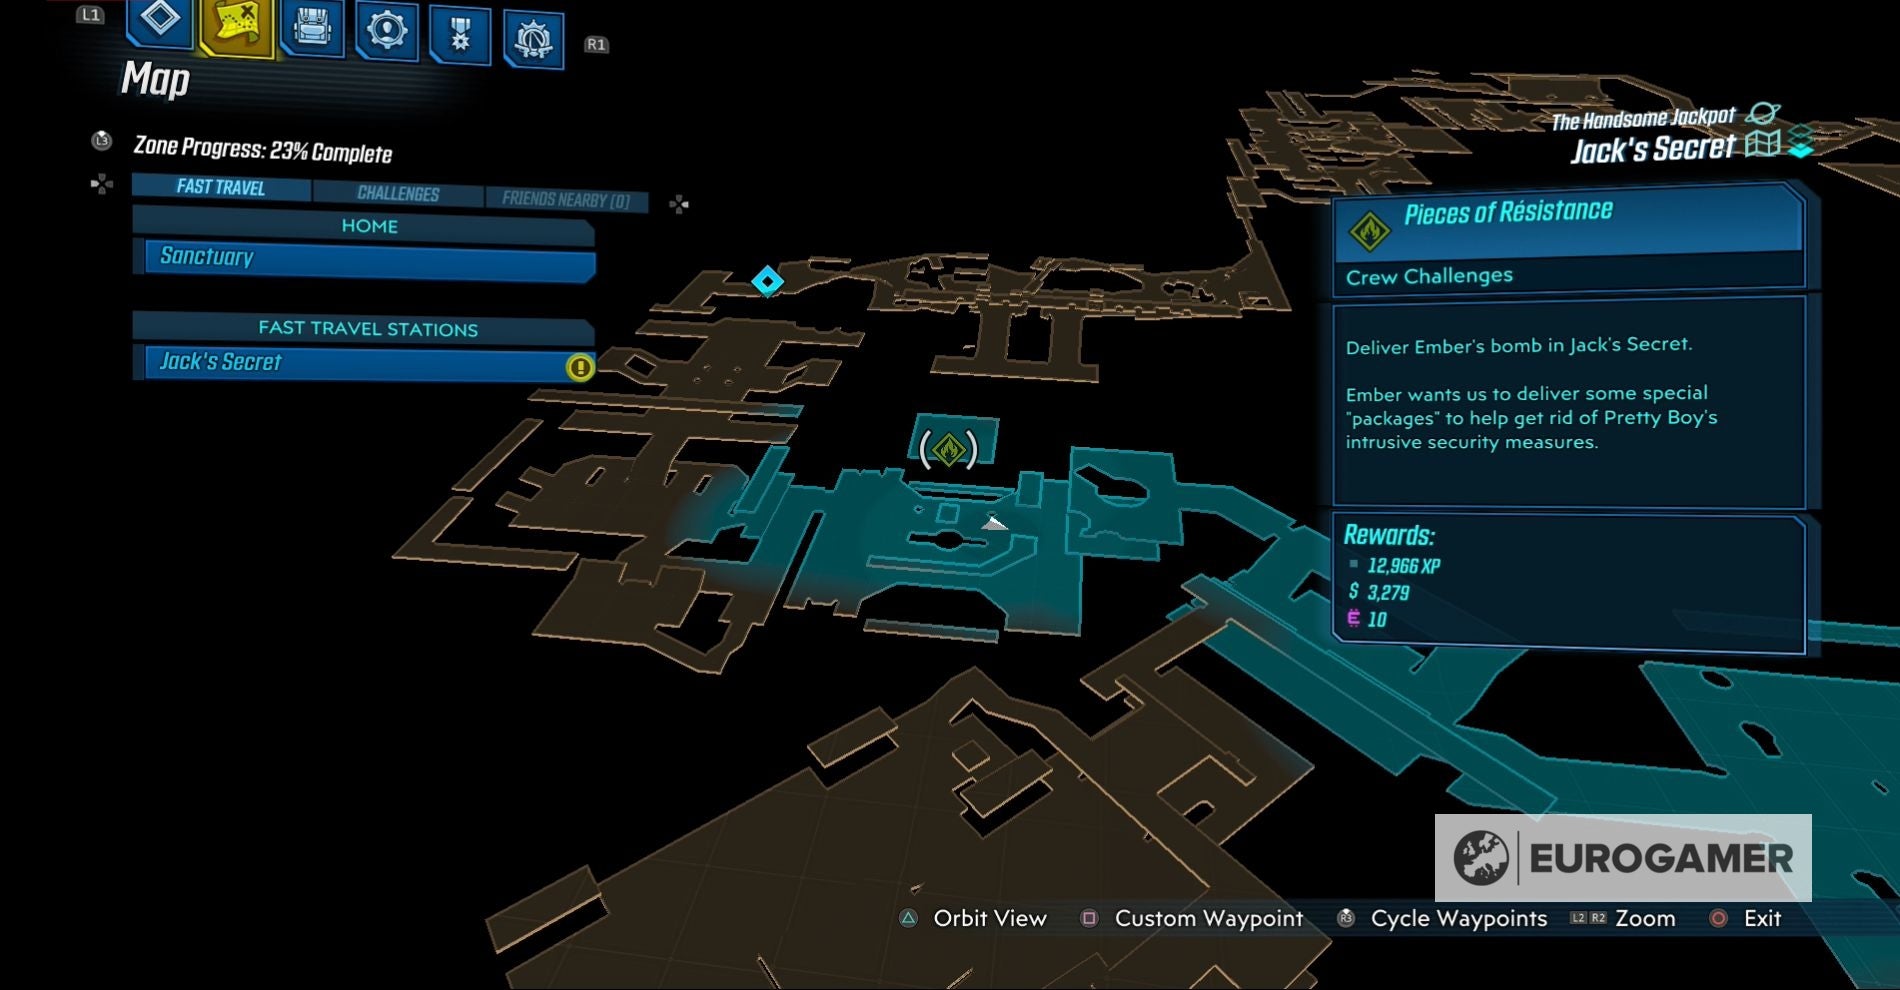
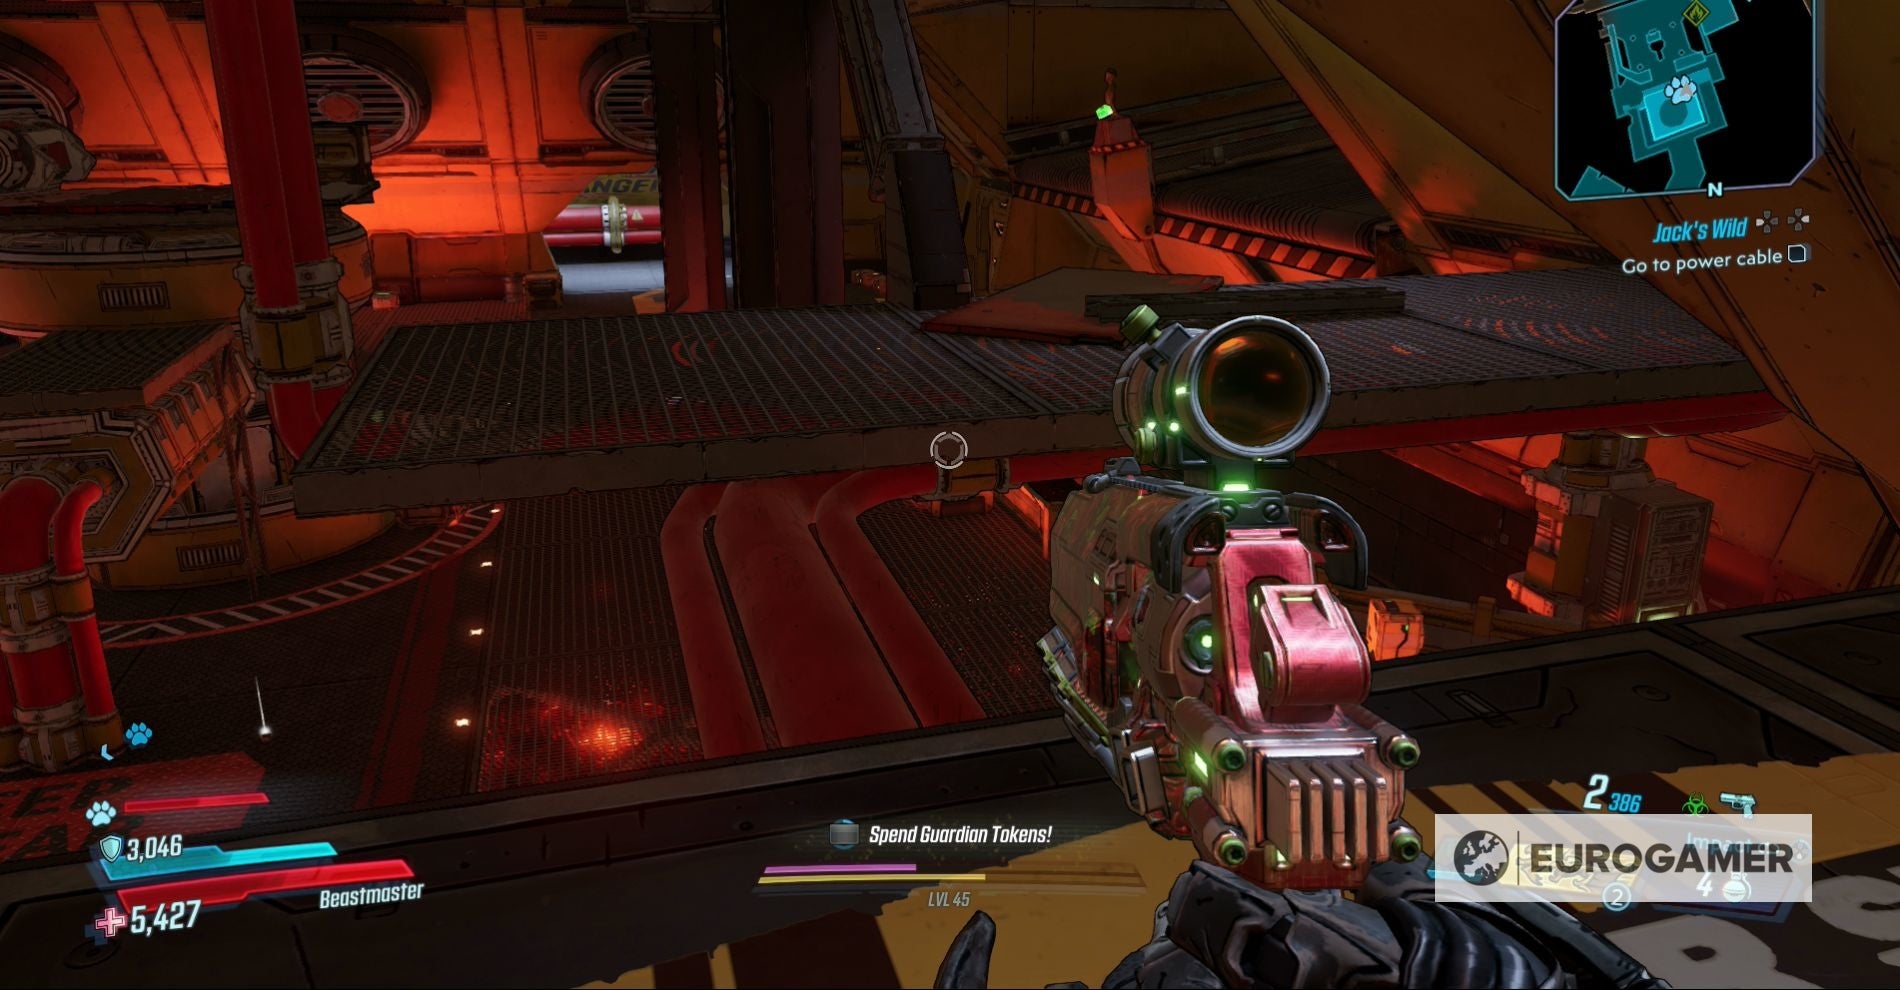
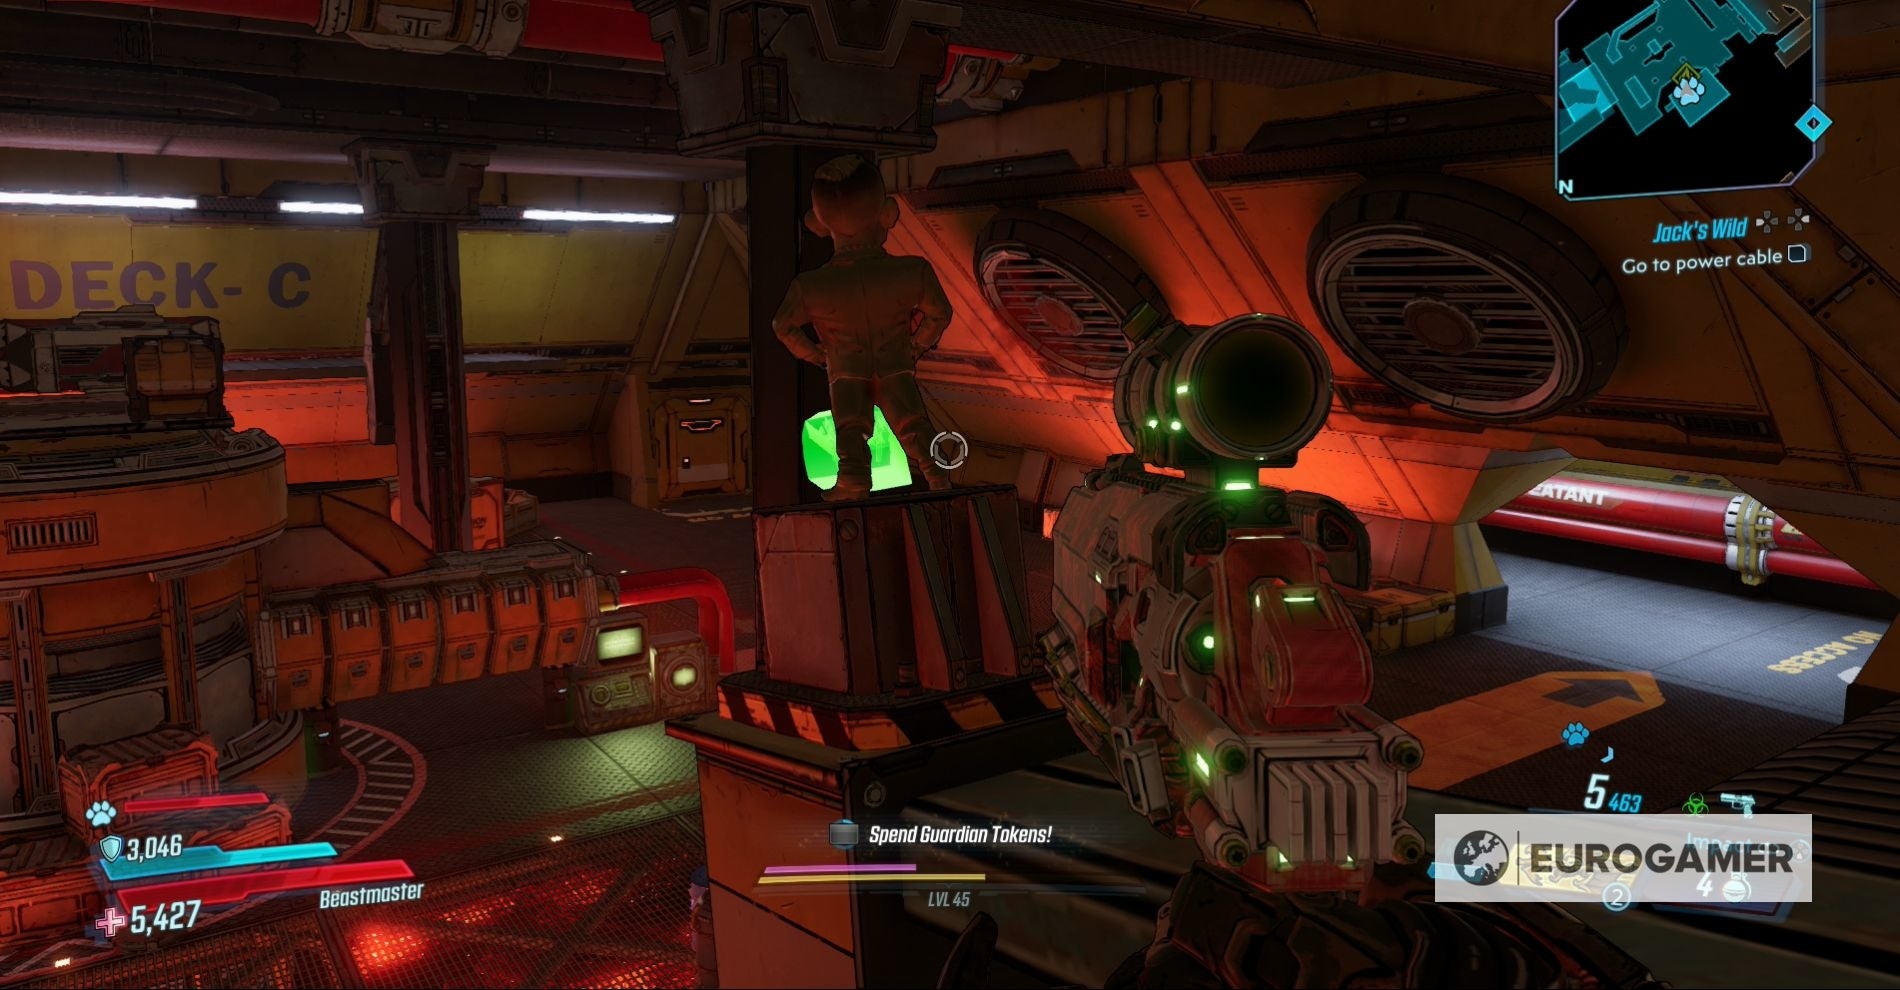
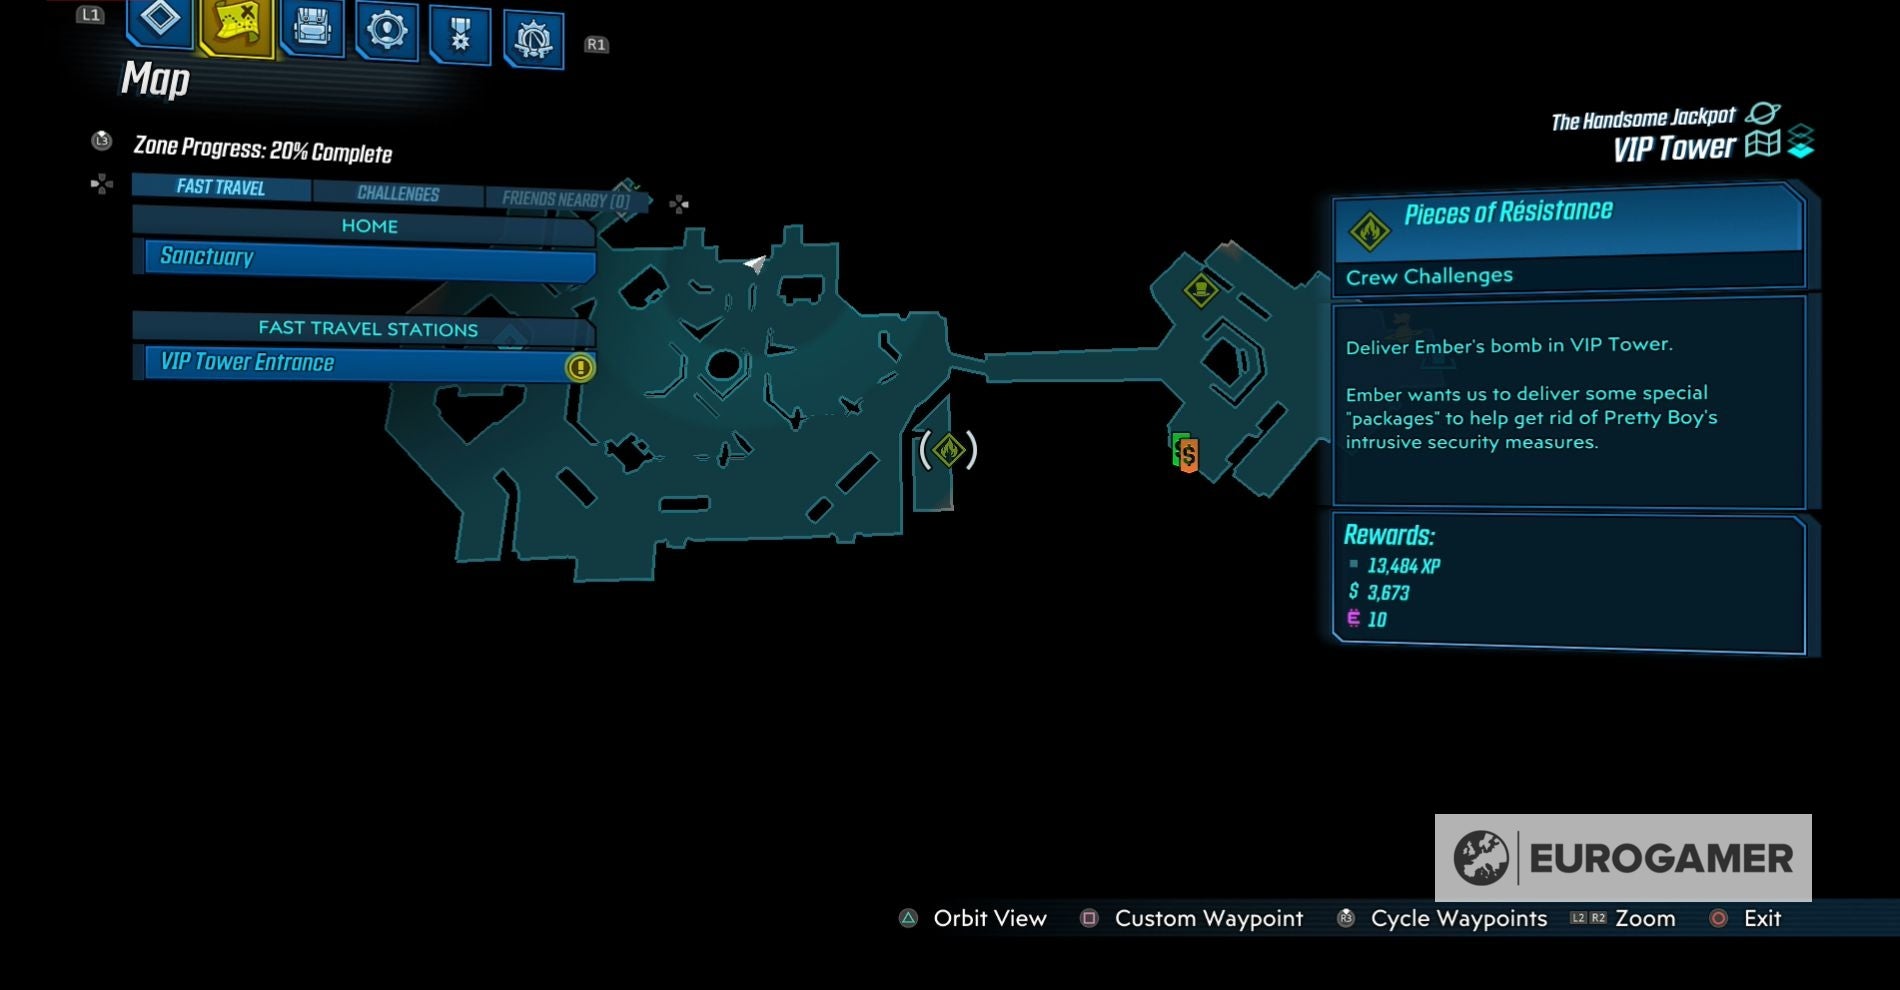
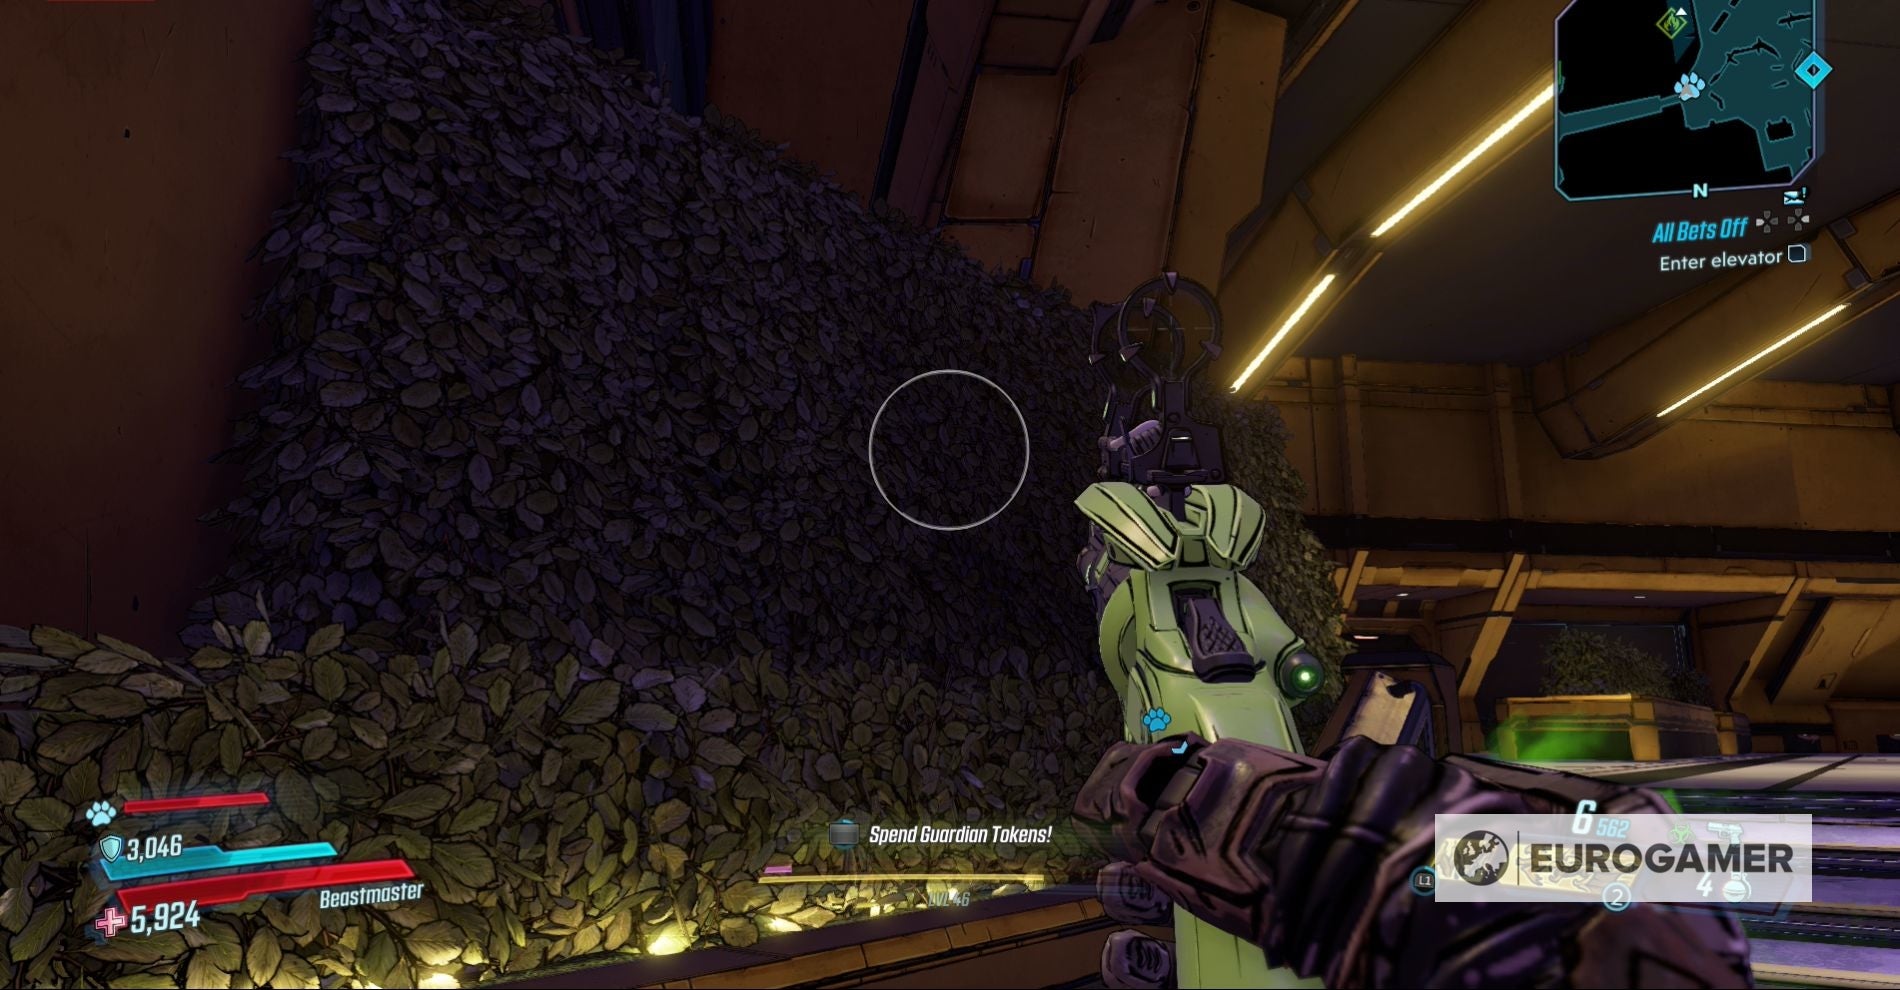
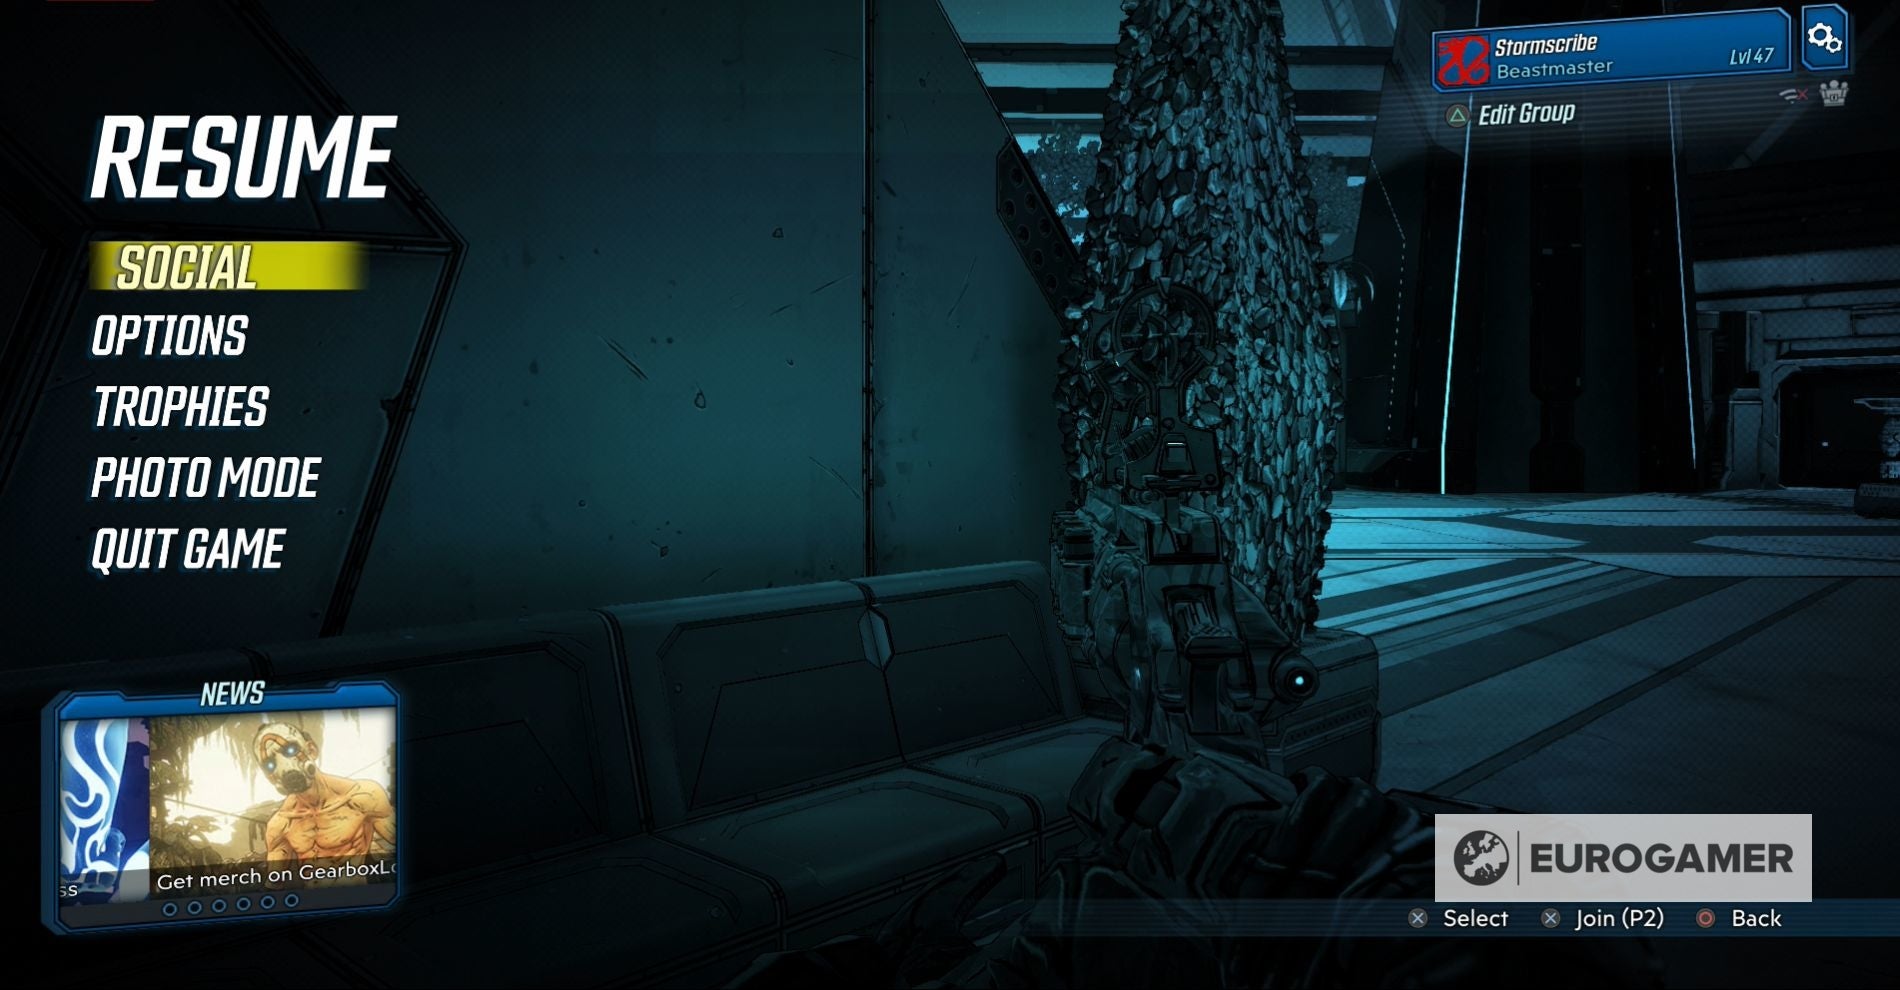
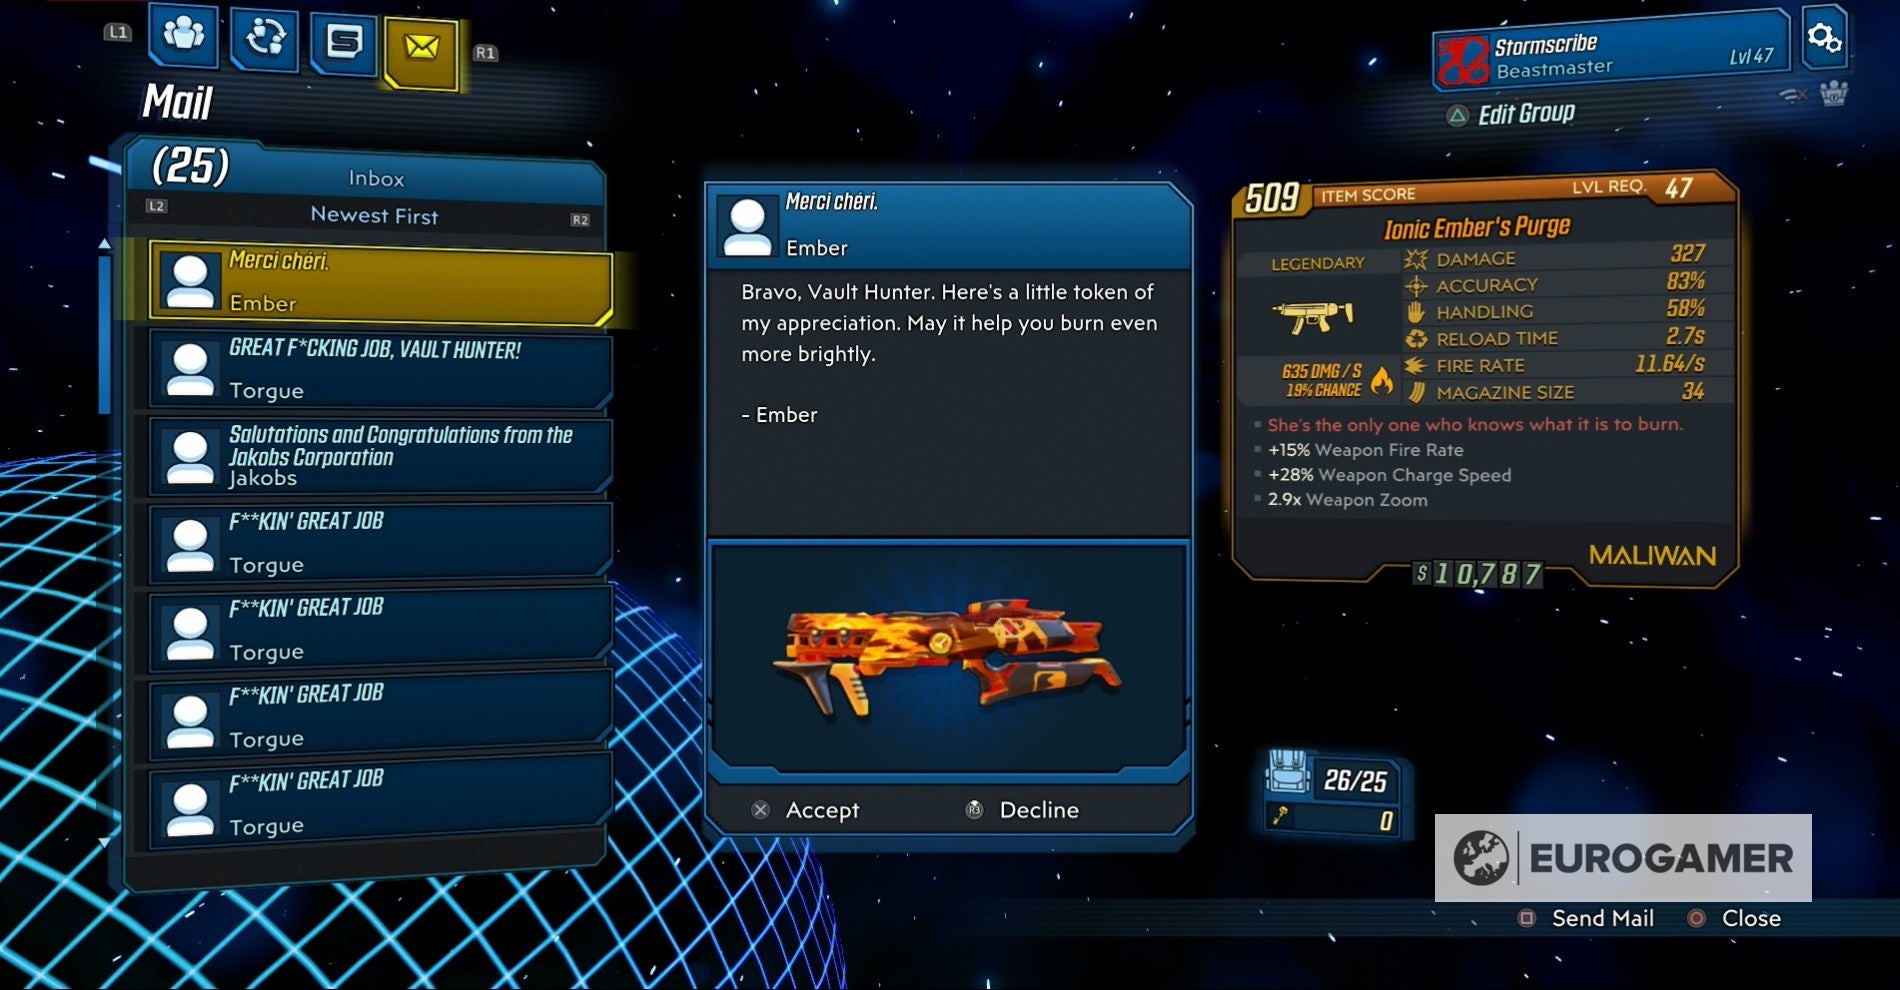
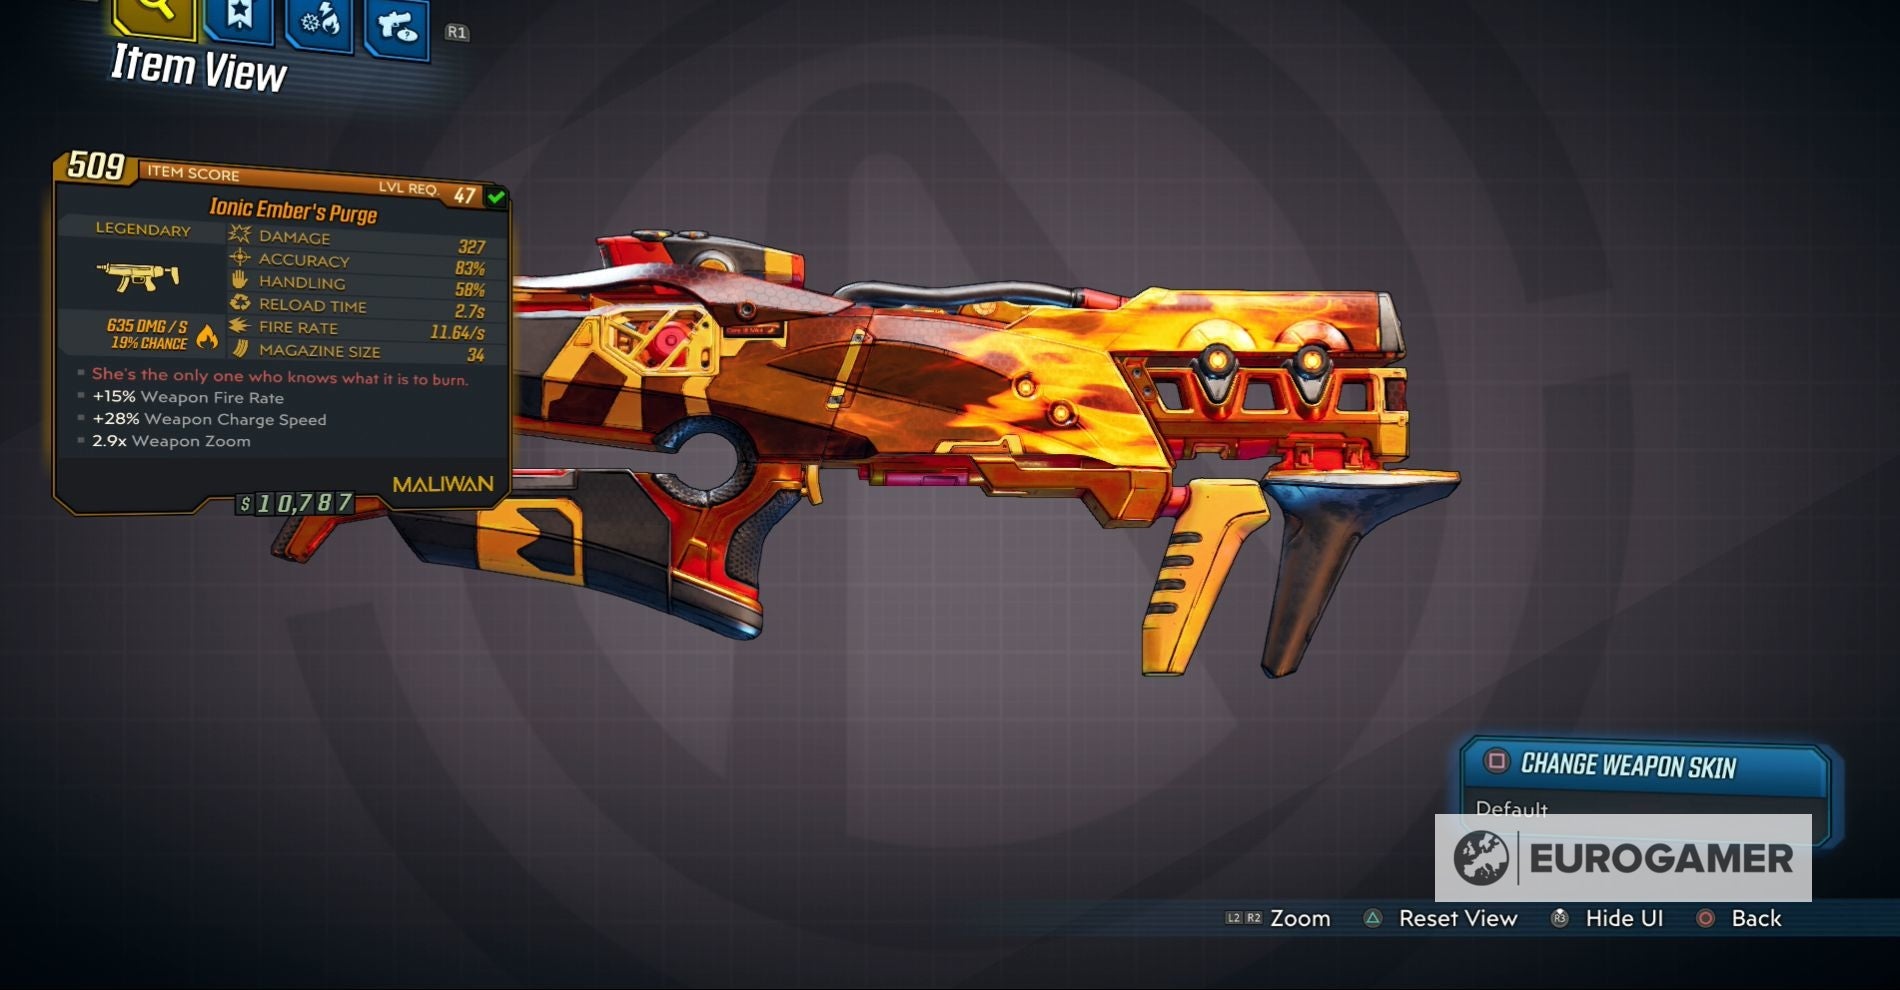
In return, she’ll send you her gun - Ember’s Purge. Pretty Boy, however, has made sure that his statues are quite hard to reach, so you’re going to have to practice your climbing skills if you want to destroy them all. There are five Pieces of Résistance for you to find and explode throughout the Handsome Jackpot. You’ll also receive XP, Eridium and money for each Piece of Résistance you deliver. Alongside the Scoville, Ember’s Purge is one of two legendary guns in Moxxi’s Heist of the Handsome Jackpot that can only be found by completing a challenge. On this page: The first is located just south of Timothy’s hideout. The quickest way to reach it is to fast-travel to The Spendopticon - Casa de Timothy. Once you’re there, leave the hideout and head south, up the stairs, until you reach an entrance for a casino. If you look up, you’ll be able to see the Pretty Boy statue standing on a ledge above you. To reach this statue head around to the right-hand side of this area. There you’ll find a collection of metal sheeting near a container that will allow you to see climb up the hedge to the top of the gateway. You’ll want to climb on top of the piece of foliage with the dollar sign placed upon it; standing there will give you enough height, so that you can easily run and drop over to the area with the Pretty Boy statue. The second Pretty Boy in The Spendopticon is located in the Market District, near to where you defeat Handsome Jacket and Handsome Slacks during the fifth mission, The Plan. To reach this area fast-travel to The Spendopticon - Market District and then follow the pathway around to your left. When you enter this area climb on top of the little shack on your left-hand side. From here you can jump directly across to the roof opposite you. Carefully walk around this roof, until you can see an entrance to the little platform above the walkway you used to enter the square. Jump down onto this walkway. Once there, you can now climb up the wall to reach the platform with the Pretty Boy statue. Now all you have to do is place the Pieces of Résistance and watch sparks fly. Once you’ve ignored the Bureaucracy Bot and entered the Impound Deluxe, head to the area where you fight the second wave of human attackers. It’s the location before you climb and cross the bridge that eventually brings you to the location where you meet Freddie. Before you climb up to the bridge, look to your right and you’ll find a broken engine turbine. You can easily climb onto the ledge next to this engine and, from there, on top of the engine itself. Now you just have to climb over to the back of the engine to discover a small ledge containing an umbrella, chair and the statue that you need to destroy. The statue can be found in the first main room after you drop down the hole leading you deeper into the factory. After dropping down the hole, look to your right to see the statue standing on the edge of a ledge. To reach it you need to jump onto the floor panels to the right hand side of the ledge you drop down onto. There you’ll find a sheet of metal hanging slightly over the edge. You can use this metal to jump across the gap and reach the area where the Pretty Boy statue sits. This jump may take some time, as the wall can knock you down, and you may land you in the lava, killing you. Once you do manage to make the jump, all you have to do is place the Piece of Résistance and shoot it to complete this challenge. After walking down the corridor leading from the lobby to the main room, turn immediately to your left, where you’ll see an ivy covered wall. You can easily climb up this wall to reach a ledge where the last Pretty Boy awaiting its Piece of Résistance can be found. To find it open the start menu in-game, which allows you to quit, view your trophies and access the options, among other things. You need to select the ‘Social’ option to open your in-game inbox. Ember’s Purge will be in a message from Ember, which should be the first email in your inbox. Now you just need to ensure you’ve got a free space in your inventory, so that you can press ‘Accept’ to receive your new gun. Borderlands 3 has arrived! Check out our skill tree guides for Amara, Fl4k, Moze and Zane. If you’re looking for more challenges to complete, check out our guides on the Dead Claptraps, Broadcast Towers, Eridian Writing,Hijack Targets, Legendary Hunts and Typhon Logs and Typhon Dead Drops. If you want some easy rewards, consult our Borderlands 3 Shift Codes and VIP Codes page. When you’ve finished Borderlands 3, visit our guides on Guardian Rank and Rewards, Mayhem Mode and True Vault Hunter mode to learn more about what you unlock in the post-game. When you’ve finished Borderlands 3, visit our guides on Guardian Rank and Rewards, Mayhem Mode and True Vault Hunter mode to learn more about what you unlock in the post-game. This gun deals in incendiary damage, which makes it very effective against enemies made of flesh. It also has the special ability to create a pool of lava beneath its victim, which won’t damage you. Overall, if you’re looking for a mainstay incendiary gun, then Ember’s Purge is an excellent choice. It has a large magazine size, 34, and thanks to an increased Weapon Fire Rate, +15%, it will easily mow down your foes.