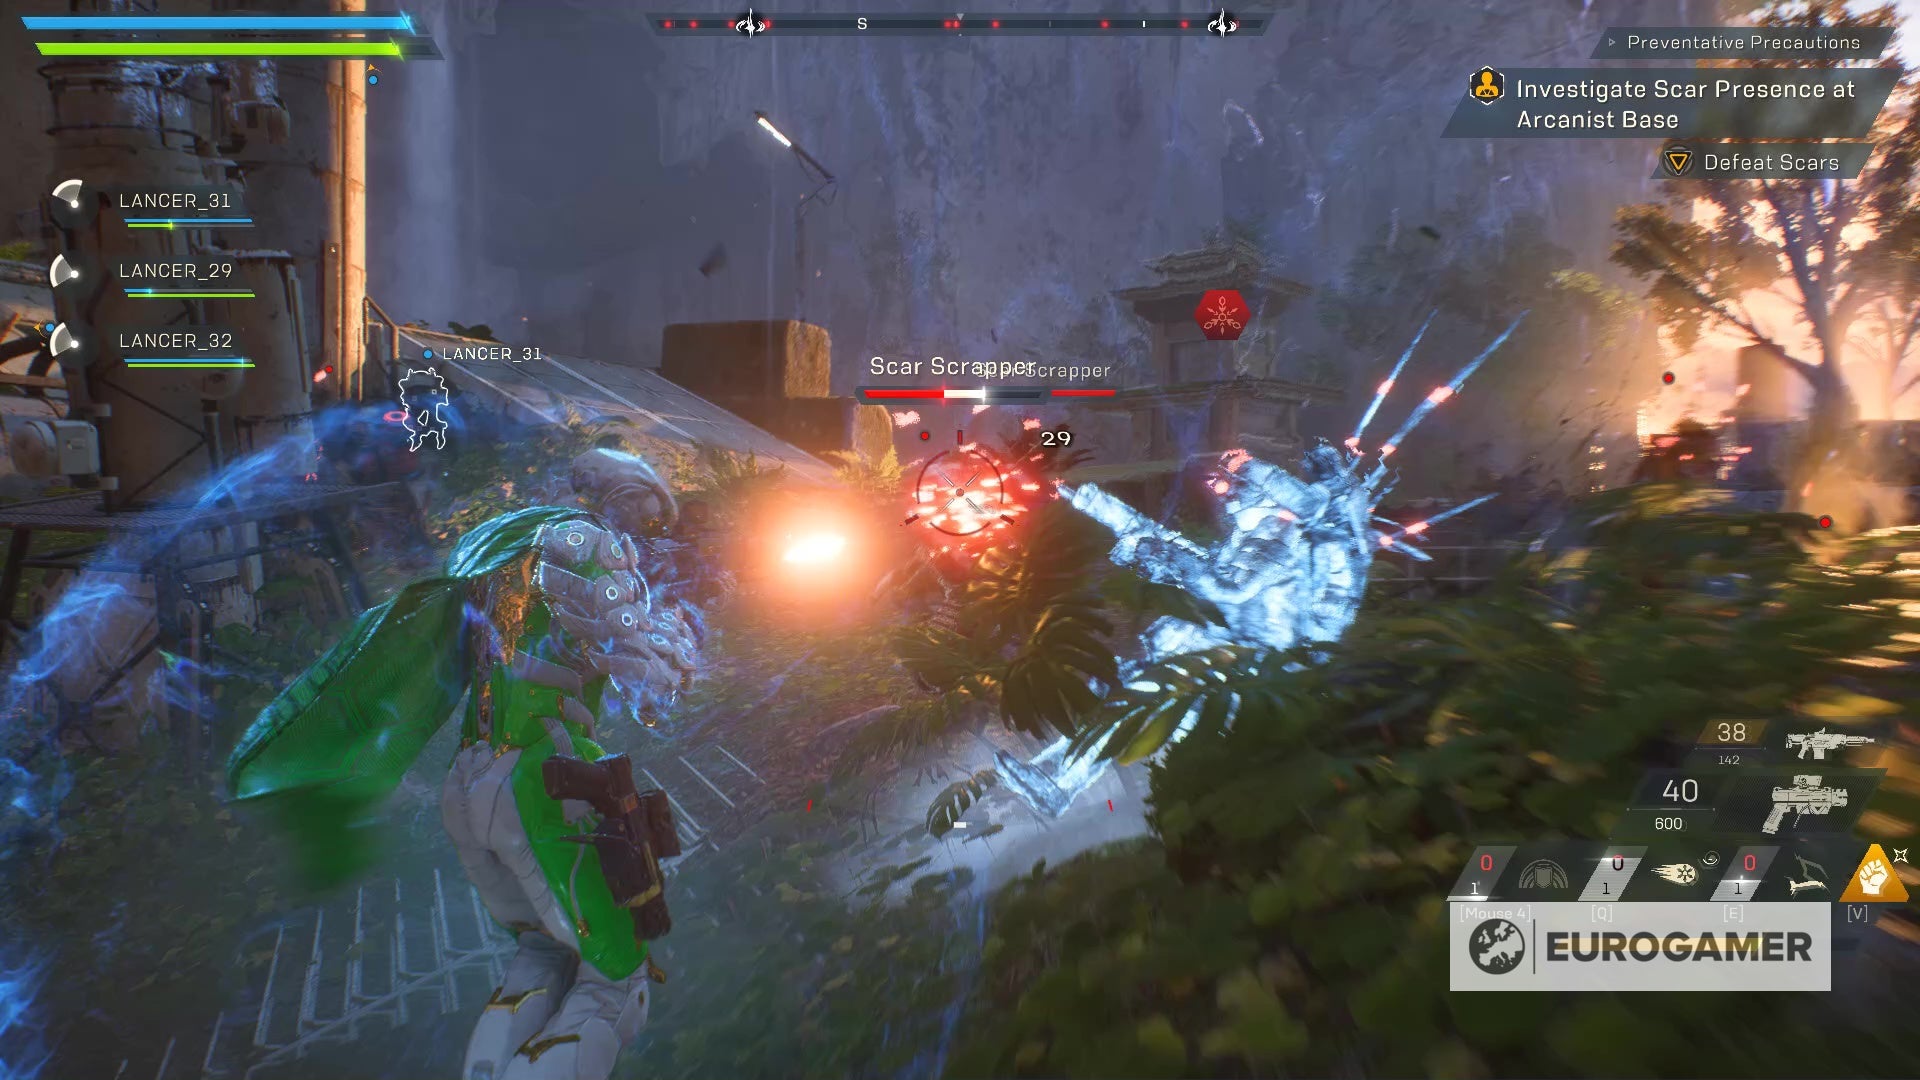
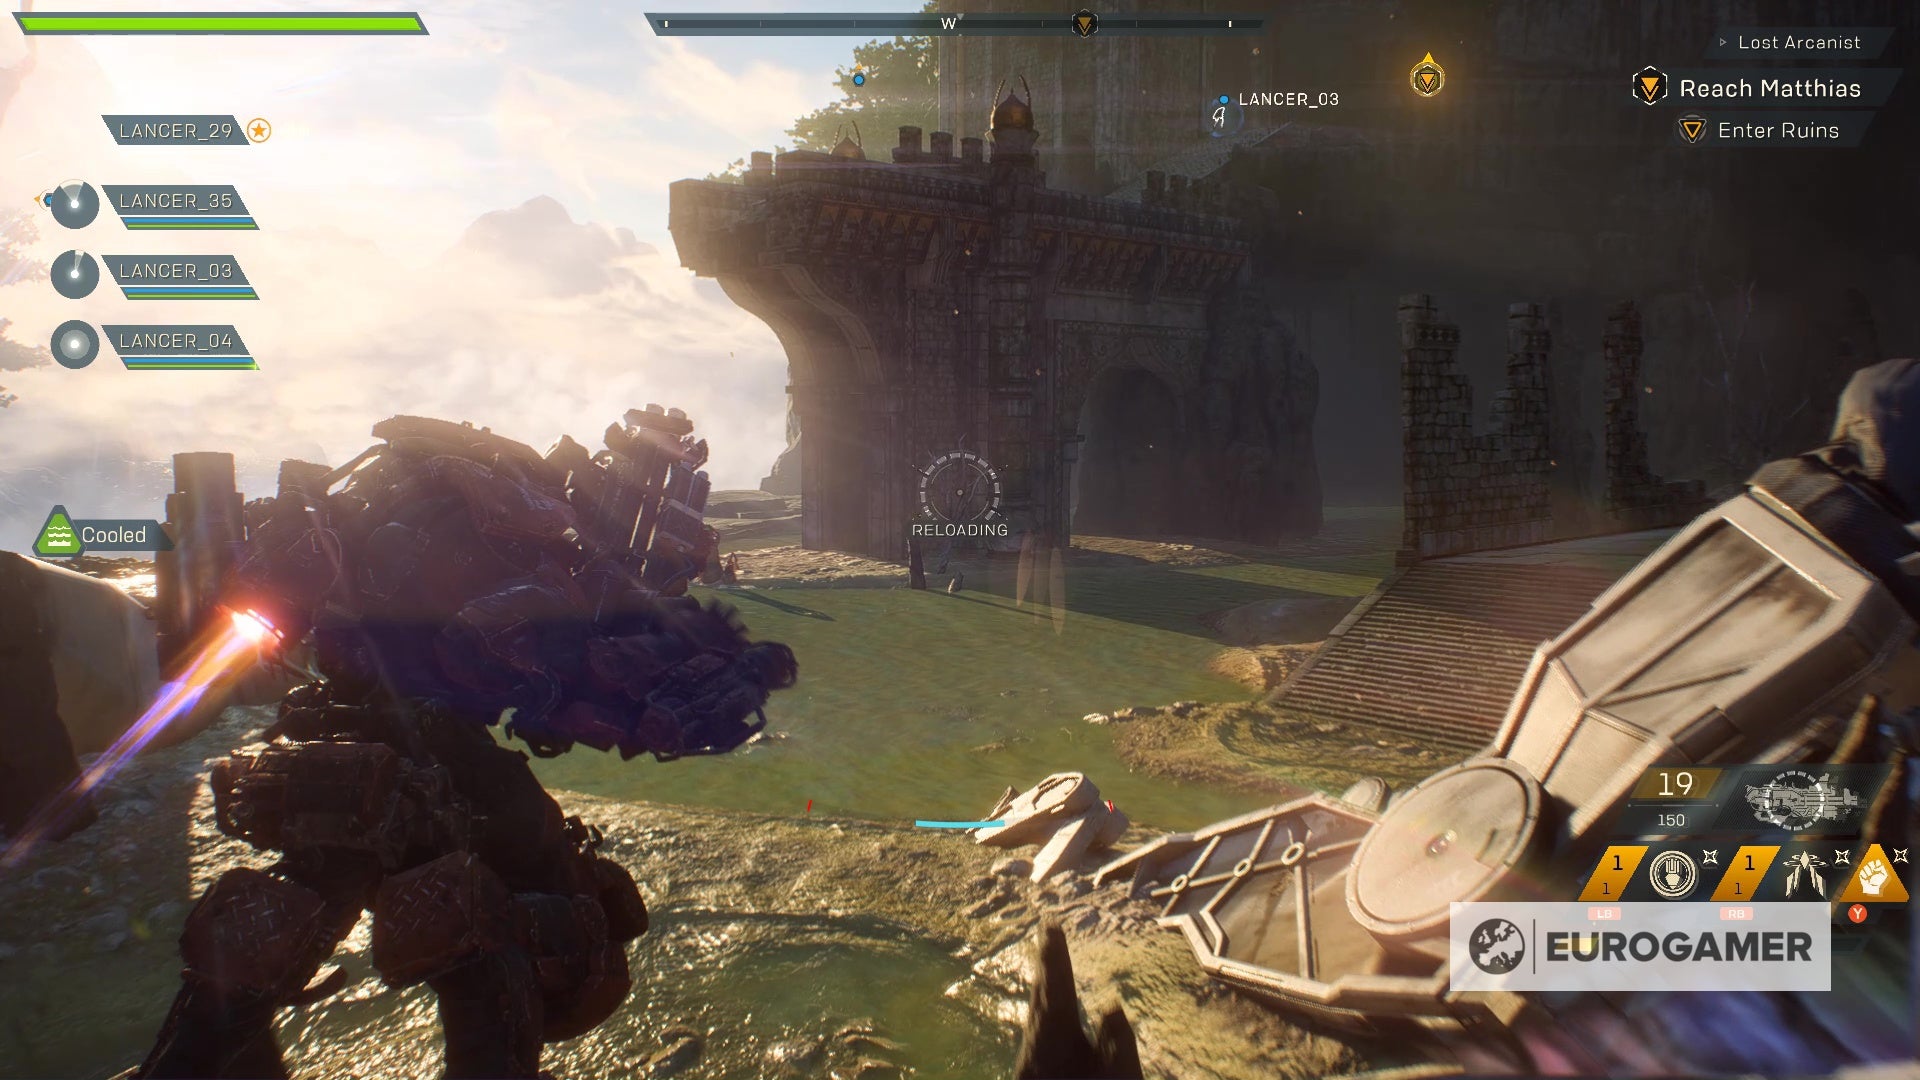
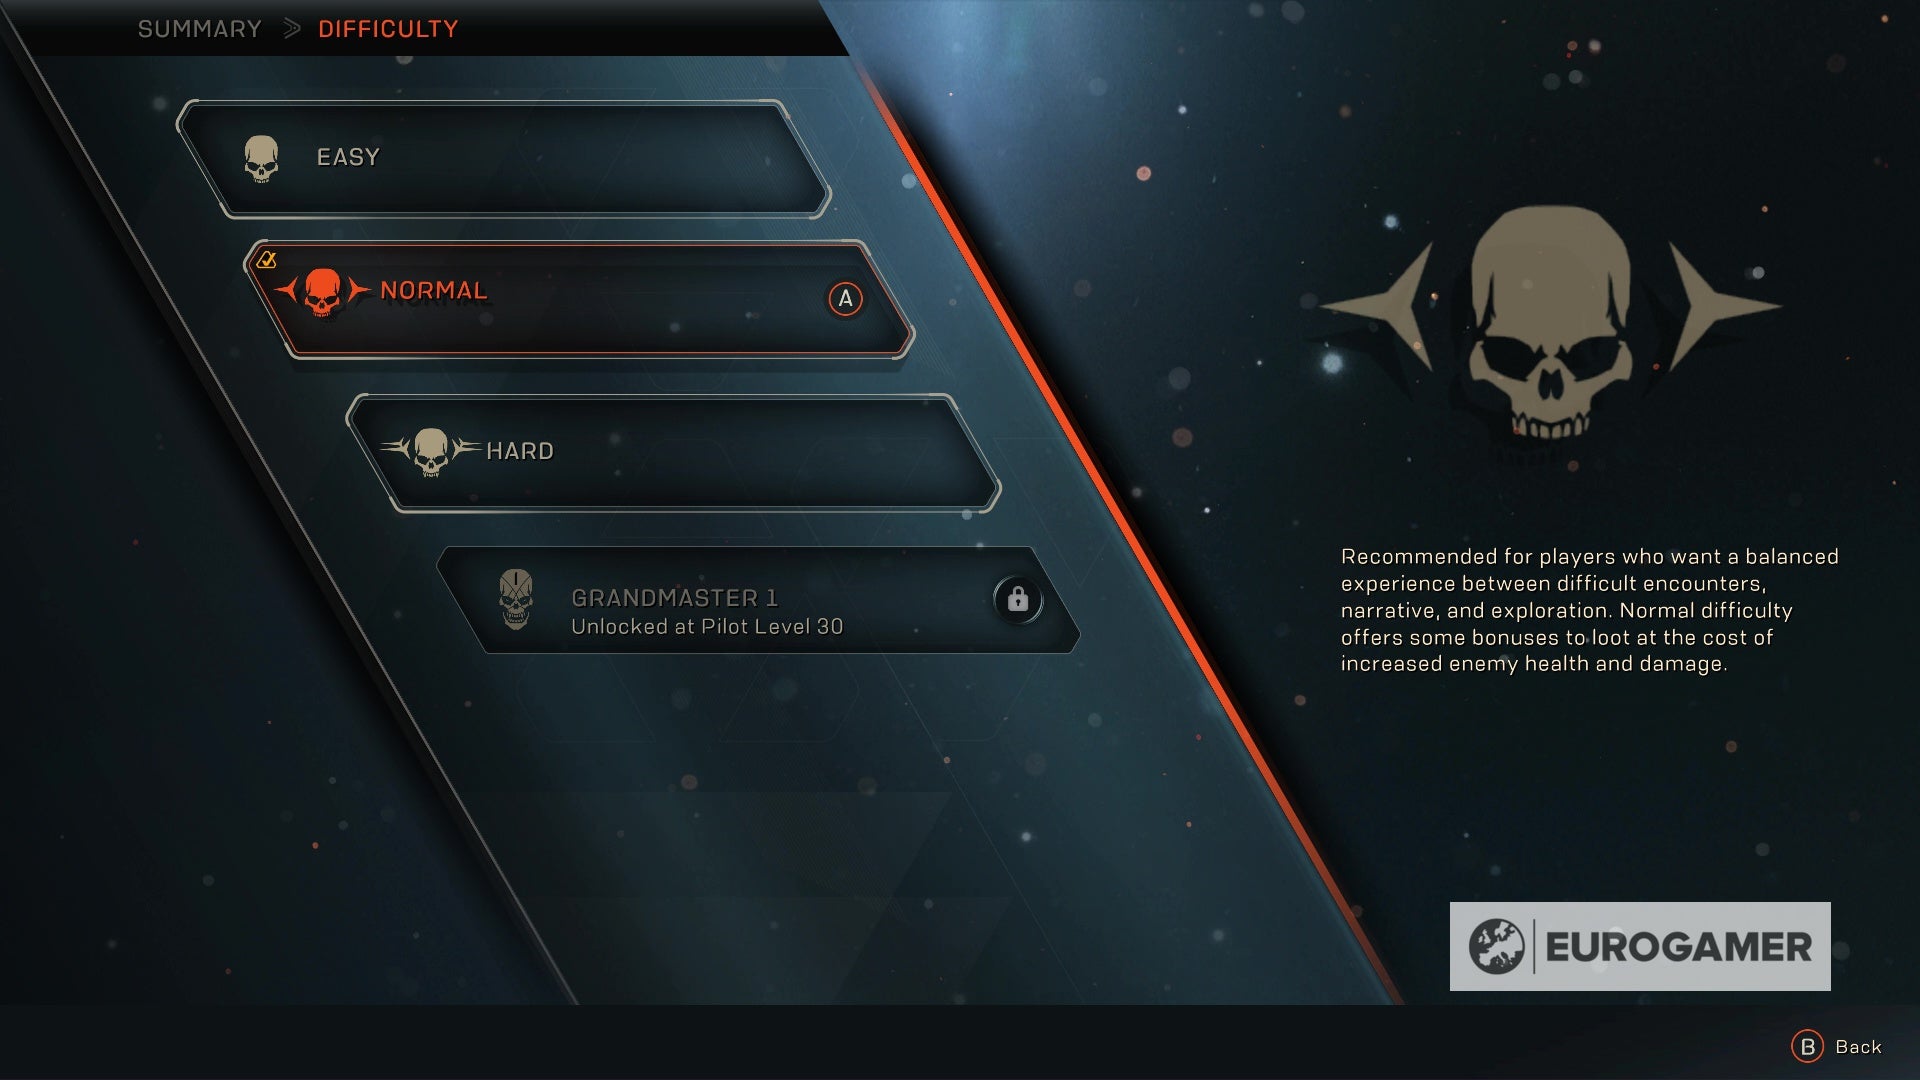
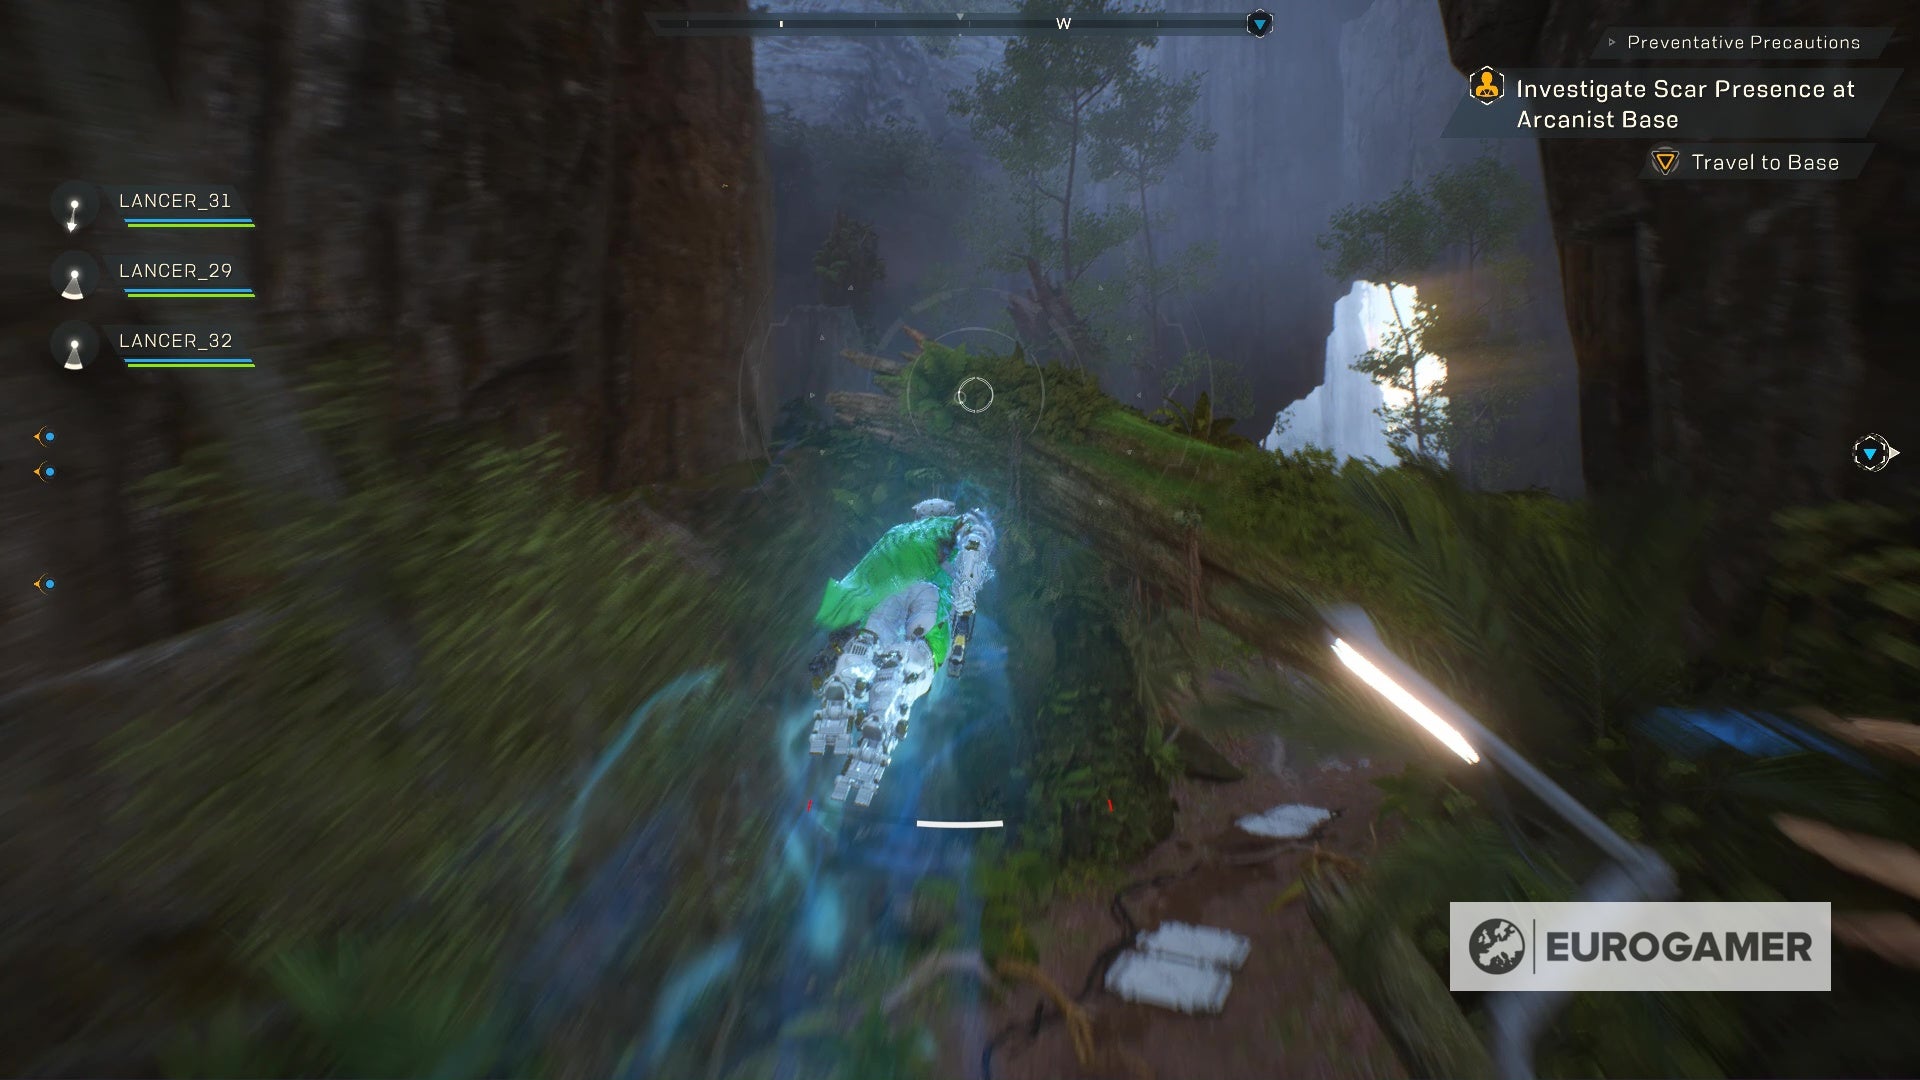
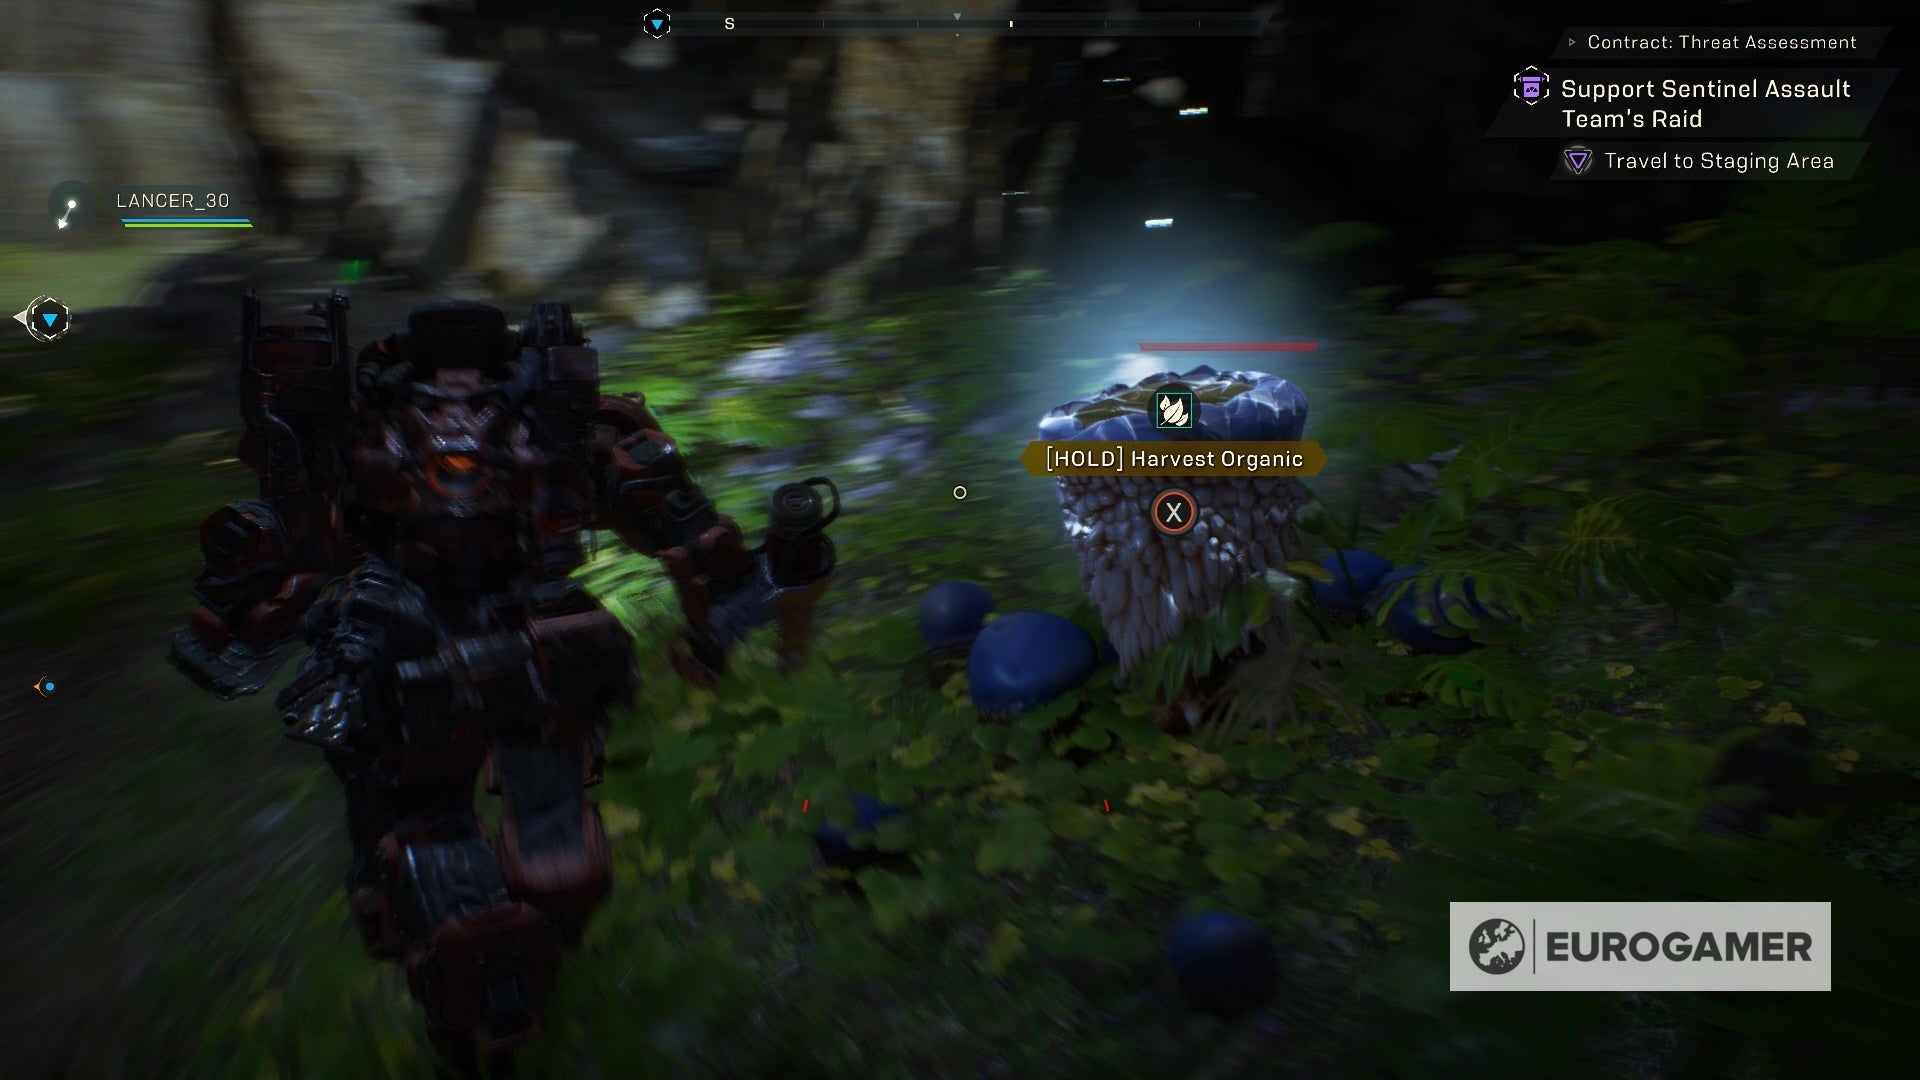
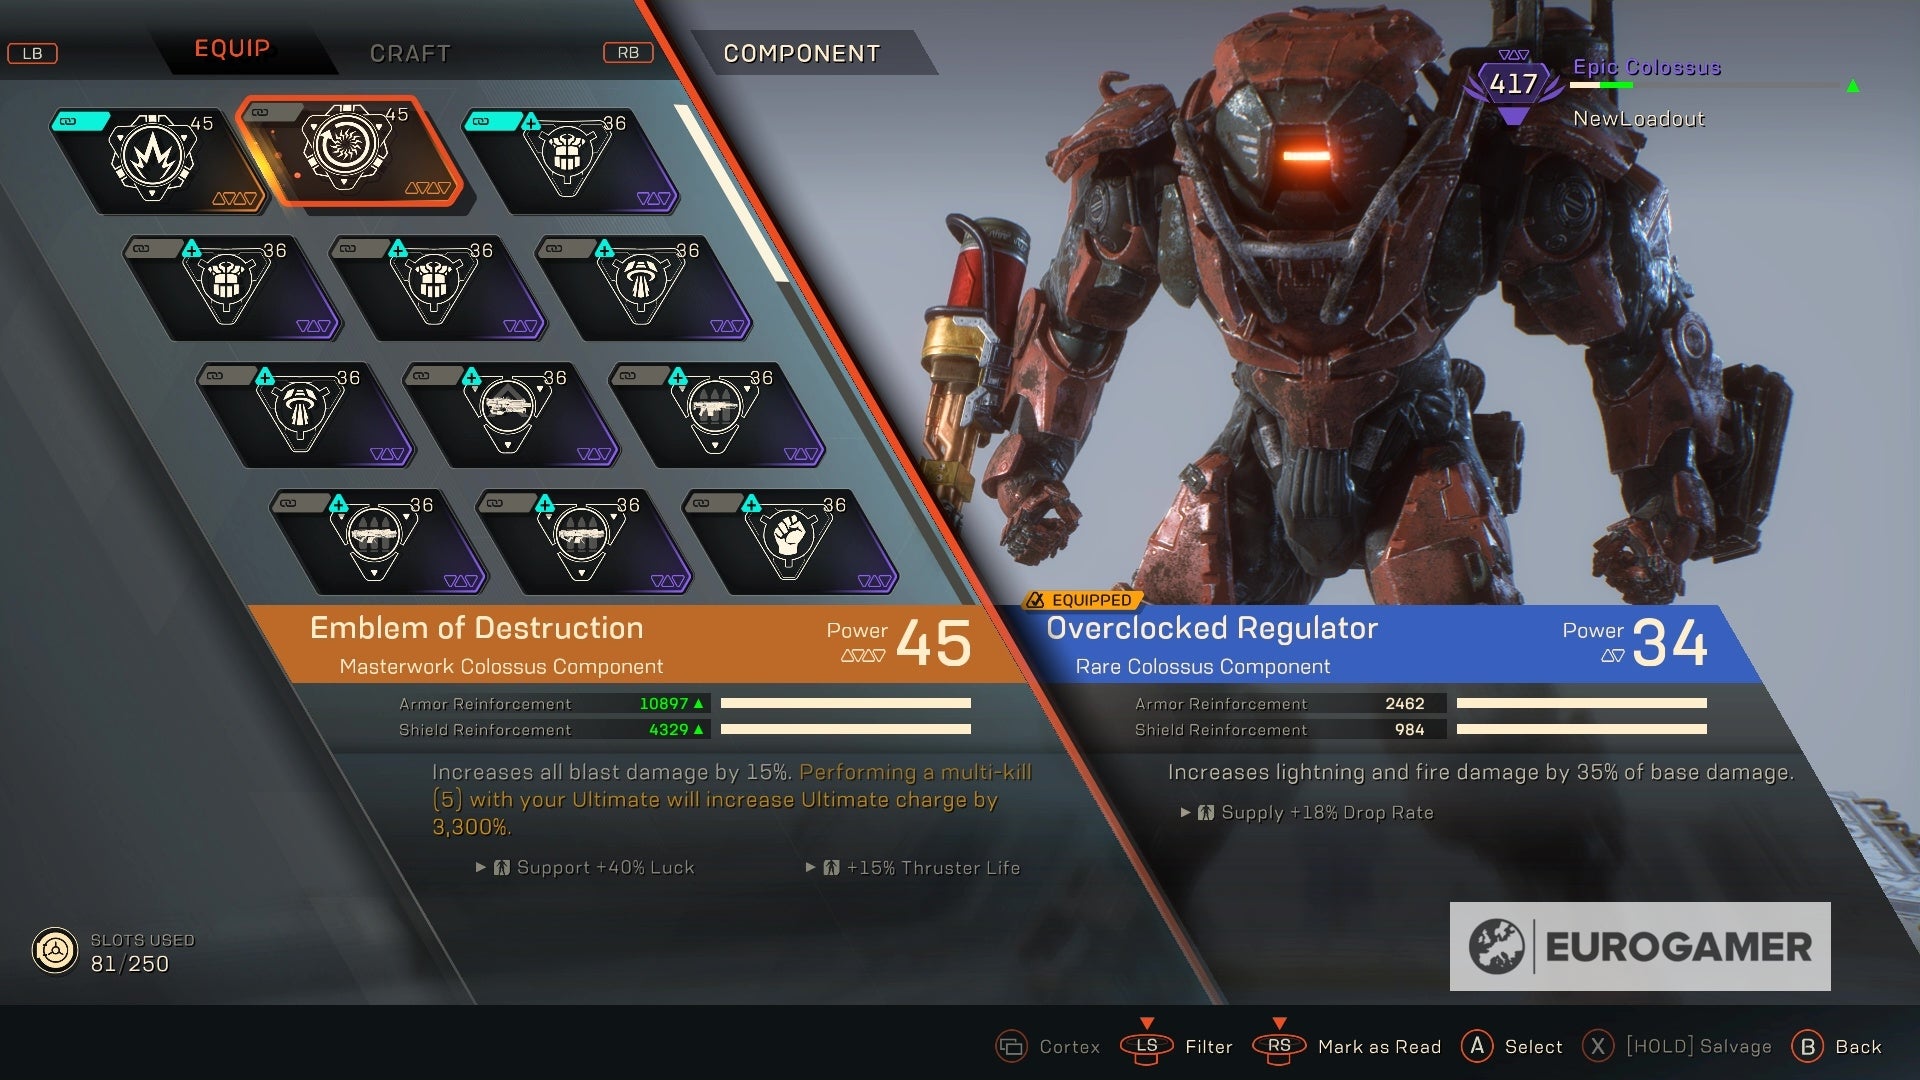
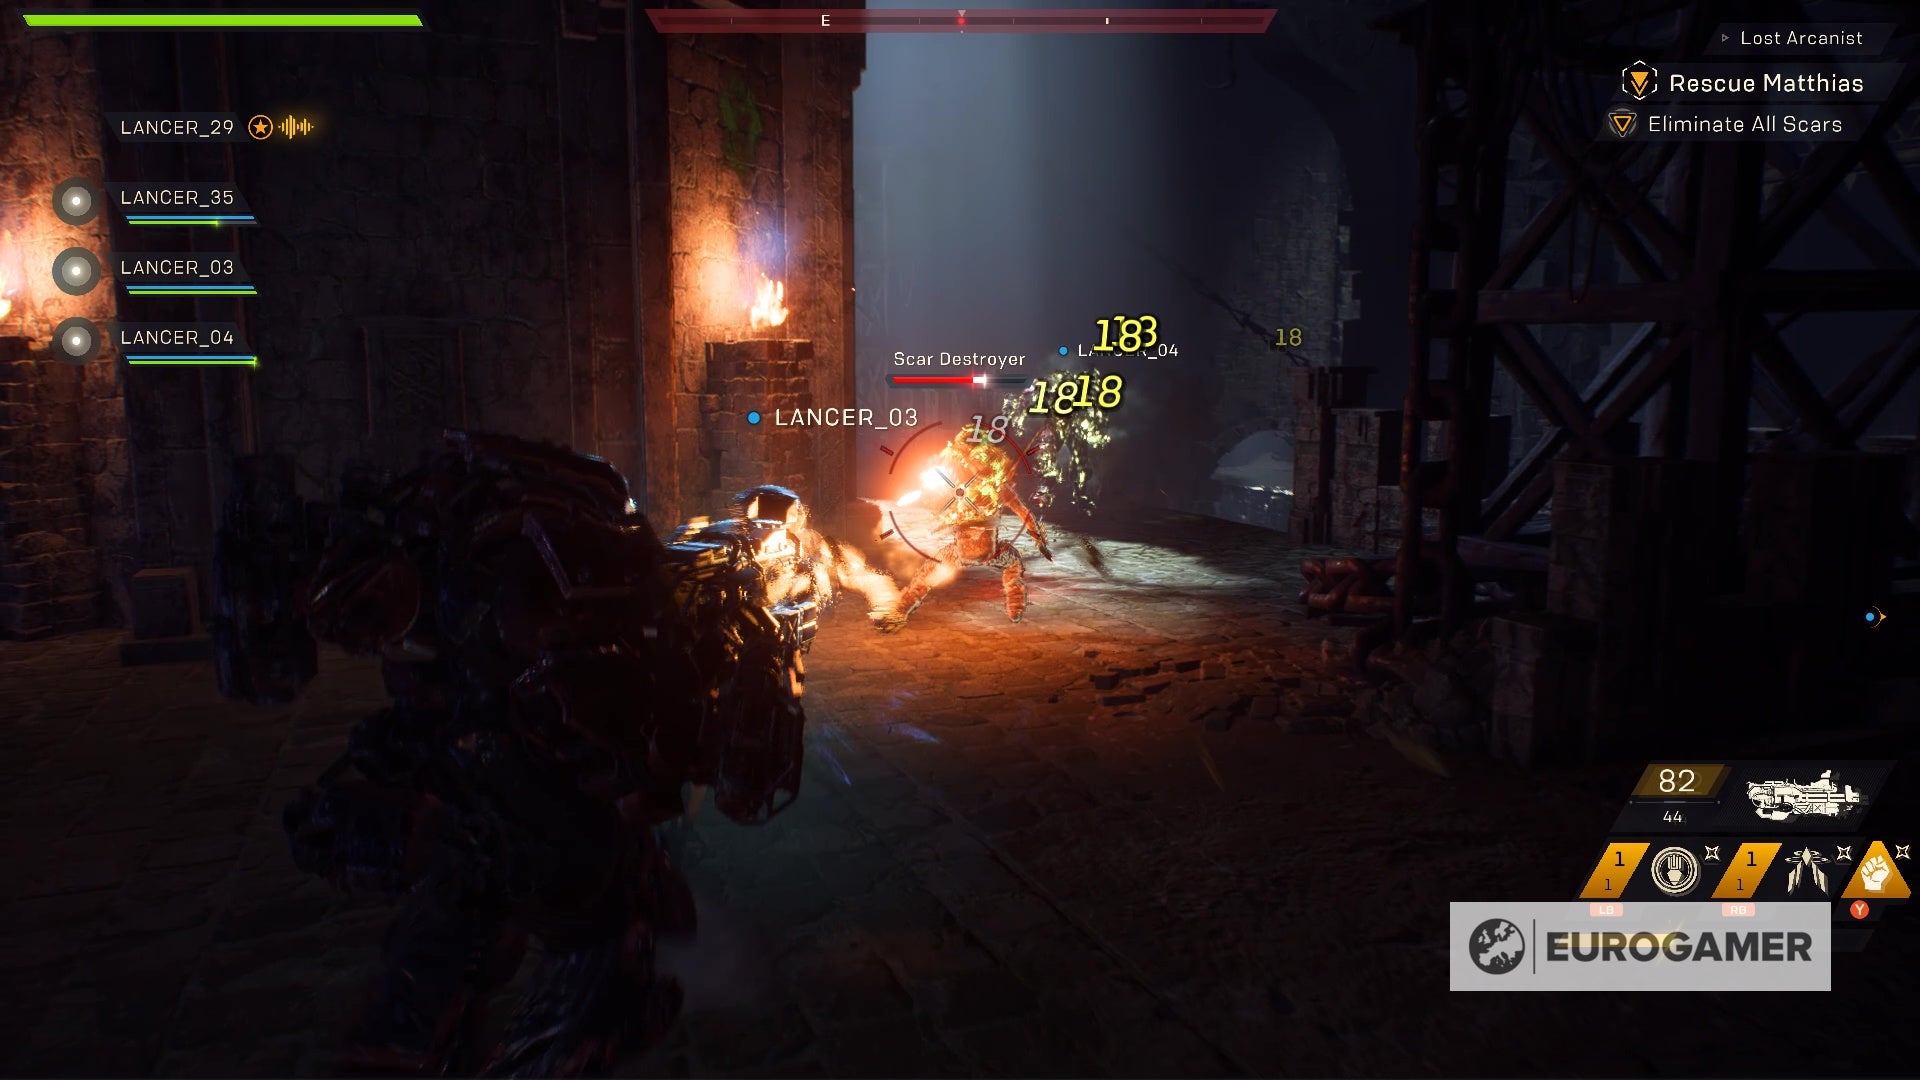
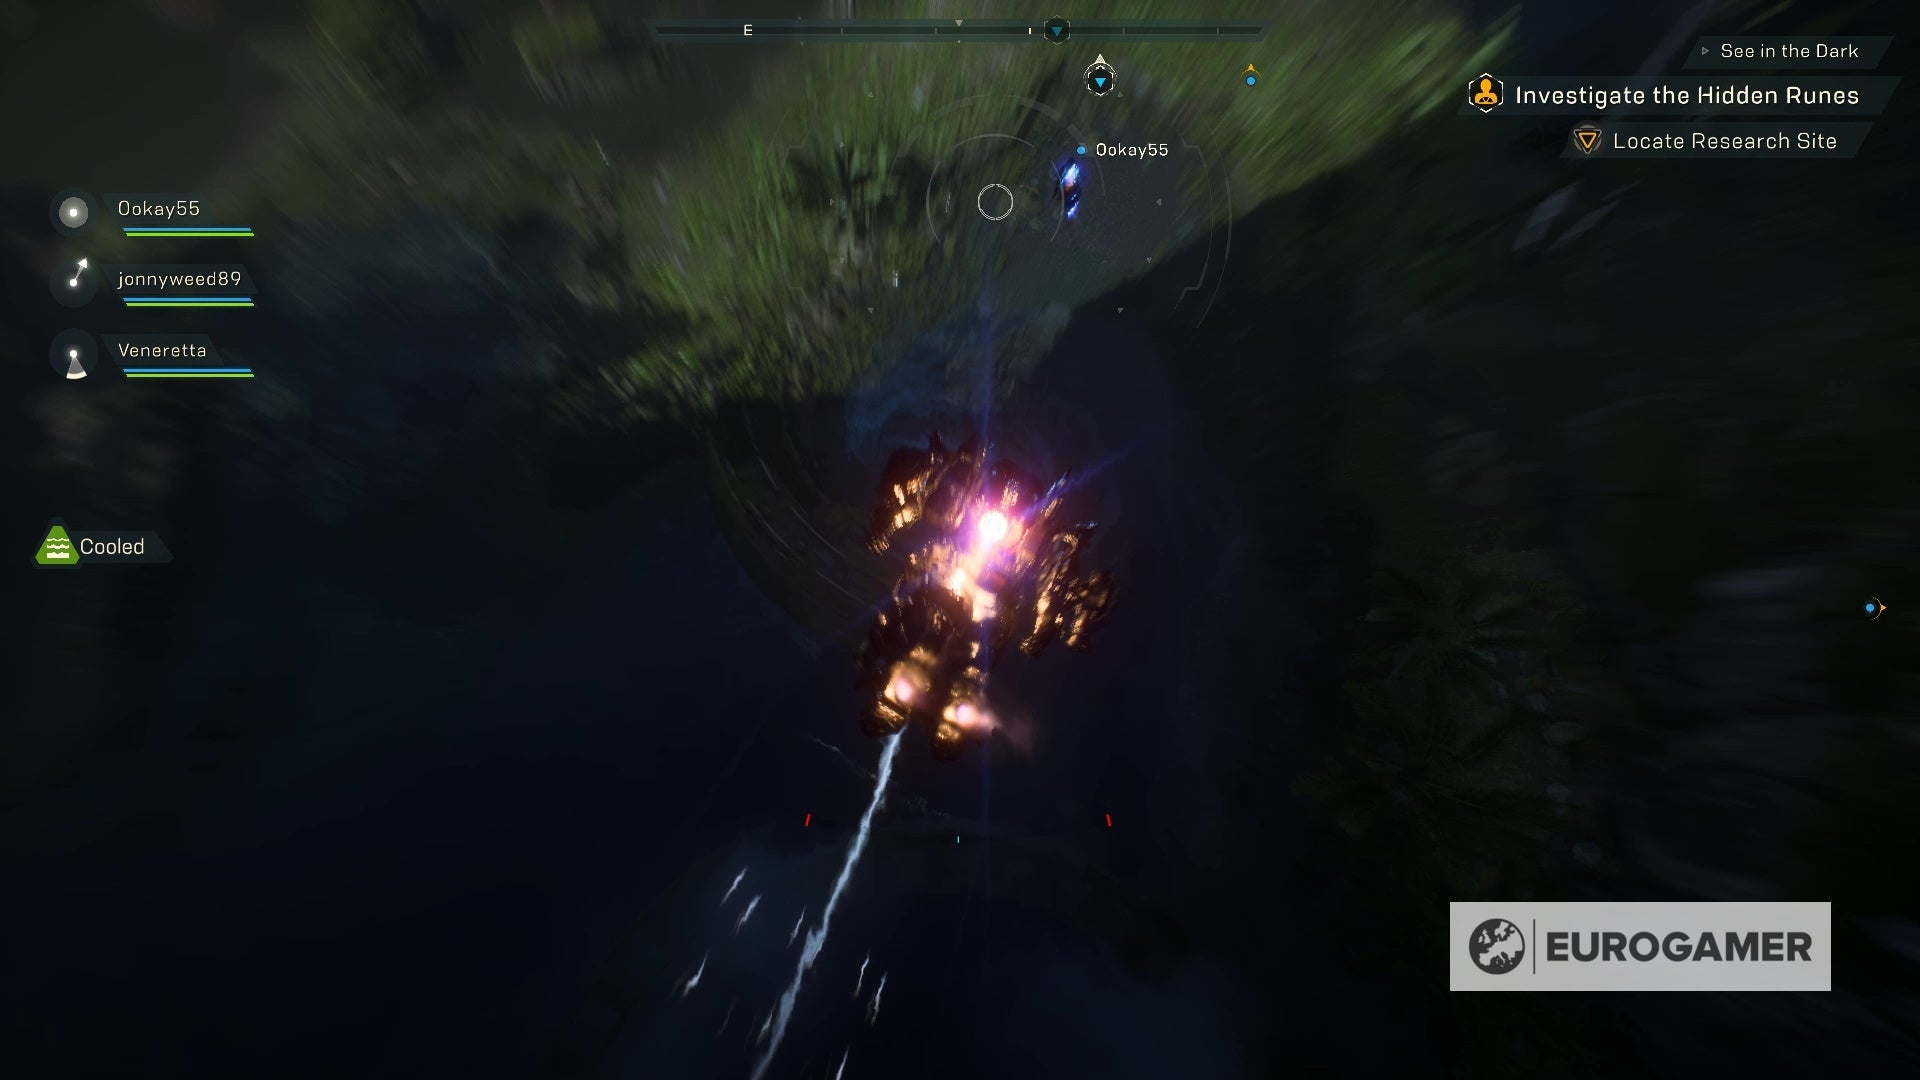
These should help get you get off to a flying start with the rest of the public but, if you’re after a roundup of all the Anthem guides we have so far, you can take a look at our dedicated page on the Anthem guide and walkthrough hub covers everything else! As for our tips, here’s the best quick and easy-to-digest advice we’ve picked up so far: That’s because some of Anthem’s missions require you to do a bit of environmental puzzling, and it’s much easier to do that whilst also tackling the game’s many enemies when there are more of you. It helps you split your focus, back each other up, multi-task, and most of all coordinate your Combos, which are surprisingly important. That being said, if you learn how to self-Combo efficiently (more on that below, and even more in our dedicated Anthem Comobos, Primers and Detonators guide), then you can do perfectly well on your own, it just takes a little know-how! Obviously, there’s no “right” way to play a game - play it however you like and shoot away to your heart’s content if you really want to - but we’ve found that guns in Anthem are really more of a backup option for those moments when your abilities are on cooldown, rather than the primary way you’ll deal damage. So put the gun down, Soldier 76, and get to grips with your gear and abilities - and most importantly, Combos… In breif, Combos involve setting up or ‘priming’ enemies with one type of attack (Primers), and then triggering a big damage chunk by hitting them with another (Detonators). Multiple players can combine to do this, too - so if you only have a primer in your arsenal and one of your pals has the type of attack that triggers the combo, you can do the setting up and they can do the setting off. Your own choice of Javelin also has a unique added effect when they set of Combos, too, so there’s some awesome synergy to be had (if you think the word ‘synergy’ can ever be awesome). The amount of damage you can deal out from doing Combos, and the relative frequency with which you can land them, means that they’re going to be pretty central to your experience of combat in Anthem. It’s worth investing some time in your character build and planning with co-op buddies to get the most out of them! Attacks that prime enemies have a little bullseye-style circle symbol next to them, in the bottom right of your HUD; ones that detonate primed enemies have a little four-pronged star symbol. As mentioned above we have a dedicated Anthem Combos, Primers and Detonators guide that goes into much more detail on this, if you want to plan your Combo-based builds and learn a lot more! Most importantly, flying is about managing temperature. Your Javelin (suit) can fly as long as it isn’t overheated - the longer you fly for, the more you heat up, as shown by the gradually-filling bar below your Javelin as you fly around. You can cool it down in a few ways: flying near water or liquid, which gives you a ‘cooled’ buff for a few seconds where you won’t heat up at all; and nosediving rapidly, which reduces the temperature of your Javelin as long as you’re diving. As you get better at flying around, you’ll be able to weave climbing and diving into your moment-to-moment movement in the air, keeping yourself cooled for longer. There are also various types of gear that apply cooling buffs when equipped, too. One other thing to note as well: enemy attacks that set you on fire will immediately overheat you, knocking you out of the air. Learn your enemy types to avoid getting almost totally immobilised in combat! Now we’ve had more time with the game too, we can say this: make a personal pact with yourself to never overheat during out-of-combat flight. There’s always a waterfall or river somewhere, but more than that if you’re about to overheat just plonk down to the ground and sprint for a bit to quickly cool off. It’s much, much faster to travel on foot for a bit than it is to overheat, slam down, and slowly get back up! What’s more, damage is scaled per-player. So let’s say you’re level 10 and you squad up with a level 20 pal, you’ll both do the same damage to enemies in terms of how much their health bar goes down, but you’ll see different numbers on your own screen. You might deal 500 damage and take off half of an enemy’s health bar, and they might do 1,000 damage on their screen, but take off half of their health bar too. Basically, higher level pals can’t carry you through missions. What makes missions feel easy or hard is the difficulty you choose in advance, and how good the gear is that you have equipped. We explain this in a bit more detail in our guides to Anthem Level and XP grinding and Anthem loot and gear score guides, as it plays into both quite significantly! No need to worry about getting left behind, then - but if you do end up far behind your squad on a mission, you’ll get teleported forwards to their location when enough time’s passed. Looking for more Anthem explainers like this? Our Anthem tips page is a great place to start, or our Anthem guide and walkthrough mission list hub, which has all our Anthem pages in one place, including in-depth looks at Anthem Javelin classes, how to unlock Javelins and some Colossus, Storm, Interceptor and Ranger builds, another in-depth look at Combos, Primers and Detonators and Elemental Effects and debuffs explained, or specific advice on how to Deactivate the Barrier for the Triple Threat puzzle solution. Here’s where to find Anthem Collectibles, Anthem Ember Pieces and Anthem Treasure Chests, and how to get your Anthem Legion of Dawn armour and other pre-order bonuses, how the Anthem Alliance system works too. Finally, for levelling and grinding, here’s an explainer of Anthem Pilot Level, XP and how to level fast, Anthem loot, gear, and the loot system explained and finally a deep-dive on Anthem Masterwork and Legendary gear explained, a Masterwork list and how to farm them. If you interact with every one you see (they’re fairly obvious - big bulbus plants that stick out a bit in the world), you’ll generally pick up all the basic resources, but the main ones you’re after will be Embers. These come in several tiers of rarity, and allow you to craft higher-quality versions of gear once you’ve obtained their Blueprints. It might be a little early to really worry about this, given progress doesn’t continue from the Demo into the full game, but if you want to test out the crafting system, harvesting all the plants you see is the way to do it. You might also find collectables, runes, or bits of lore dotted around too. Inspect and gather the lot - for a couple of reasons. Firstly, there’s a real bottle-neck of a quest a few hours into the campaign that requires you to tick off a large amount of open world-related mundane tasks like finding a set number of collectables, or harvesting a set number of plants and minerals - but it now starts tracking progress to those quests much earlier, so you can get them out of the way just by doing everything as you go along the way through the regular story. The other reason is that these things are actually useful - barring the lore, which is a case of whether you find that sort of thing interesting or not - with Embers in particular very useful for crafting, along with the other bits and bobs you can find that way too. Snaffle up everything you find, and you’ll be glad you did later on! The main example we’ve noticed this with is the Colossus class, but it seems to be the case for all of them: use class specific components, not the Universal ones that can be applied to all classes. You pick them up randomly as loot throughout the game, but the class-specific ones (which will be noted as such in the Forge, where you do your Loadout tinkering), give vastly more worthwhile bonuses to your stats than the one-size-fits-all version of the same. Take that Colossus example: one reddit user (a_tortoise_IRL), found that the Colossus-specific Structural Reinforcement, which is only Common tier and level 15, added 791 health and 659 armour. A higher level, rarer Universal one added 28 health and 282 armour, by comparison. Quite the difference! Take the time to rifle through these components, then. You can also join onto your friends at any point, provided they have a free slot in their four-player squad, which is great news for that one annoying squadmate with the dodgy internet connection - and for Demo players, since there’s bound to be the odd bump in the connectivity road along the way. In fact, on that point, we managed to work our way around the ‘infinite loading screen’ bug of the early access periods by closing the application entirely (this was on PS4, mind) and re-opening it. It would skip you through any cutscenes at the start of the mission, annoyingly, but you would at least load into the mission itself and get playing - just without a little context! Hopefully this time it won’t be necessary though. Hopefully. There’s probably a pretty standard reason for that - it would be hard to control when you’re closer to the ground and want to do a quick swoop downwards if it suddenly sped you up significantly too, for instance - but it’s still an unusual one worth knowing, and a weird enough anecdote to tell the party about over chat? Thankfully, after some player feedback, BioWare have swiftly added the ability to sprint in the hub, by toggling the left analog stick on the controller or pressing the usual sprint key on PC. It’s barely a tickle faster that the usual plod, but it all adds up when you’re in a hurry to get between the quest-givers and the quests. It’s worth sticking with a Javelin class for a good few levels, and checking in on Anthem class abilities and build ideas for inspiration, because the game only really clicks when you find a build that works for you. It’s worth knowing that the Storm should be built around permanently hovering high above combat, for instance, and just using your blink (the Storm’s way of dodging mid-air) because it gains a shield buff when hovering, has huge range to its abilities and is otherwise a very squishy glass cannon. Or Colossus players should try to use their front-facing shield in conjunction with a taunt support ability, to draw focus and tank huge damage while that glass cannon Storm unloads on a boss, or the Ranger uses its single-target Combo damage bonus, and so on. Anthem can be a real pain, in all honesty, but stick with it, find a class and build that works for you and pop a few satisfying combos, and the slog of all those loading screens, strange UI decisions and weirdly unexplained systems might suddenly start to feel worthwhile. Maybe. If you’re up for reading into Anthem in a little more depth, head over to our main Anthem guide and walkthrough hub, which has a section listing all of our in-depth, published Anthem guides so far. Enjoy!